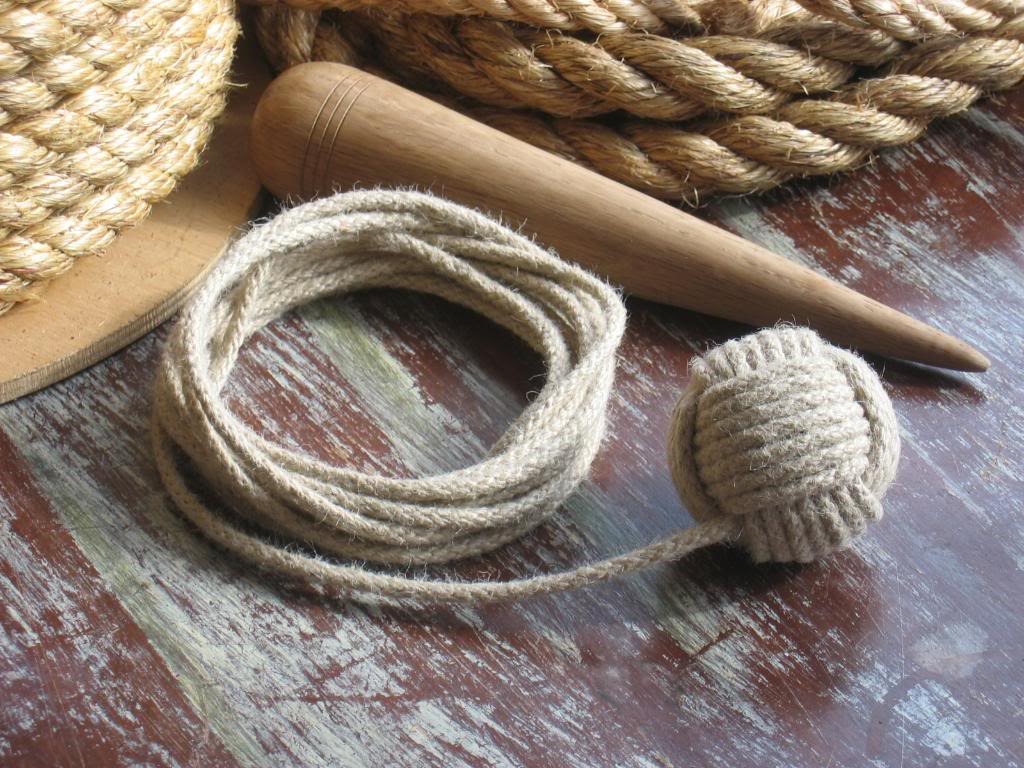
Make a knot key chain
Make a decorative knot key chain using colorful cord or paracord, learn basic knots, measure and trim safely, and attach a key ring.


Step-by-step guide to make a knot key chain
How to Tie a Keychain Knot | Easy Key & Keychain Knot Tutorial
Step 1
Gather all materials and place them on a flat table so you can reach everything easily.
Step 2
Measure two cords each to about 90 cm using the measuring tape or ruler.
Step 3
Cut both cords at the marks with the scissors.
Step 4
Fold each cord in half so you have two loops and two pairs of loose ends.
Step 5
Attach the folded loops of both cords to the key ring using lark's head knots.
Step 6
Tape the key ring to the table so the cords stay still while you work.
Step 7
Spread the four loose strands straight below the ring so they do not tangle.
Step 8
Tie one square knot using the four strands by moving the outer left strand over the two center strands and under the outer right strand then moving the outer right strand under the center strands and up through the loop and pulling snug.
Step 9
Repeat Step 8 eight times or until the knotted section is about as long as your finger.
Step 10
Trim the excess strand tails to about 5 millimetres with the scissors.
Step 11
Ask an adult to carefully melt each trimmed end with the lighter to fuse the cord and stop fraying.
Step 12
Share your finished knot key chain on DIY.org.
Final steps
You're almost there! Complete all the steps, bring your creation to life, post it, and conquer the challenge!


Help!?
What can we use instead of a lighter to melt and fuse the cord ends if we don't have one?
If you don't have a lighter for Step 10, have an adult brush clear nail polish or Fray Check onto each trimmed 5 millimetre tail from Step 9 to seal the cord and stop fraying.
My square knots keep slipping or looking uneven—what should we check or change while following Step 8?
If the square knots in Step 8 slip or look uneven, retape the key ring to the table (Step 6), re-spread the four loose strands as in Step 7, pull each knot snug and even as you make the repeated knots, and clip the knotted section with a clothespin to maintain tension while working.
How can we adapt this activity for younger children or older kids?
For younger children, have an adult pre-measure and cut the two 90 cm cords and pre-attach the lark's head knots in Step 4 and skip the lighter by sealing the 5 mm trimmed ends from Step 9 with clear nail polish, while older kids can measure and cut themselves, repeat Step 8 more than eight times for a longer key chain, and safely perform the melting in Step 10 under supervision.
What are some ways to extend or personalize the knot key chain after following the instructions?
To personalize your key chain, use two different-coloured cords measured in Step 2, slide beads onto the loose strands before repeating Step 8, attach a small charm to the key ring, then trim to 5 millimetres (Step 9) and melt the ends in Step 10 for a finished look to share on DIY.org.
Watch videos on how to make a knot key chain
How to make a simple paracord key ring - square knot key chain
3 Videos
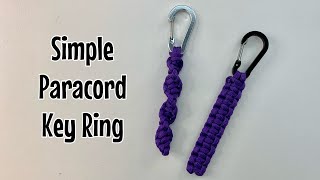
How to make a simple paracord key ring - square knot key chain
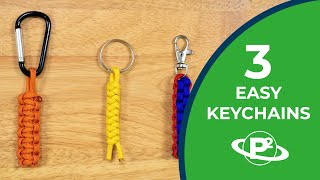
3 Easy Keychain Knots
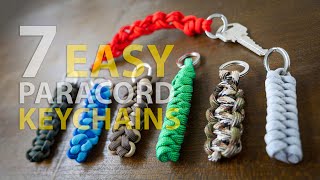
7 EASY PARACORD KEYCHAINS | PARACORD KNOTS
Facts about knot tying and cord crafts
🪢 Paracord was first used for parachute suspension lines and became popular with campers and crafters because it's lightweight and very strong.
🎨 Macramé — knot-based textile art — was trendy in the 1970s and has enjoyed modern comebacks for home decor and accessories.
🔑 A common key ring is a split ring (a tiny spiral of metal) that lets you add charms and keys without glue or sewing.
✂️ Nylon paracord melts and fuses at the cut ends, so carefully melting them (with adult help) seals the cord and stops fraying.
🧵 The square knot (reef knot) is easy and decorative for bracelets and keychains, but it can slip under heavy load, so it's not used for safety-critical tying.
How do you make a decorative knot key chain?
What materials do I need to make a knot key chain?
What ages is this knot key chain activity suitable for?
What are the benefits and safety tips for making knot key chains?


