Make a Kaleidoscope
Make a simple kaleidoscope using safe mirror sheets, a cardboard tube, translucent beads, and plastic; explore reflection, symmetry, and changing patterns through hands on observation.


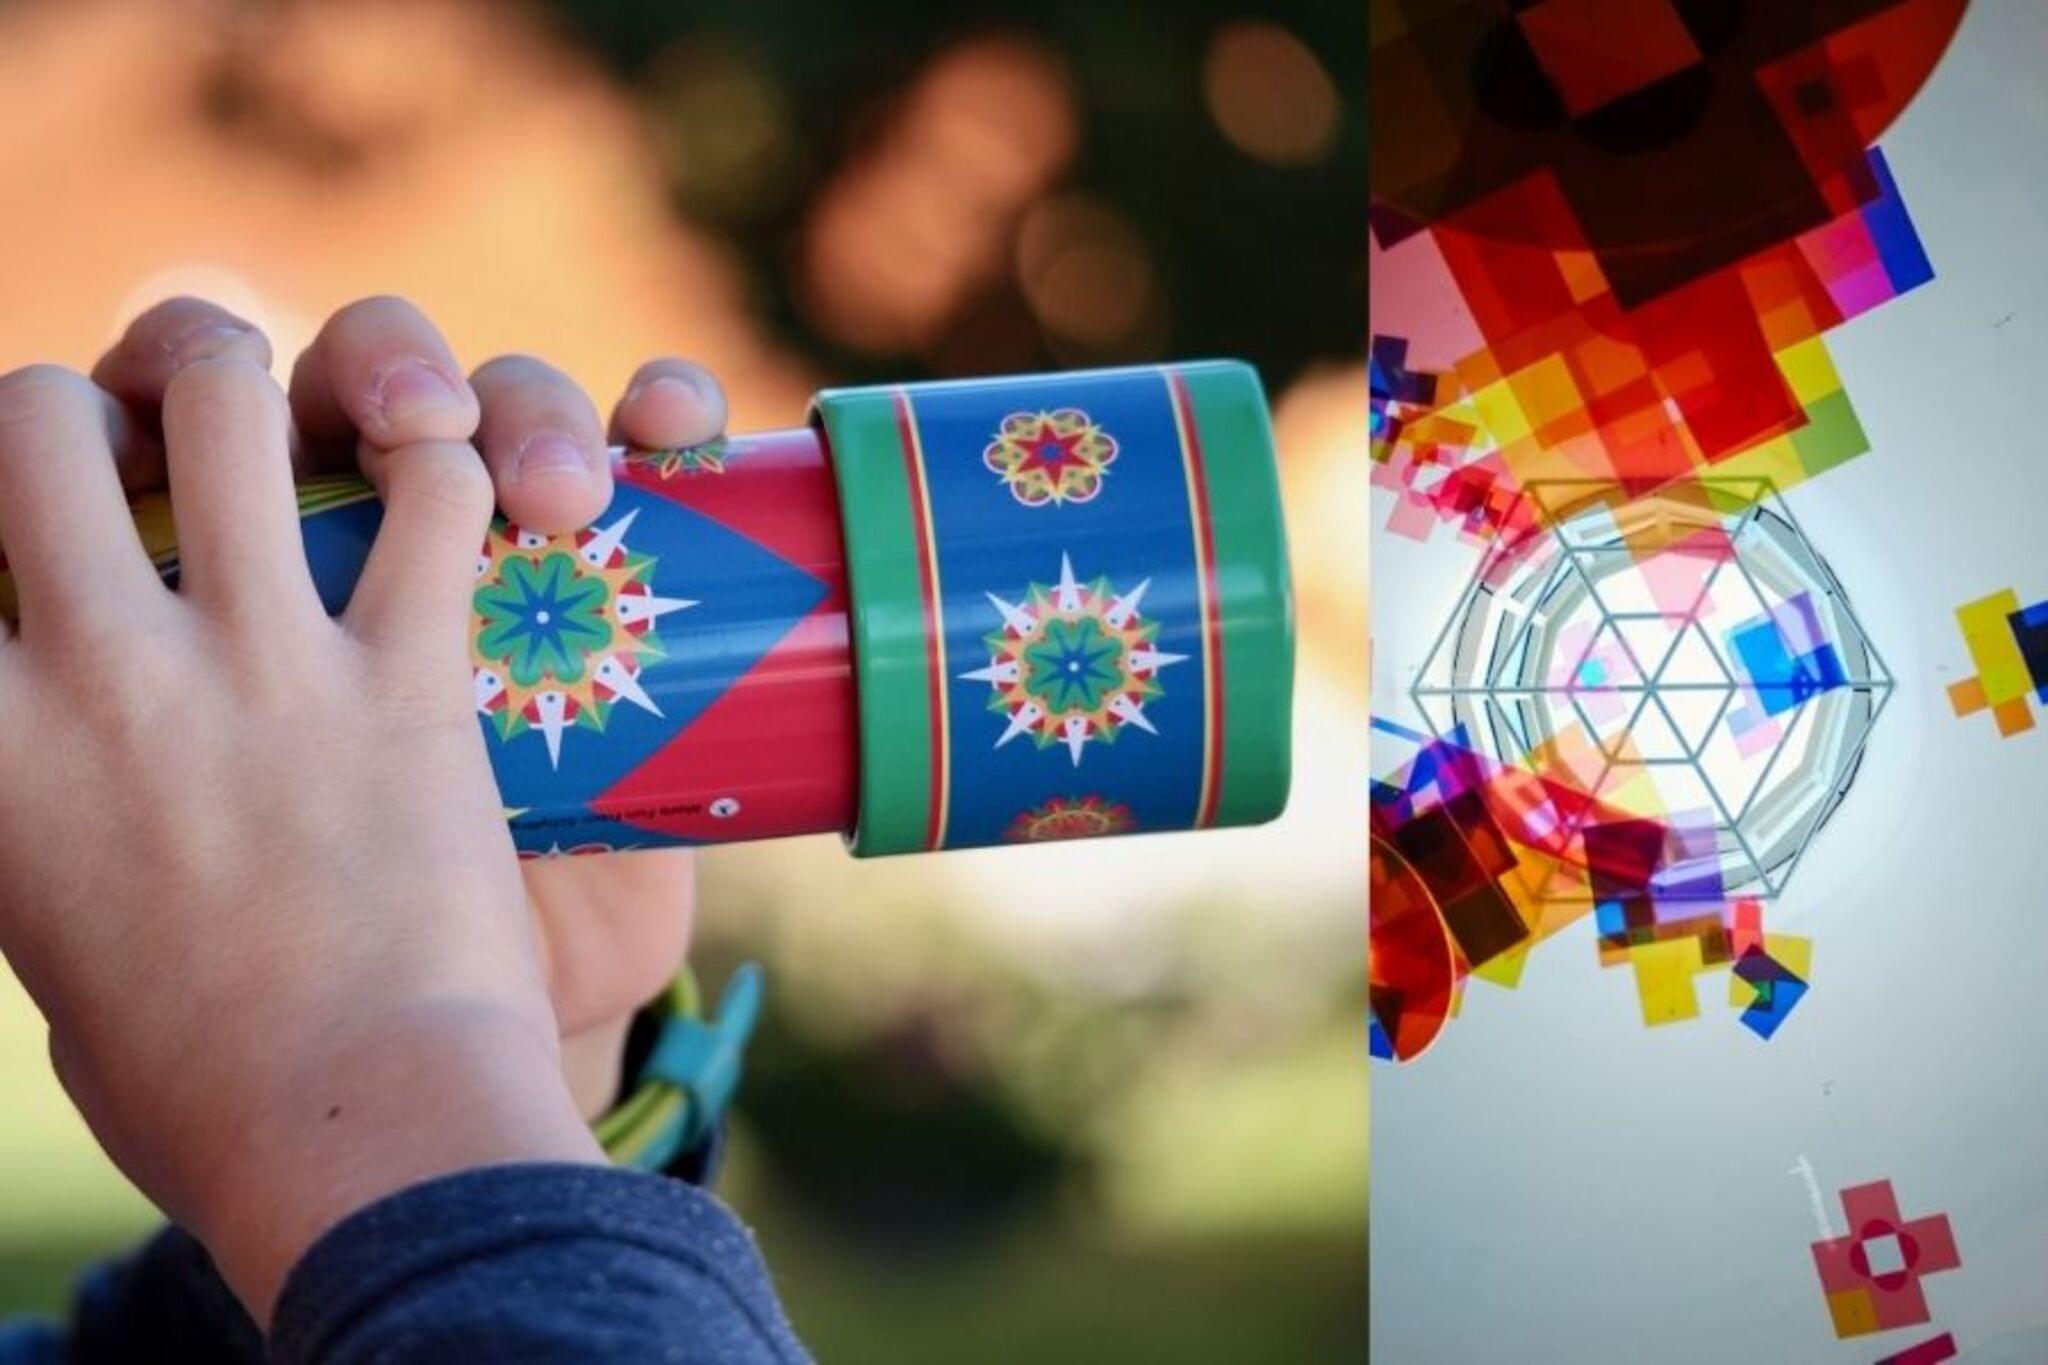

Step-by-step guide to make a kaleidoscope
DIY | How to Make a REAL Kaleidoscope (So Easy!)
Step 1
Gather all the materials on a flat table so everything is easy to reach.
Step 2
Measure the length of your cardboard tube with the ruler.
Step 3
Mark that same length across the mirror sheet with your pencil.
Step 4
Divide the mirror sheet width into three equal parts and draw lines to show the three strips.
Step 5
Cut along the lines to make three equal mirror strips.
Step 6
Trim each mirror strip to the pencil mark so they match the tube length.
Step 7
Tape the long edges of the three mirror strips together so the reflective sides face inward and form a triangular prism.
Step 8
Slide the taped mirror triangle gently into the cardboard tube until it fits snugly.
Step 9
Cut two circles from the clear plastic slightly larger than the tube opening.
Step 10
Put a small handful of translucent beads on one plastic circle.
Step 11
Place the second plastic circle on top of the beads and tape around the edge to seal the beads inside a loose bead cell.
Step 12
Tape the sealed bead cell to one end of the tube so the beads sit over that end and can tumble.
Step 13
Carefully cut a small center viewing hole in the opposite end of the tube for looking through.
Step 14
Decorate the outside of your kaleidoscope with the decorative paper or colouring materials.
Step 15
Share your finished kaleidoscope on DIY.org.
Help!?
What can we use if we can't find a mirror sheet for the project?
You can substitute a reflective Mylar sheet, mirrored adhesive vinyl, or smooth aluminum foil glued to cardstock and then follow the same steps of dividing, cutting, and taping the three strips so the reflective sides face inward.
What should we do if the taped mirror triangle is loose in the cardboard tube or light is leaking through seams?
If the mirror triangle is loose or leaking light, wrap a strip of masking tape or thin cardstock around the outside to widen it slightly and retape with overlapping edges so the reflective sides stay inward and seams are sealed.
How can we adapt the instructions for younger children or older kids?
For younger children have an adult pre-measure and pre-cut the mirror strips and plastic circles and let them assemble, add beads, and decorate, while older kids can measure and cut themselves, experiment with mirror angles, or add a small magnifying lens at the viewing hole.
How can we enhance or personalize the finished kaleidoscope?
Personalize it by making interchangeable bead cells (taping a removable plastic ring over the tube end), adding colored cellophane between the bead cell and mirror triangle, or decorating the outside with patterned paper and a tiny LED near the bead cell for evening use.
Watch videos on how to make a kaleidoscope
Kaleidescope making at home/how to make a kaleidoscope/make a kaleidoscope for science project
4 Videos
Kaleidescope making at home/how to make a kaleidoscope/make a kaleidoscope for science project

How to make a Kaleidoscope at home without mirror | DIY Kaleidoscope | Fun designs | Science project
DIY STEM Project For Kids: How To Make A Kaleidoscope

DIY Kaleidoscope | Mirror Science | dArtofScience
Facts about optics and light experiments for kids
🕰️ The kaleidoscope was invented in 1816 by Sir David Brewster and became a Victorian-era sensation.
🔁 Mirrors inside a kaleidoscope create repeating patterns; the number of repeats is 360 divided by the mirror angle (e.g., 60° gives 6 repeats).
💎 Translucent beads and small plastic pieces mix light and color to make ever-changing, jewel-like mosaics as they move.
🧻 A simple cardboard tube (like a paper towel roll) plus flexible mirror sheets makes a safe, lightweight kaleidoscope kids can build at home.
🎨 Kaleidoscopes are a fun mix of art and science — they help kids explore reflection, symmetry, and color-mixing through play.
How do I make a simple kaleidoscope at home?
What materials do I need to make a child-friendly kaleidoscope?
What ages is making a kaleidoscope suitable for?
What are the benefits and safety tips for making a kaleidoscope?
