Make a Juneteenth Flag
Make a Juneteenth flag using paper, fabric, or paint to learn about the holiday's symbols, colors, and historical significance while practicing cutting and painting.


Step-by-step guide to make a Juneteenth flag
Easy Juneteenth Crafts for Kids (and adults)
Step 1
Ask an adult to tell you one or two kid-friendly facts about Juneteenth before you start.
Step 2
Choose whether you will use paper or fabric and pick the size of the flag you want to make.
Step 3
Spread the cardboard or plastic sheet out on the table to protect it.
Step 4
Place your paper or fabric on top of the protection so it lies flat.
Step 5
Use your pencil and ruler to lightly draw a rectangle for the flag and mark where the left stripes and the right circle will go.
Step 6
Lightly draw a single star inside the circle area you marked.
Step 7
Cut out the rectangle flag shape from the paper or fabric with scissors.
Step 8
Paint the left stripes and the right field with the colors you chose for the Juneteenth flag.
Step 9
Let the paint dry completely before you touch the flag.
Step 10
Paint the star white inside the circle and add a small ring or burst around it for extra decoration.
Step 11
Write one short sentence on a small tag about what you learned and tape it to the back of your flag.
Step 12
Share a photo of your finished Juneteenth flag and one thing you learned on DIY.org.
Help!?
What can we use instead of fabric or special paints if they're hard to find?
Use a clean old t-shirt or pillowcase instead of fabric, regular printer paper for paper flags, and swap acrylic paint for tempera, washable markers, or cut colored construction paper to glue on when you need to paint the left stripes and right circle.
My paint is bleeding and the stripes look messy—how can I fix that?
Before you paint the left stripes and the right field, use painter's tape along your penciled rulers lines, press the paper or fabric flat under a heavy book while drying, and if the white star smudges, wait for full drying or touch up the star with a white paint pen after Step 8.
How can I change the activity for younger or older kids?
For younger children, pre-cut the rectangle, let them stamp or stick a star and help tape the tag after they paint, while older kids can choose fabric, sew a hem, add a detailed ring or burst around the star, and write a longer sentence about their Juneteenth fact on the tag.
Any ideas to personalize or extend the finished Juneteenth flag?
After Step 10, personalize the flag by adding glitter or stitched trim around the edges, attaching a dowel or ribbon to make a handheld flag, and photograph it with your short fact to share on DIY.org as instructed in Step 11.
Watch videos on how to make a Juneteenth flag
EASY! How To Make A Cloth Flag For Kids - Craft Kids | DIYCraftivi
3 Videos
EASY! How To Make A Cloth Flag For Kids - Craft Kids | DIYCraftivi

Arts & Craft with Ms. Tangii | Juneteenth Art Project
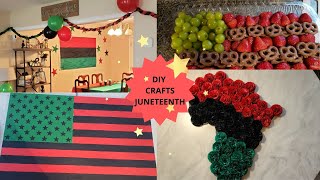
🎨DIY Day: Painting & Paper DIY Crafts | Juneteenth
Facts about Juneteenth history for kids
📅 Juneteenth is celebrated on June 19 to mark when Union troops announced freedom for enslaved people in Texas in 1865.
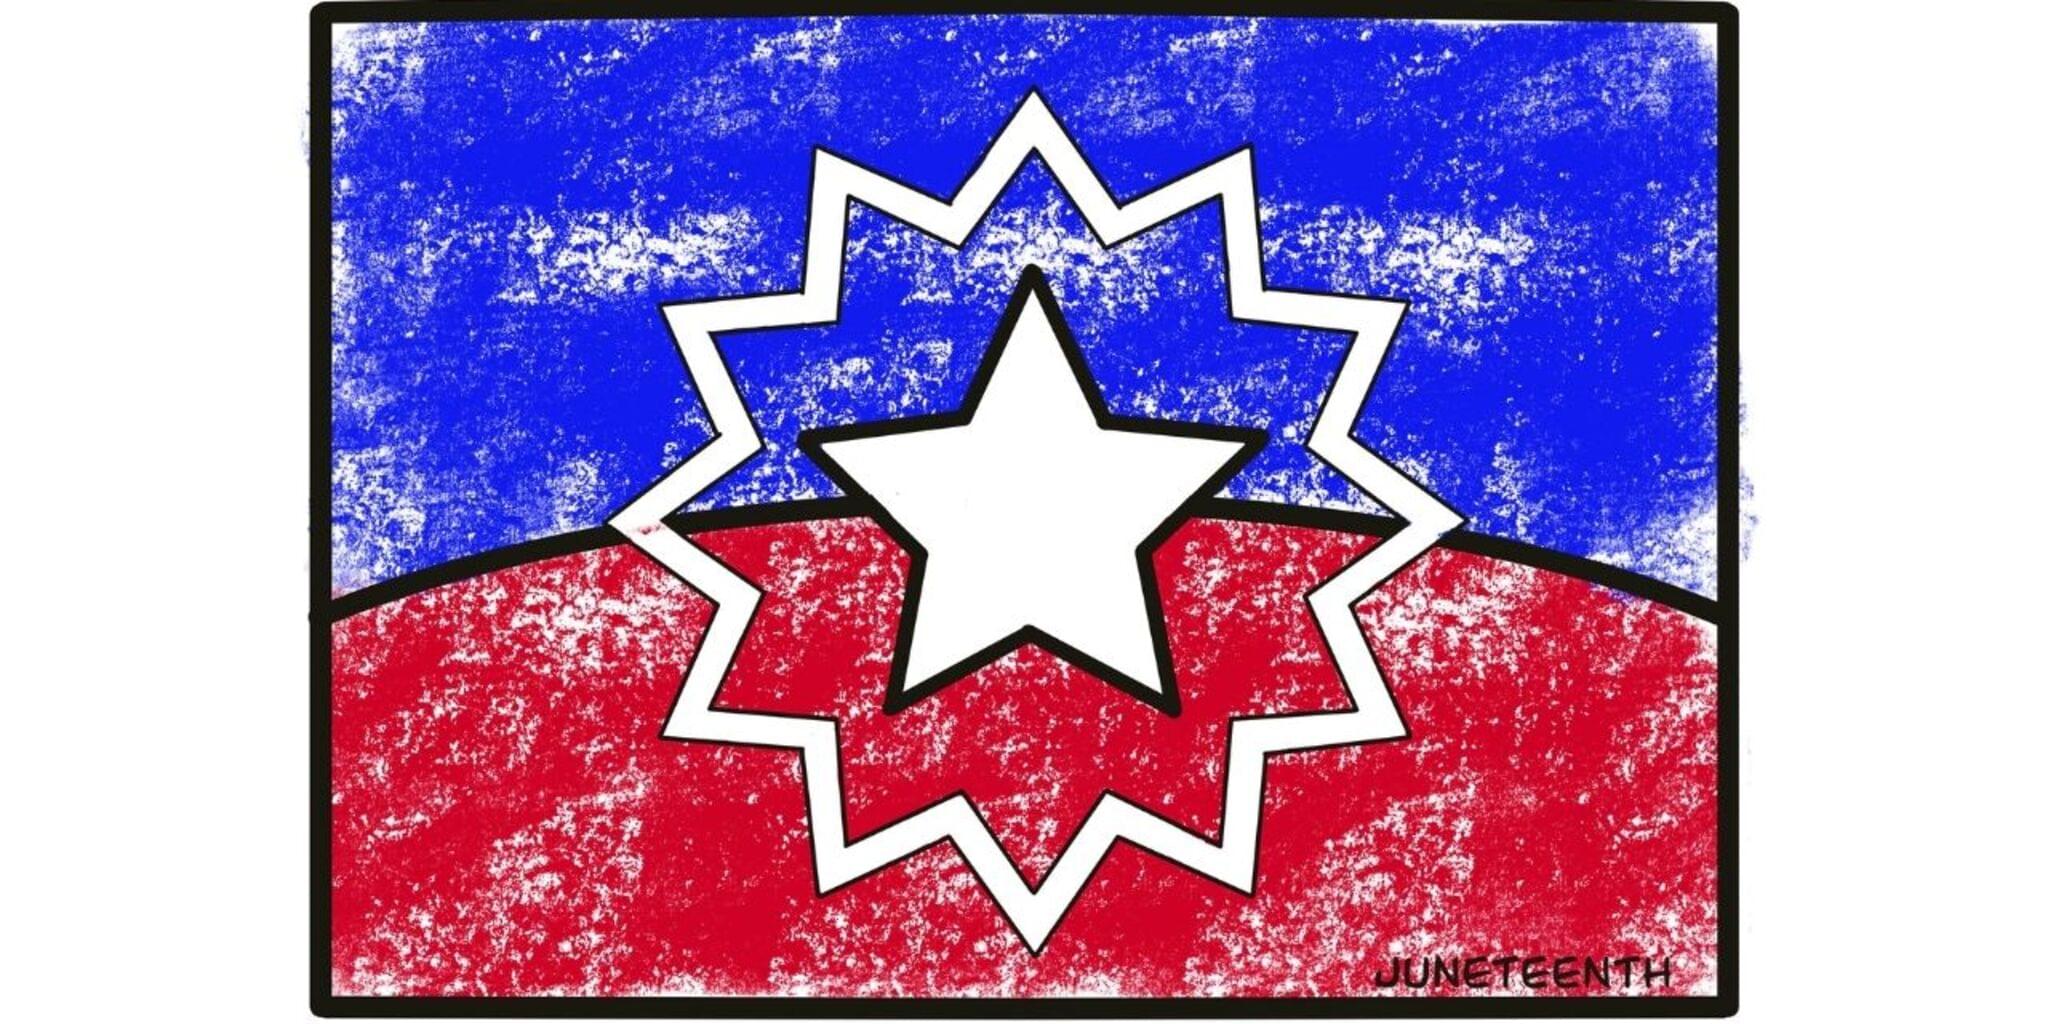
⭐ The lone star on the Juneteenth flag represents Texas and freedom, and the bursting star symbolizes a new beginning for formerly enslaved people.
🎨 The modern Juneteenth flag was created in 1997 by activist Ben Haith to give the holiday a visual symbol of liberation and hope.
🇺🇸 Many Juneteenth flags use red, white, and blue to show that African Americans are Americans and to link the holiday to U.S. history.
🍰 Juneteenth celebrations often include red foods (like cakes and drinks) and community cookouts as joyful traditions of resilience.
How do I make a Juneteenth flag with kids?
What materials do I need to make a Juneteenth flag?
What ages is making a Juneteenth flag suitable for?
What are the benefits of making a Juneteenth flag with children?
