Make A Haunted Mini House
Build a haunted mini house from cardboard, paint, and LED tea lights; design spooky details, learn about scale, and safely create eerie effects.


Step-by-step guide to make a haunted mini house
How Do You Make A Miniature Haunted House? - Collectible Dolls and Toys
Step 1
Decide the overall size of your haunted mini house.
Step 2
Sketch a simple floor plan and peaked roof shape on a piece of cardboard at the size you chose.
Step 3
Measure the wall and roof pieces on the cardboard with a ruler.
Step 4
Mark each measured outline on the cardboard with a pencil.
Step 5
Cut out the marked cardboard pieces with scissors.
Step 6
Score fold lines along the edges where pieces will join and fold the cardboard to form neat corners.
Step 7
Assemble the walls into a box shape using glue or strong tape and hold until secure.
Step 8
Attach the roof panels to the top of the box with glue or tape to form a peaked roof.
Step 9
Cut windows and a door in the walls with scissors sized to match your chosen scale.
Step 10
Paint the outside and inside of the mini house with a base coat.
Step 11
Let the paint dry completely before you touch the house.
Step 12
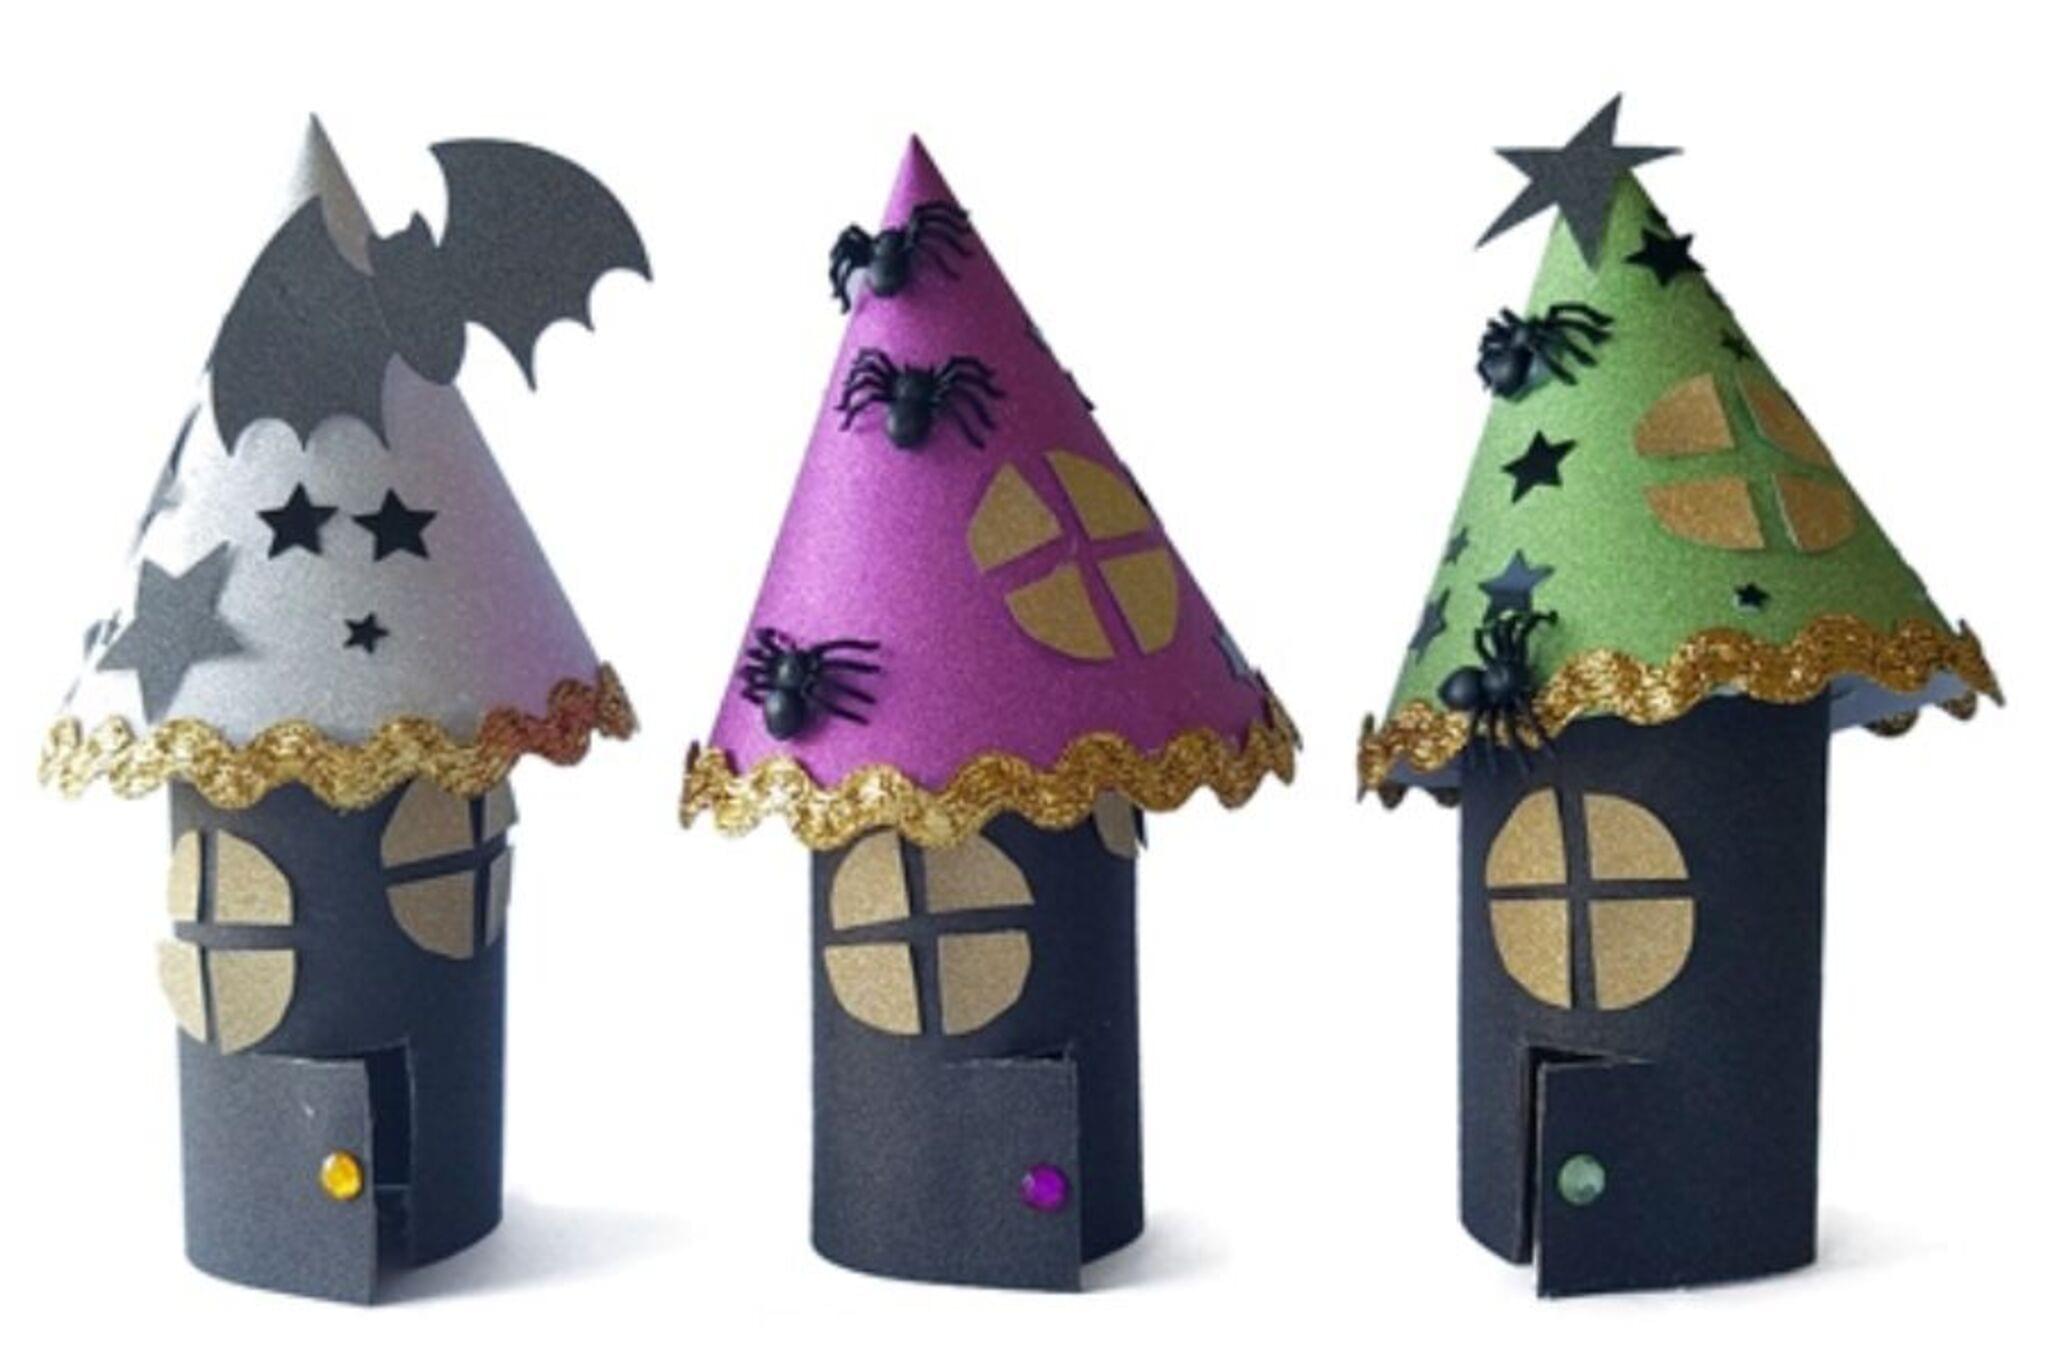
Decorate the house with spooky details like black paper silhouettes shutters painted cracks and small craft decorations.
Step 13
Add cotton batting to the corners and around openings to make cobwebs and tuck in small plastic spiders for texture.
Step 14
Make a small safe platform inside the house and place an LED tea light on it then switch the light on to check the eerie glow.
Step 15
Share a photo of your finished haunted mini house on DIY.org.
Help!?
What can we use instead of an LED tea light or cotton batting if we can't find them?
Use a small flashlight, glow stick, or battery-powered string light on the safe platform instead of the LED tea light, and substitute cotton batting with pulled white tissue paper or stretched cotton yarn for cobwebs.
The cardboard walls won't fold neatly or the corners are lumpy—what should we do?
If scored fold lines aren't folding cleanly, re-score them lightly with a blunt craft knife, trim any uneven edges from your cut pieces, and hold the seams with strong tape while the glue dries to secure the box-shaped walls.
How can I adapt the activity for different ages?
For younger children, pre-measure and pre-cut the wall and roof pieces and let them paint and add paper silhouettes and cotton 'cobwebs' while adults handle scissors and glue, whereas older kids can measure, mark, cut the cardboard themselves, paint detailed cracks, and place the LED tea light or wire a small light.
What are some ways to make the haunted mini house more detailed or unique?
Enhance the project by layering cardboard 'shingles' on the peaked roof, using glow-in-the-dark paint for spooky highlights, adding tiny paper furniture on the interior platform around the LED, or sewing a removable fabric curtain for the door before sharing a photo on DIY.org.
Watch videos on how to make a haunted mini house
Miniature Haunted House | Horror Diorama
3 Videos
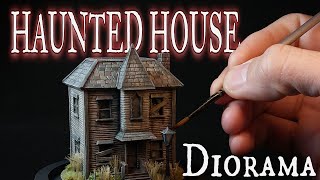
Miniature Haunted House | Horror Diorama
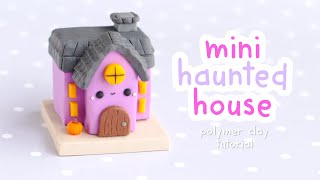
How To Make a Mini Haunted House ~ Polymer Clay Figurine Tutorial

Making a TINY GHOST in a Jar Mini Diorama! Spooky and Cute Halloween DIY Decor!
Facts about miniature model making for kids
🎃 Haunted house attractions became popular public entertainments in the early 20th century.
🏠 The oldest surviving dollhouses date back to 17th-century Europe and were once luxury showpieces called 'cabinet houses'.
📐 Many miniature builders use 1:12 scale (1 inch = 1 foot) to keep furniture and rooms in realistic proportion.
💡 LED tea lights stay cool, are battery-powered, and can last tens of thousands of hours—safer than real candles for spooky effects.
📦 Cardboard is lightweight, easy to cut and glue, and widely recyclable—perfect for building tiny houses.
How do you build a haunted mini house from cardboard?
What materials do I need to make a haunted mini house?
What ages is this haunted mini house activity suitable for?
How can I keep the haunted mini house activity safe?
