Make a Harry Potter Edit w DIY Star dobbygirl
Make a Harry Potter inspired photo edit using a DIY paper star prop and simple Dobby style elf accessories, learning basic crafting and editing skills.

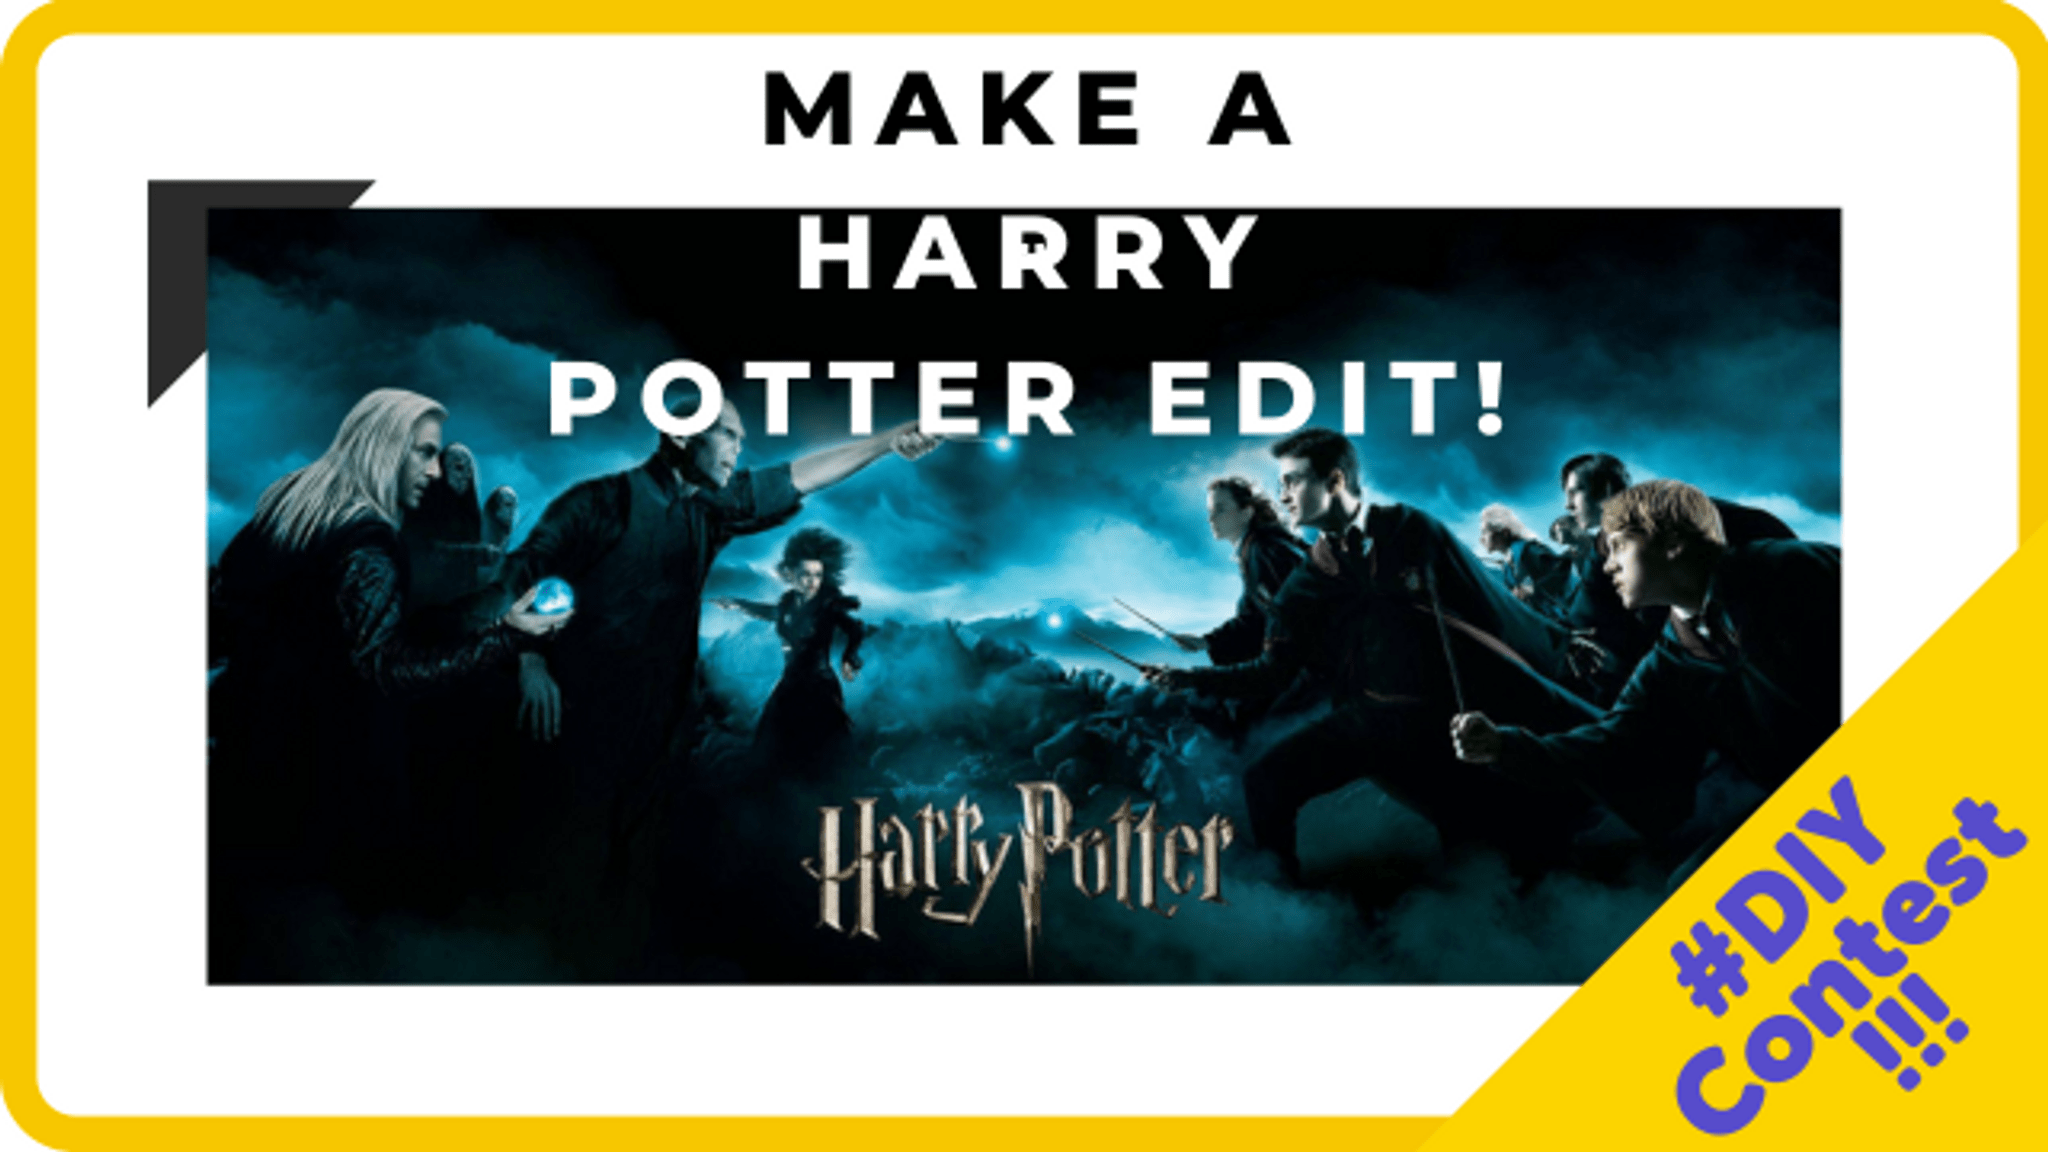

Step-by-step guide to make a Harry Potter inspired photo edit with a DIY paper star prop and Dobby-style accessories
The One with the Free Crochet Pattern for Dobby the House Elf (Harry Potter)
Step 1
Clear a workspace and lay out all your materials so everything is ready.
Step 2
Make a paper star prop by drawing a big star on the paper and cutting it out carefully.
Step 3
Decorate the star with colouring materials to make it sparkly and magical.
Step 4
Tape or glue the star to the top of the skewer or straw to make a star wand.
Step 5
Make two Dobby-style ears by cutting ear shapes from paper or foil.
Step 6
Colour the ears with skin tones and a little pink inside to look like elf ears.
Step 7
Attach each ear to the elastic or ribbon with tape or glue to make a wearable headband.
Step 8
Turn the fabric scrap or old sock into a simple Dobby-style tunic by draping it over your shoulders and securing the sides with a knot or tape.
Step 9
Put on your elf ear headband and your tunic and hold your star wand so you’re ready for the photo.
Step 10
Stand in front of a plain background and ask an adult to take a photo of you holding your star wand.
Step 11
Open your photo editing app and import the photo then edit it to crop you and the star in the center and make the picture bright and clear.
Step 12
Add magical sparkle stickers or star overlays then save your edit and share your finished creation on DIY.org
Help!?
If I don't have a skewer, straw, elastic, or ribbon, what can I use instead?
Use a chopstick or a tightly rolled strip of paper taped to the star instead of a skewer or straw, and attach the ears to a hairband or a strip of Velcro in place of elastic or ribbon as described in the ear headband step.
My paper star keeps flopping or falling off the wand—how can I fix it?
Reinforce where you tape or glue the star to the skewer or straw by adding a folded paper tab behind the star and wrapping extra tape or a dab of strong glue around the stick until it sets so the wand stays sturdy for the photo.
How can I change this activity for much younger or older kids?
For younger children have an adult pre-cut the star and ears and help drape and secure the tunic and take the photo, while older kids can cut detailed stars/ears themselves, decorate with glitter or foil, sew or staple the tunic, and do their own edits and overlays in the photo app.
How can we make the final photo edit look more magical or personalized?
After importing and cropping your photo, add sparkle stickers or star overlays in the app, use the text tool to add a wizard name, and for an in-camera effect tape a small battery tea light behind the paper star before taking the picture to make the wand glow.
Watch videos on how to make a Harry Potter inspired photo edit with a DIY paper star prop and Dobby-style accessories
Harry Potter Crochet Series || How to Crochet Dobby Amigurumi Pattern || Dobby House Elf Amigurumi
4 Videos
Harry Potter Crochet Series || How to Crochet Dobby Amigurumi Pattern || Dobby House Elf Amigurumi
How To Make A Dobby House Elf On The Shelf!
How to make Dobby Tutorial | Harry Potter | Clay | Fondant | CGG
How to - Needle Felt House Elf Art Doll Tutorial - Harry Potter Inspired - Halloween Goblin - DIY
Facts about photo editing and paper crafts for kids
🪄 The Harry Potter book series has sold over 500 million copies worldwide — magic that reached readers everywhere!
🧦 Dobby is famous for loving socks: in the story, a sock is what frees him from servitude.
⭐ You can create 3D paper stars from simple folds and a little glue — perfect as a camera prop for edits.
✂️ Papercraft projects usually need only paper, scissors, and glue, so they’re low-cost and great for recycling scraps.
🖼️ Basic photo edits like cropping, brightness tweaks, and sticker overlays can be done quickly on most phones without special software.
How do I make a Harry Potter photo edit with a DIY paper star prop and Dobby-style elf accessories?
What materials do I need to make the DIY star and Dobby-style accessories for a Harry Potter edit?
What ages is this Harry Potter craft and photo-edit project suitable for?
What are the benefits of making a Harry Potter edit with a DIY star and Dobby accessories?
