Make A Halloween-Special Acrylic Painting
Create a Halloween themed acrylic painting of a spooky night scene using brushes, stencils, and layering techniques while learning color mixing and texture safely.

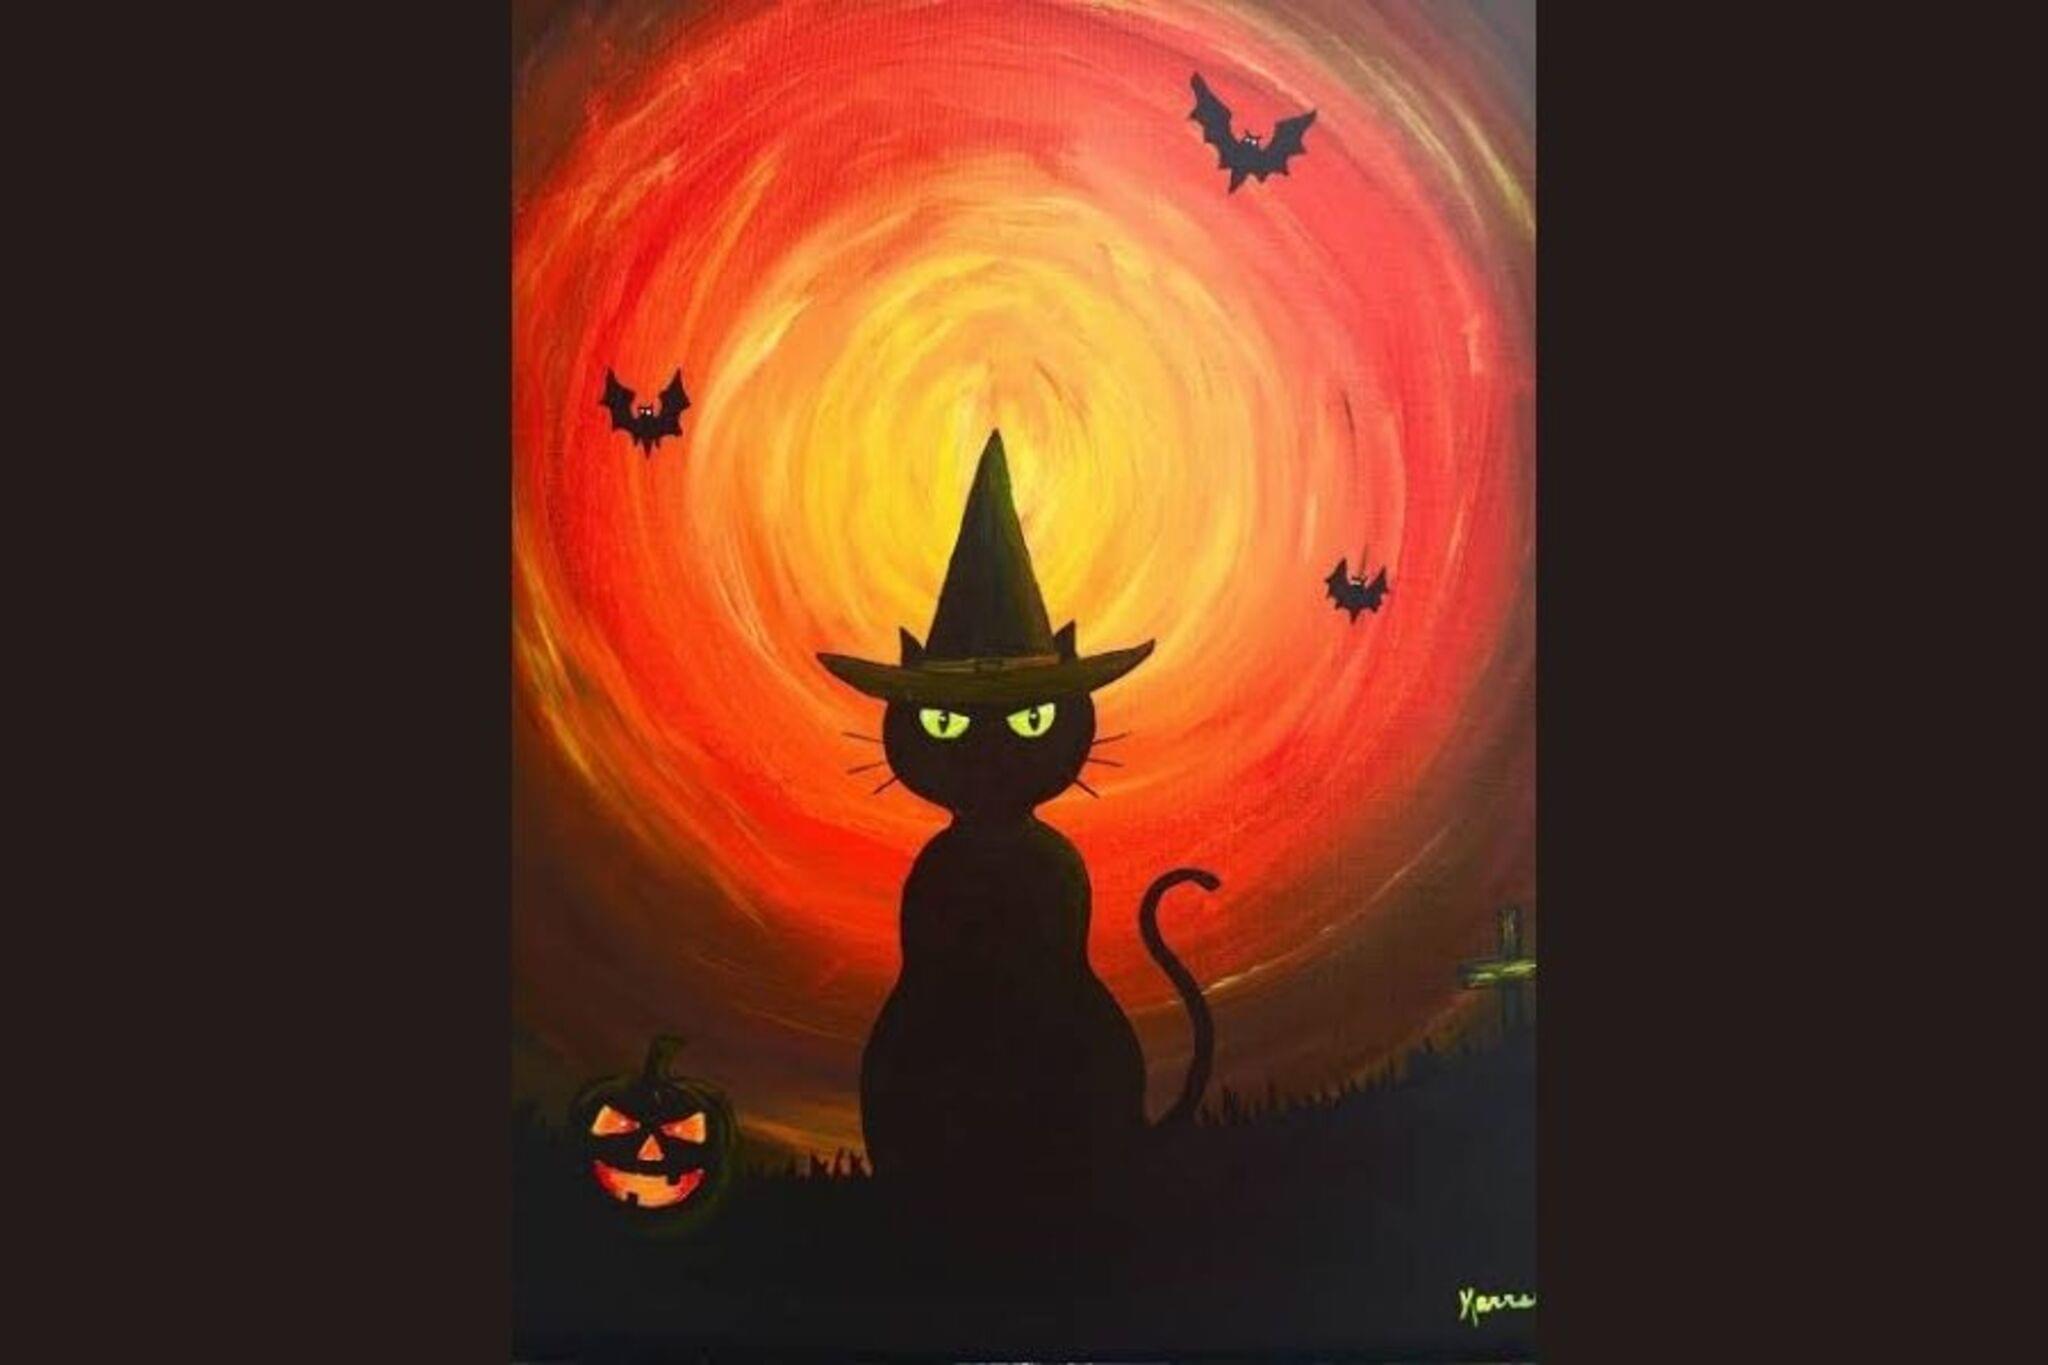

Step-by-step guide to make a Halloween-special acrylic painting
Easy Spooky Halloween Scene: Step-by-Step Acrylic Painting for Beginners
Step 1
Put on your apron or old shirt to keep your clothes clean.
Step 2
Cover your workspace with newspaper or a plastic sheet to protect the table.
Step 3
Tape your canvas or paper to the table with masking tape so it does not move.
Step 4
Use a pencil to lightly sketch a spooky night scene with a moon a house trees and pumpkins.
Step 5
Squeeze small amounts of blue black purple white and yellow acrylic paint onto your palette or paper plate.
Step 6
Mix a dark night sky color on the palette by blending blue with a little black and purple.
Step 7
Paint the sky using a large brush and make it darker at the top and lighter near the bottom to create a gradient.
Step 8
Let the painted background dry until it is not tacky to the touch before continuing.
Step 9
Dab a sponge into a lighter color and gently stamp to add misty clouds or fog texture to the sky.
Step 10
Hold a stencil or freehand paint silhouette shapes like a haunted house trees and bats using black paint.
Step 11
Mix white with yellow to make a bright window color and paint glowing windows on the house.
Step 12
Use a palette knife or old credit card to add thick textured highlights for the moon or ground using a lighter color.
Step 13
Let the whole painting fully dry before touching the surface.
Step 14
Carefully remove the masking tape from the edges to reveal clean borders.
Step 15
Share your finished spooky night painting on DIY.org.
Help!?
What can we use if we don't have a canvas, acrylic paint, or a palette knife?
If you don't have a canvas, tape heavy watercolor or poster paper to the table, substitute tempera/poster paint squeezed onto a paper plate palette for acrylics, and use a butter knife or stiff plastic card instead of a palette knife.
My sky looks splotchy or the colors keep muddying—how can I fix the gradient before adding clouds or silhouettes?
Rework the sky in thin layers by blending your dark night sky color with a large brush while it's wet for a smooth gradient, then let the painted background dry until it's not tacky before dabbing sponge clouds or painting silhouettes.
How can I adapt the project for different ages while following the steps like sketching, painting the sky, and adding silhouettes?
For younger children, pre-sketch the spooky night scene and give them large brushes, sponge stamping, and black silhouette stickers, while older kids can freehand finer silhouettes, use the palette knife or old credit card for textured highlights, and refine window glows by mixing white with yellow.
What are simple ways to enhance or personalize the finished spooky night painting from the instructions?
Personalize it by adding glow-in-the-dark paint to the moon and windows (use the white-plus-yellow window mix), layering torn paper pumpkins for 3D texture, finishing with a gloss varnish, and then share your finished spooky night painting on DIY.org.
Watch videos on how to make a Halloween-special acrylic painting
GHOST AND LAMP - Learn How to Draw & Paint with Acrylics - Easy Fun Halloween Paint and Sip at Home
4 Videos
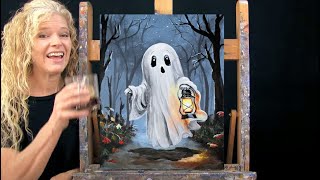
GHOST AND LAMP - Learn How to Draw & Paint with Acrylics - Easy Fun Halloween Paint and Sip at Home
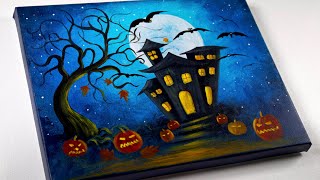
Acrylic Painting Tutorial | Halloween Painting | Halloween House Painting | Aham art
🎃 Easy Acrylic HALLOWEEN Painting You Can Try Today!
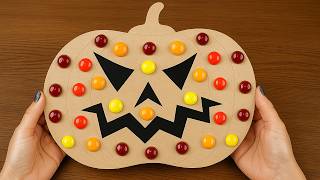
Halloween Pumpkins: Easy Acrylic Painting Tutorial for Beginners
Facts about acrylic painting for kids
🎃 Halloween grew from the ancient Celtic festival Samhain, a night people believed the veil between worlds was thin—perfect spooky inspiration!
🎨 Acrylic paint is water-based (easy cleanup) but becomes water-resistant when it dries, great for layered effects.
⏱️ Acrylics dry quickly—thin washes can set in minutes while thick textures may take hours—so you can build scenes fast.
🧪 Many student acrylics are labeled non-toxic, but some pigments and additives can irritate—always use adult supervision and good ventilation.
✂️ Stencils have been used for thousands of years on pottery and walls and are perfect for crisp moons, bats, and repeating shapes.
How do I help my child make a Halloween-special acrylic painting?
What materials do I need for a Halloween acrylic painting project?
What ages is this Halloween acrylic painting suitable for?
How can I keep my child safe while making a Halloween acrylic painting?
