Make a Gacha Ghost w/ DIY Star SaraKitty
Create a Gacha Ghost surprise toy using paper, air dry clay, stickers, and a DIY Star SaraKitty charm; decorate, assemble, and collect it.


Step-by-step guide to Make a Gacha Ghost w/ DIY Star SaraKitty
Step 1
Gather all your materials and clear a clean workspace to make your Gacha Ghost.
Step 2
Tear or cut a piece of air dry clay about the size of your small container and roll it into a smooth ball.
Step 3
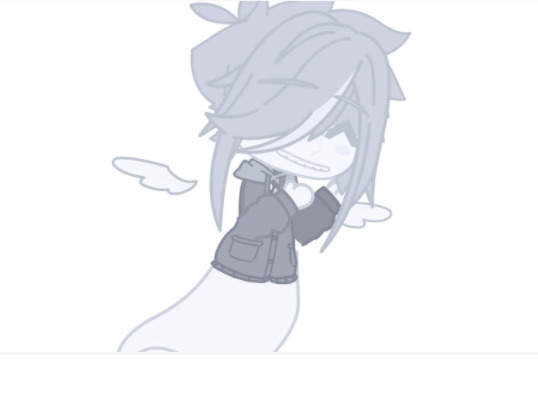
Press the top of the ball with your fingers to shape a rounded ghost head.
Step 4
Press your thumb into the bottom of the ball to make a hollow cavity sized to fit the small container.
Step 5
Pinch the bottom edge of the clay to form a wavy ghost tail shape.
Step 6
Smooth the clay surface with your fingers until it looks even and neat.
Step 7
Use a toothpick to mark where you want the ghost’s eyes and mouth.
Step 8
Decorate the small container with stickers and coloring materials to make the surprise capsule fun.
Step 9
Place the DIY Star SaraKitty charm and any tiny surprises into the container and close the lid tightly.
Step 10
Test-fit the closed container inside the ghost cavity and gently widen the opening if the container is too tight.
Step 11
Let the clay ghost air dry completely following the clay package instructions until it is hard.
Step 12
Add stickers and color to the dry ghost to finish its look.
Step 13
Insert the decorated container back into the ghost and check that the lid opens to reveal the SaraKitty charm.
Step 14
Share your finished Gacha Ghost surprise toy on DIY.org.
Final steps
You're almost there! Complete all the steps, bring your creation to life, post it, and conquer the challenge!


Help!?
What can we use if we don't have air-dry clay, the small container, or the DIY Star SaraKitty charm?
If you don't have air-dry clay, use oven-bake polymer clay (bake per package) or homemade salt dough, swap the small container for an empty film canister, pill bottle, or bead capsule, and replace the SaraKitty with a tiny toy, eraser, or folded paper surprise before placing it into the cavity.
The container won't fit or the ghost cracks while drying—what should we try?
If the container is too tight, gently widen the opening with your thumb or a rounded tool while the clay is still soft and, if cracks appear while drying, smooth them by pressing on fresh clay or using a little clay 'slip' or water as you follow the 'Test-fit' and 'Smooth the clay surface' steps.
How can I adapt this Gacha Ghost project for different ages?
For younger kids have an adult pre-roll the clay ball and create the cavity while the child decorates the small container with stickers, and for older kids add sculpted facial features, texture the tail, paint the dry ghost, or insert a keychain loop before drying.
What are simple ways to enhance or personalize the finished Gacha Ghost?
After the ghost is dry, personalize it by painting with acrylics or glow-in-the-dark paint, adding glitter and extra stickers, inserting a jump ring or ribbon into the cavity before drying to make a keychain, or putting multiple tiny surprises in the decorated container when you 'Place the DIY Star SaraKitty charm and any tiny surprises'.
Watch videos on how to Make a Gacha Ghost w/ DIY Star SaraKitty
HOW TO MAKE PAPER DOLL GACHA CLUB | DIY | Draw so easy Anime
4 Videos
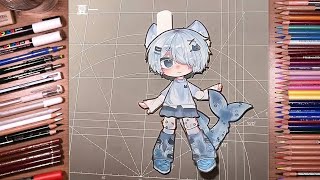
HOW TO MAKE PAPER DOLL GACHA CLUB | DIY | Draw so easy Anime

Gacha Tutorial 1: How to Make a Gacha Video || Gacha Club
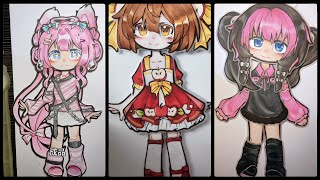
How to make movable paper dolls Gacha - OC | DIY | Draw so easy Anime

🍓| Gacha Life Edit Tutorial-!¡ İbis PaintX🖌️| 40k special | And brush codes | How to make edit#Pnkix
Facts about DIY toy-making for kids
🎮 Gacha games began in Japan and use randomized “pulls”—just like opening a surprise toy capsule!
🧸 Gashapon capsule toys became hugely popular in Japan in the 1960s and are often released in collectible series.
✂️ Papercraft can turn a flat sheet into a 3D figure using cutting, folding, and glue—no fancy tools required.
🧱 Air-dry modeling clay hardens by air (often within 24–72 hours), so kids can sculpt without baking.
🌟 DIY charms and stickers make tiny toys extra collectible and boost imaginative play when kids trade or display sets.
How do I make a Gacha Ghost with a DIY Star SaraKitty charm?
What materials do I need to create a Gacha Ghost and the Star SaraKitty charm?
What ages is making a Gacha Ghost suitable for?
What are the benefits, safety tips, and variations for this Gacha Ghost craft?


