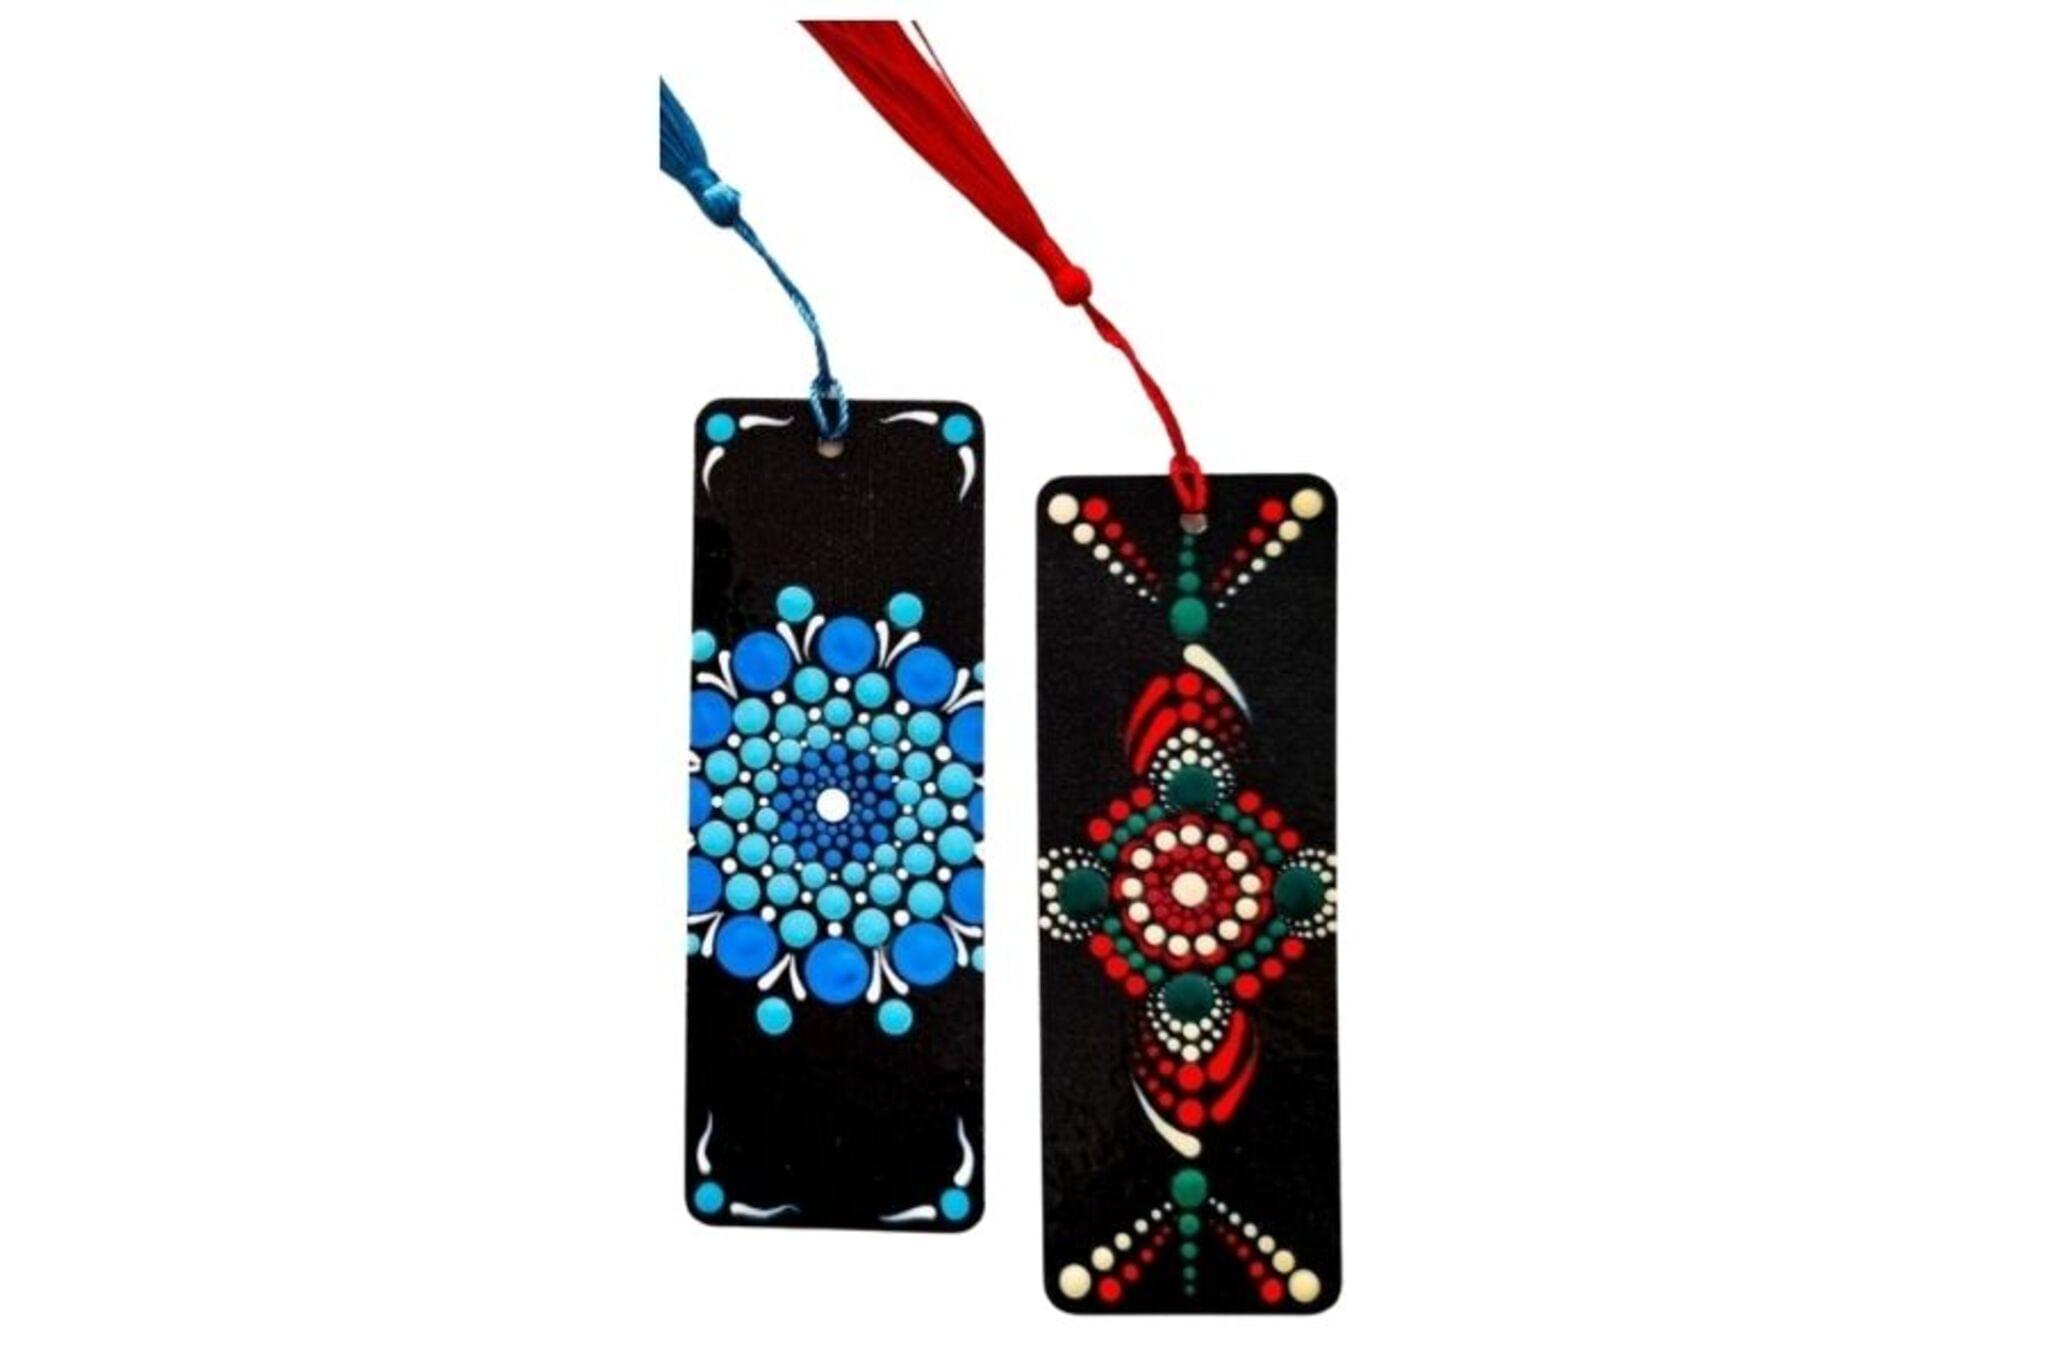
Make a Dot Art Bookmark
Make a colorful dot-art bookmark using paint, cotton swabs, or markers on cardstock; design patterns, practice symmetry, and personalize it for reading.


Step-by-step guide to make a dot art bookmark
2025 Learn Dot Mandala Bookmark ✨ DIY Functional Art: Easy to try ! #dotmandala
Step 1
Gather all Materials Needed and bring them to your workspace.
Step 2
Lay scrap paper or newspaper on the table to protect it.
Step 3
Cut a rectangle from the cardstock about 6 inches tall and 2 inches wide to make your bookmark.
Step 4
Use the pencil and ruler to draw a light straight center line lengthwise down your bookmark.
Step 5
Pick 3 to 5 colors you want to use for your dot art.
Step 6
On scrap paper practice making dots with your cotton swab or marker until you like the dot size.
Step 7
Make one big dot right on the center line about halfway down the bookmark to be your starting point.
Step 8
Make a matching dot the same distance to the left and to the right of the center line at the same height.
Step 9
Add two more matching pairs of dots above and below the center to build a symmetrical pattern.
Step 10
Fill the rest of the bookmark with dot patterns and shapes until the design looks balanced and colorful.
Step 11
Personalize your bookmark by writing your name or adding a tiny drawing with a fine marker.
Step 12
If you used paint wait until all the paint is completely dry before moving on.
Step 13
Ask an adult to help you punch a hole in the top center of the bookmark.
Step 14
Thread ribbon or yarn through the hole and tie a knot to finish the tassel.
Step 15
Share a photo of your finished dot art bookmark on DIY.org.
Final steps
You're almost there! Complete all the steps, bring your creation to life, post it, and conquer the challenge!


Help!?
What can we use instead of cotton swabs or a hole punch if we don't have them?
Use the rounded end of a pencil eraser or the tip of a paintbrush to make dots and ask an adult to make the top hole with a nail or use a stapler to secure ribbon or yarn.
My dots are smudging or the paint is bleeding—how can I fix that?
Practice dotting on the scrap paper, switch to a marker or thicker acrylic paint if dots bleed, and be sure to wait until the paint is completely dry before moving on to punching the hole or threading ribbon.
How can I adapt this bookmark activity for younger or older kids?
For younger kids, pre-cut the 6×2 inch cardstock and let them make big dots or use dot stickers while an adult punches the hole, and for older kids make smaller, more intricate symmetrical dot pairs along the penciled center line and add a fine-marker signature or tiny drawings.
What are some ways to enhance or personalize the finished dot art bookmark?
Seal painted dots with a clear-drying glue or Mod Podge, add beads to the ribbon or yarn tassel after punching the hole, and personalize further with metallic markers or extra tiny drawings near your name.
Watch videos on how to make a dot art bookmark
How to make Dot Art| How to use dot Art tools for beginners| Easy Dot Art Mandala Tutorial|
4 Videos
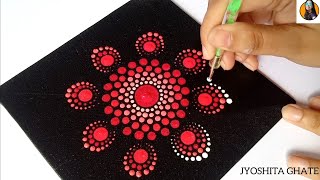
How to make Dot Art| How to use dot Art tools for beginners| Easy Dot Art Mandala Tutorial|
Beautiful bookmark painting ideas for beginners steps by step//
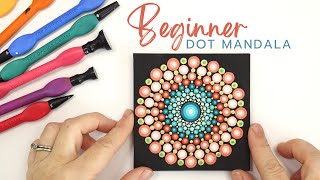
EASY Beginner Dot Mandala Tutorial - How to paint a dot mandala for Beginners
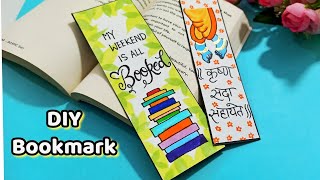
DIY Bookmarks at Home: Creative & Easy Bookmark Ideas for All Ages I
Facts about paper crafts for kids
🎨 Pointillism uses tiny dots of pure color that your eyes blend together from a distance — it's color mixing by sight!
🖼️ Dot painting (used in many Aboriginal artworks) often uses dots to tell stories and map landscapes.
📚 People have used simple paper or cardstock bookmarks for centuries to save their place in books.
🧴 Cotton swabs and the rounded end of a paintbrush make great dotting tools — different sizes give different dot sizes.
🔁 Making symmetrical dot patterns practices mirror and rotational symmetry — it's art and math in one!
How do I make a dot art bookmark?
What materials do I need for a dot art bookmark?
What ages is a dot art bookmark suitable for?
What are the benefits, safety tips, and variations for dot art bookmarks?


