Make a DIY Terrarium
Make a DIY terrarium using a clear jar, soil, pebbles, and small plants. Learn about ecosystems, watering, and plant care.


Step-by-step guide to make a DIY terrarium
Step 1
Gather all materials and set them neatly on a table.
Step 2
With an adult help wash and dry the jar and lid until they are clean.
Step 3
Pour a 1 inch layer of pebbles into the bottom of the jar to make a drainage layer.
Step 4
Use the spoon to add a 2 to 3 inch layer of potting soil on top of the pebbles.
Step 5
Press your finger into the soil to make a small hole where the plant will sit.
Step 6
Remove one small plant from its nursery pot by tipping the pot and sliding the plant out.
Step 7
Gently loosen the plant roots with your fingers so they can spread in the soil.
Step 8
Place the plant into the hole you made in the soil.
Step 9
Gently press soil around the base of the plant to keep it upright.
Step 10
Add small decorations like tiny stones or a toy to make a fun scene inside the jar.
Step 11
Lightly mist the soil and plant with the spray bottle until the soil feels just damp.
Step 12
Put the lid on the jar to create a humid closed terrarium or leave it off if you used succulents.
Step 13
Set your terrarium in bright indirect light away from direct hot sun.
Step 14
Share a photo of your finished terrarium and what you learned about ecosystems and plant care on DIY.org.
Help!?
What can we use if we can't find a glass jar and pebbles?
If a clean glass jar or pebbles are hard to find, use a clear plastic food container with a tight lid and substitute aquarium gravel or small clean stones for the 1-inch drainage layer while still following the same steps of adding 2–3 inches of potting soil and planting the small plant.
What should we do if the plant looks squished or the terrarium gets moldy after closing the lid?
If the plant is squished, gently remove it, loosen the roots again, re-press soil around the base, and if mold or excess moisture appears after putting the lid on, remove the lid to air it out, blot extra water from the soil, and rely on the 1-inch pebble drainage plus light misting with the spray bottle.
How can I adapt this terrarium activity for different ages?
For younger children have an adult prewash the jar, measure and pour the 1-inch pebble and 2–3 inch soil layers, and let the child add the plant and decorations, while older kids can remove plants from their nursery pot, gently loosen roots themselves, choose whether to use succulents and leave the lid off, and manage misting with the spray bottle.
How can we make the terrarium more interesting or longer-lasting?
To enhance and personalize the terrarium, add a thin layer of activated charcoal between the pebbles and potting soil to keep it fresh, include tiny stones or a toy as decorations from the instructions, label the jar with care notes, and then share a photo and what you learned on DIY.org.
Watch videos on how to make a DIY terrarium
How To Make a Terrarium - A SIMPLE Beginner Guide
4 Videos
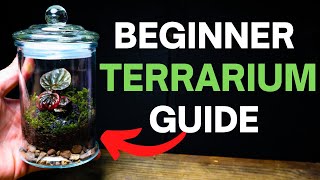
How To Make a Terrarium - A SIMPLE Beginner Guide
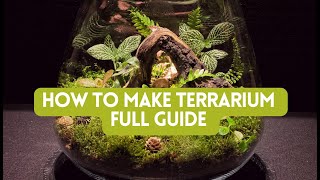
How To Make Terrarium very easy Full Guide For Beginners
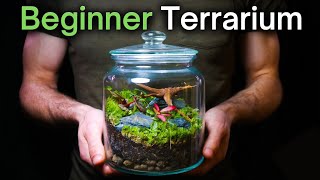
How To Make a Terrarium: An In-Depth Tutorial
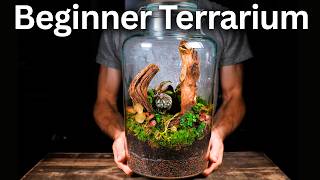
How to Make a Beginner Terrarium (Step-by-Step Tutorial)
Facts about indoor gardening for kids
🌱 Closed terrariums make their own tiny water cycle—water evaporates, condenses on the glass, and drips back down!
🪨 A layer of pebbles or gravel at the bottom gives drainage for jars without holes and helps prevent root rot.
🪴 Mosses and small ferns are popular terrarium plants because they love humid, low-light conditions.
🌞 Glass lets light in but can amplify heat—keep your terrarium out of direct midday sun to avoid overheating.
🔁 A terrarium is a mini-ecosystem where plants, soil microbes, and water recycle nutrients together.
How do you make a DIY terrarium?
What materials do I need for a DIY terrarium?
What ages is this activity suitable for?
What are the benefits of making a DIY terrarium?
