Make a DIY Snow Globe!
Make a DIY snow globe with adult help using a jar, waterproof figurine, glitter, water, and sealant; shake to watch snow swirl inside.

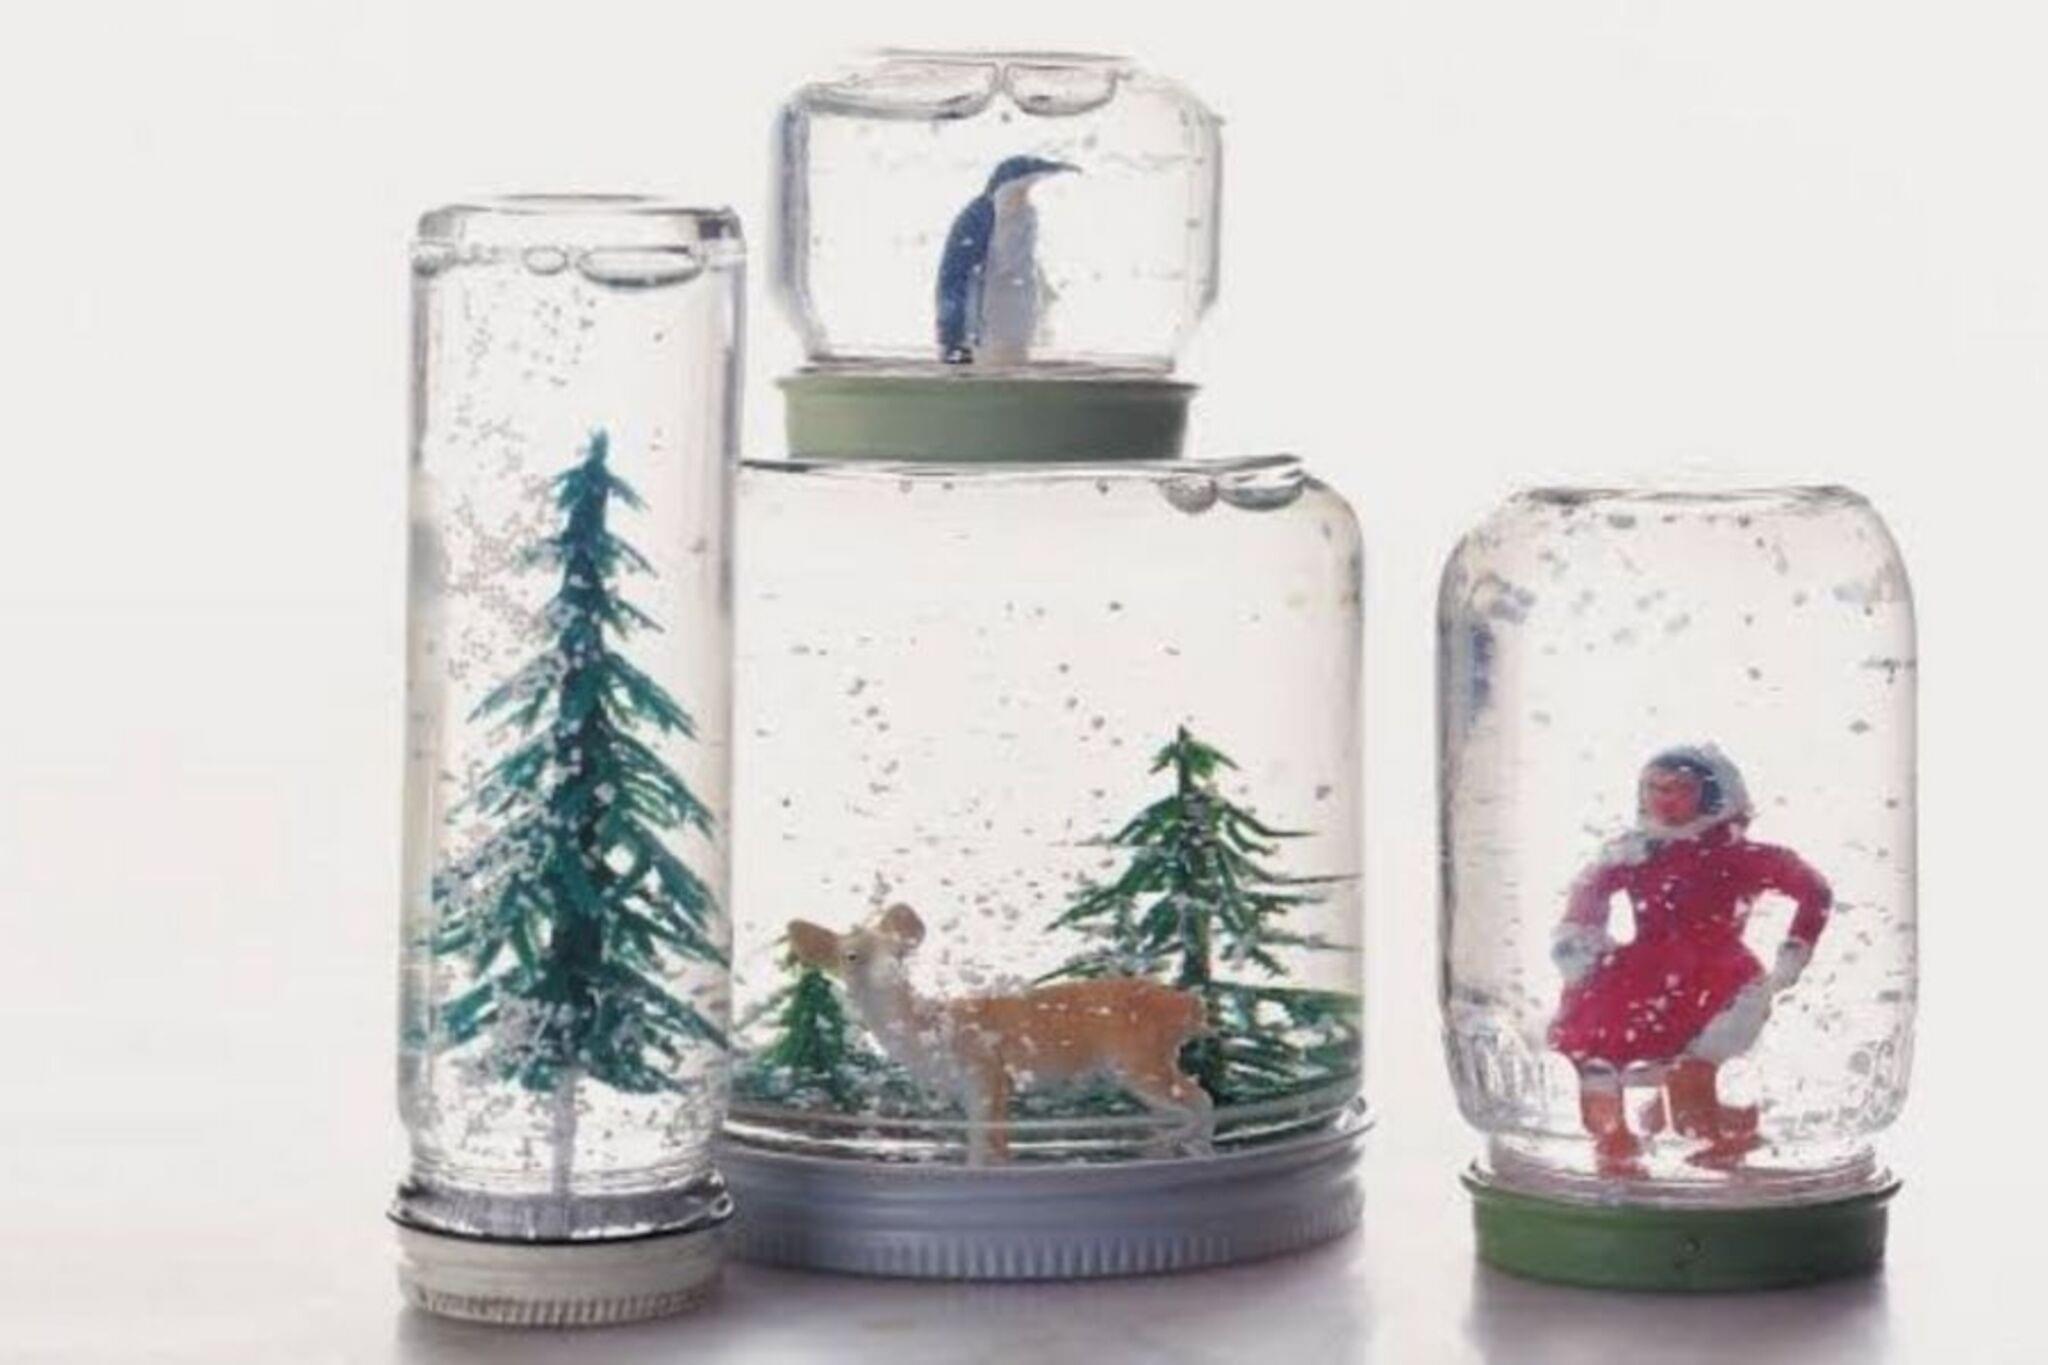

Step-by-step guide to make a DIY snow globe
Simple DIY Snow Globes | Welcome to Nana's
Step 1
Ask an adult to help and bring all the Materials Needed to your workspace.
Step 2
Wash the jar and the lid with soap and water to remove dust and labels.
Step 3
Dry the jar and the lid completely with a towel or let them air dry.
Step 4
Put the figurine upside-down on the inside of the lid to check how it fits.
Step 5
Use the clear waterproof sealant to glue the figurine to the inside of the lid.
Step 6
Let the glued figurine dry completely following the sealant’s drying time.
Step 7
Fill the jar about three quarters full with water leaving some space at the top.
Step 8
Sprinkle a small pinch of glitter into the water.
Step 9
Carefully screw the lid with the attached figurine onto the jar until it is snug.
Step 10
Apply a thin bead of sealant around the lid edge to seal the jar and prevent leaks.
Step 11
Let the sealant dry completely according to the product instructions.
Step 12
Shake your snow globe gently to watch the glitter swirl like snow.
Step 13
Take a photo or video and share your finished snow globe creation on DIY.org.
Help!?
If I can't find clear waterproof sealant or a small plastic figurine, what can I use instead?
If you can't find clear waterproof sealant, use a clear waterproof epoxy or aquarium-safe silicone caulk to glue the figurine to the inside of the lid and to seal the lid edge, and replace the figurine with any small waterproof plastic toy or sealed wooden charm that fits on the lid.
My snow globe is leaking or the figurine fell off — what likely went wrong and how do I fix it?
Leaks or a detached figurine usually mean the jar or lid wasn't completely clean and dry or the sealant wasn't applied properly, so rewash and fully dry the parts, re-glue the figurine using the recommended amount of clear waterproof sealant, apply a thin bead around the lid edge, and wait the full drying time before screwing the lid on and shaking.
How can I adapt this snow globe activity for different age groups?
For toddlers (2–4) have an adult do the gluing/sealing and let them pour water and drop large non-toxic confetti, for school-age kids (5–10) let them wash, fill the jar about three quarters full, and sprinkle glitter with supervision while an adult handles the sealant, and for older kids (11+) let them experiment with adding glycerin, trying distilled water to reduce cloudiness, or designing painted lids before sealing.
What are some easy ways to extend or personalize the snow globe after finishing the basic steps?
To personalize and improve your snow globe, paint or decorate the lid, tie a ribbon around it, swap glitter colors or add tiny sequins, mix a small amount of glycerin into the water for slower snowfall, use distilled water to keep the jar clear, or mount a small LED base under the lid before sealing for a glowing effect in photos and videos.
Watch videos on how to make a DIY snow globe
How To Make Your Own Snow Globe?
3 Videos
How To Make Your Own Snow Globe?
MAKE A SNOW GLOBE IN 5 MINUTES - Easiest and Funniest DIY project EVER!
How to Make a Snow Globe - Autumn Snow Globe DIY - Fall Crafts for Kids
Facts about crafting for kids
❄️ Snow globes are tiny water-filled scenes that mimic snowfall when you shake them — they became popular as collectible souvenirs in the 19th century.
🫙 The Mason jar was invented in 1858 by John Landis Mason and is a favorite for DIY projects because it's sturdy and clear.
✨ Most craft glitter is made from tiny pieces of plastic, so many crafters now choose biodegradable glitter to be kinder to oceans and wildlife.
🧪 Adding a few drops of glycerol (or a bit of clear glue) makes the glitter fall more slowly so the 'snow' swirls beautifully.
🔒 Sealing the lid with waterproof glue or epoxy stops leaks and keeps your miniature snow world safe for years.
How do you make a DIY snow globe?
What materials do I need to make a DIY snow globe?
What ages is this activity suitable for?
What are the benefits, safety tips, and variations for DIY snow globes?
