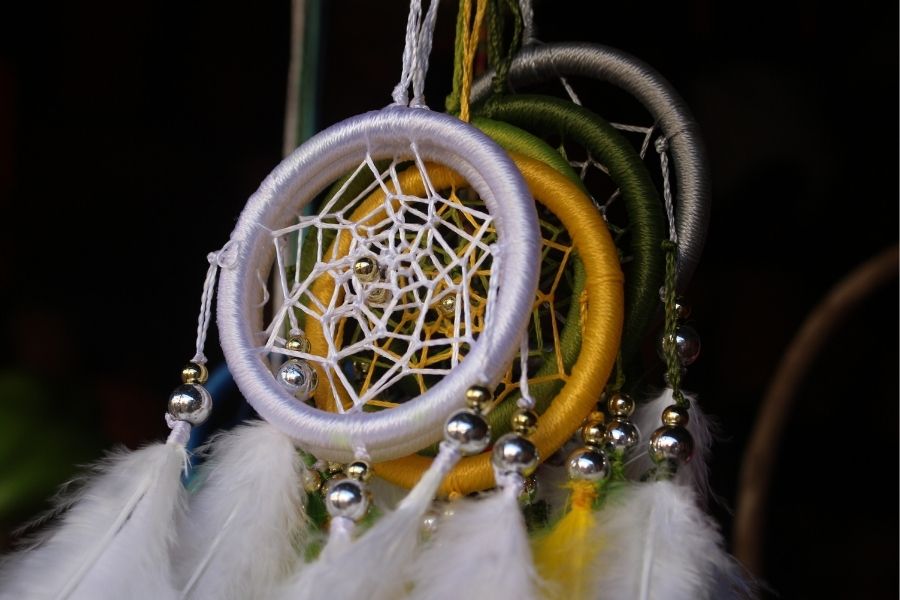
Make a DIY Dream Catcher
Make a DIY dream catcher using a hoop, yarn, beads, and feathers; learn pattern weaving, creativity, and fine motor skills while personalizing your design.


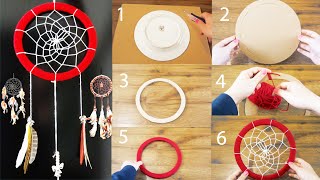
Step-by-step guide to make a DIY dream catcher
Step 1
Gather your hoop yarn beads feathers scissors and an adult to help you.
Step 2
Tie one end of a long piece of yarn to the hoop with a tight knot to start wrapping.
Step 3
Wrap the yarn tightly all the way around the hoop until the hoop is covered in yarn.
Step 4
Tie the yarn end to the hoop with a secure knot to hold the wrap in place.
Step 5
Cut the extra yarn close to your knot with scissors.
Step 6
Tie a new long piece of yarn to the hoop to begin weaving the web.
Step 7
Make the first round of the web by looping the yarn over the hoop and pulling the yarn through to create evenly spaced loops around the hoop.
Step 8
Repeat looping the yarn through the middle of each previous loop and pull the yarn taut as you go until you reach a small center hole.
Step 9
Thread beads onto the yarn and slide them into the web where you like to add sparkle.
Step 10
Cut three equal lengths of yarn to make the hanging tails.
Step 11
Tie each cut yarn length to the bottom of the hoop to create three hanging tails.
Step 12
Slide beads onto each hanging tail to decorate them.
Step 13
Tie a feather to the end of each tail so the feathers hang down proudly.
Step 14
Trim any extra yarn from knots or tails so everything looks neat.
Step 15
Take a photo and share your finished dream catcher on DIY.org.
Help!?
What can I use if I don't have a hoop, feathers, or beads?
If you don't have a hoop you can cut a circle from cardboard or use an embroidery hoop or bent wire hanger and if feathers or beads are missing use ribbon strips or paper cutouts and large pasta or buttons to slide onto the hanging tails.
My yarn keeps slipping or the web looks loose—how do I fix it?
If the yarn slips while you 'wrap the yarn tightly all the way around the hoop' or the web becomes loose, secure the starting and ending yarn ends with double knots and pull each loop taut as you make the web so loops stay evenly spaced.
How can I adapt this dream catcher activity for different ages?
For younger children have an adult pre-wrap the hoop, pre-cut the three equal lengths of yarn, and provide large beads to slide on, while older kids can use finer yarn, smaller beads, and make more intricate webs by repeating the 'looping the yarn through the middle of each previous loop' step.
What are simple ways to personalize or upgrade the dream catcher after it's finished?
To personalize your finished dream catcher before you 'Take a photo and share' try painting the wrapped hoop, braiding the three hanging tails, adding charms or LED fairy lights between beads, or gluing extra feathers in patterns for extra sparkle.
Watch videos on how to make a DIY dream catcher
DIY Dreamcatcher | How To Make A Dream Catcher Tutorial
4 Videos
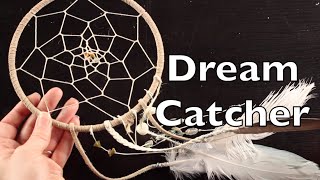
DIY Dreamcatcher | How To Make A Dream Catcher Tutorial
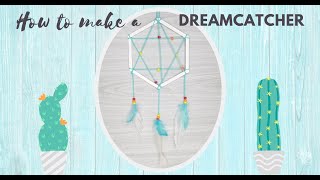
How to Make a Dreamcatcher | Kids Craft DIY Dream Catcher | Easy & Fun At Home Activity
DIY Super Easy Way to Make a Dreamcatcher | Step by step! Easy tutorial! DiYana

DIY | How To Make A Dreamcatcher
Facts about weaving and fiber crafts for kids
🪶 Dreamcatchers were first made by the Ojibwe people as protective charms for infants.
🕸️ The hoop's web originally represented a spider's web meant to catch bad dreams while letting good dreams pass through.
🌙 Traditionally hung over cradles or beds, dreamcatchers were believed to protect sleepers at night.
🎨 Modern dreamcatchers often use yarn, colorful beads, and feathers—making each one a personal art project.
🧵 Weaving a dreamcatcher strengthens fine motor skills and helps kids learn patterns and patience.
How do you make a DIY dream catcher at home?
What materials do I need to make a DIY dream catcher?
What ages is making a dream catcher suitable for?
What are the benefits and safety tips for kids making dream catchers?
