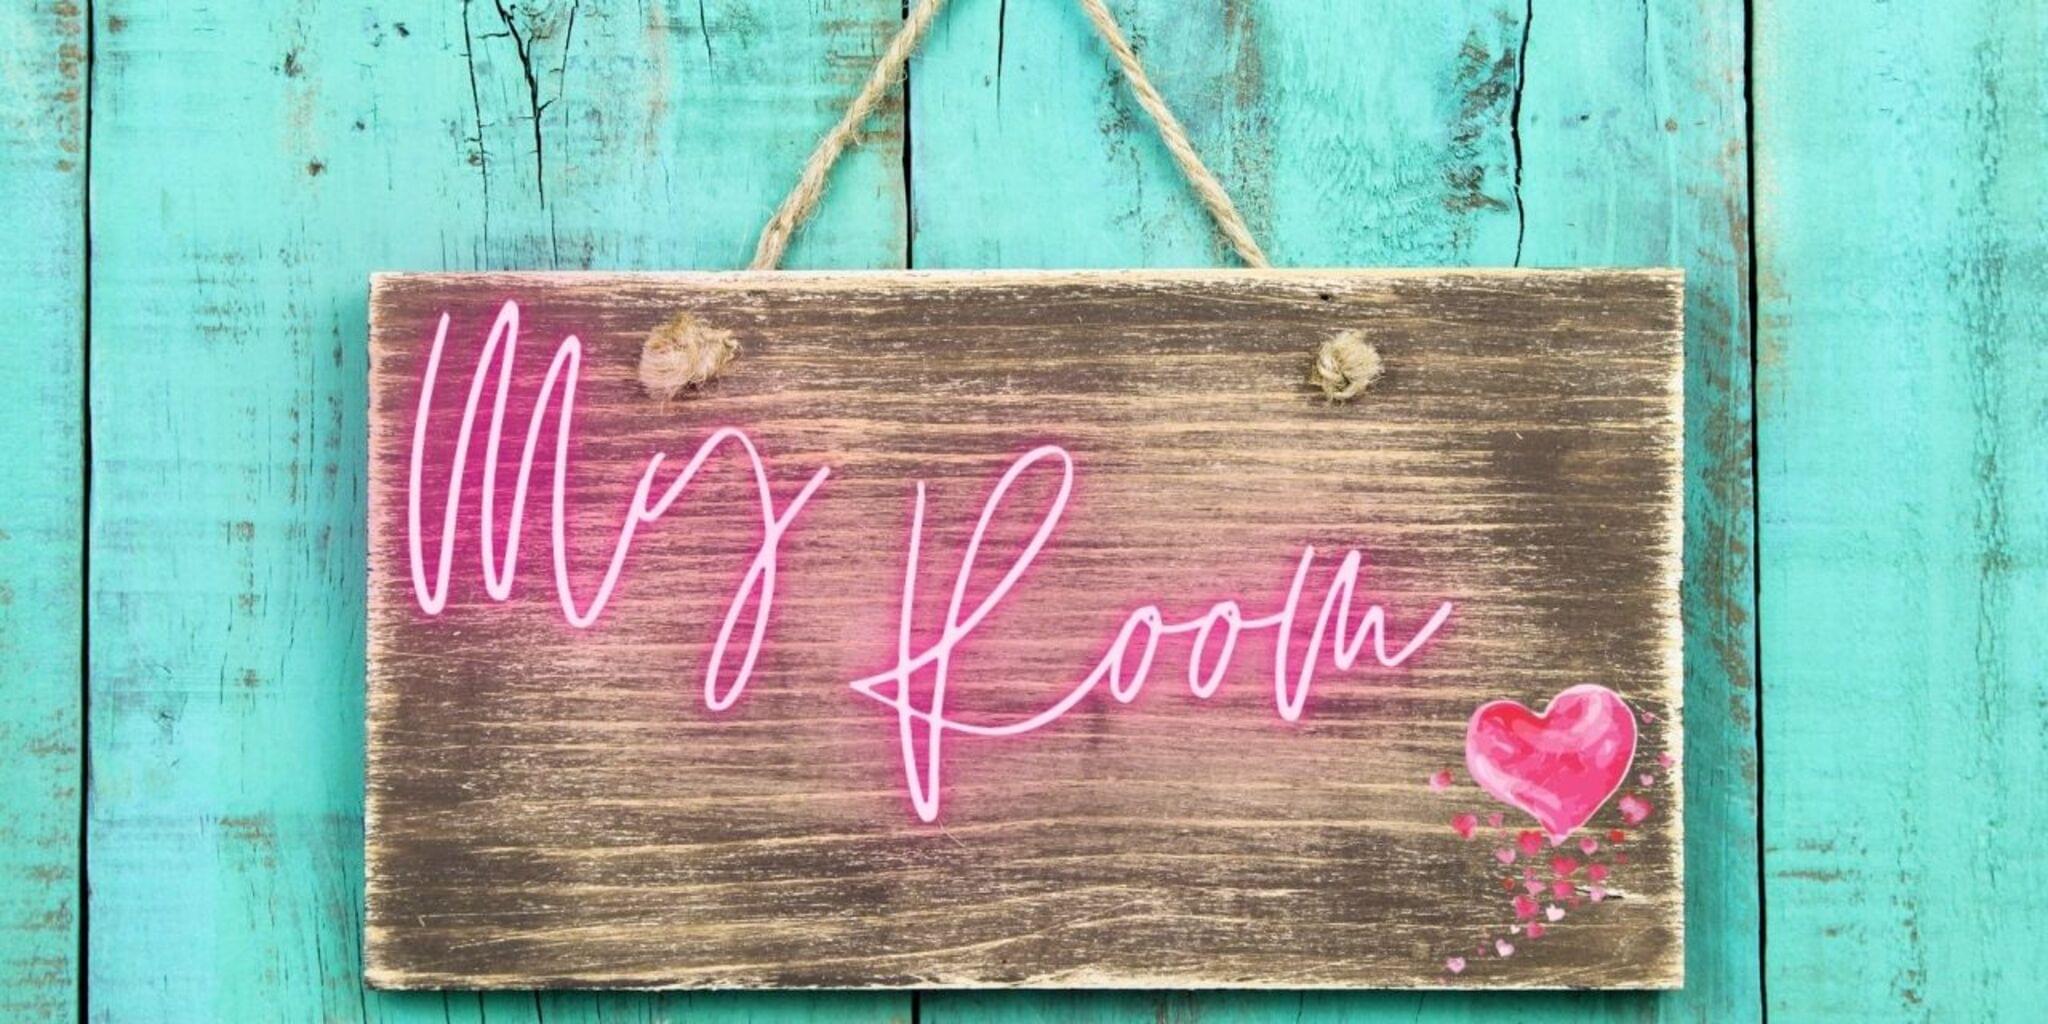
Make a custom sign for your door
Design and decorate a custom door sign using cardboard, markers, stickers, and string to practice measuring, lettering, and creative expression.


Step-by-step guide to make a custom sign for your door
DIY Wood Round Door Sign With Vinyl Decals & Interchangeable Bow | TeckWrapCraft Tutorial
Step 1
Gather all the materials and put them on a clear table so you can reach them easily.
Step 2
Choose the shape and size you want for your door sign like a rectangle star or heart.
Step 3
Use the ruler and pencil to draw the outline of your chosen shape on the cardboard.
Step 4
Cut out the shape carefully along the pencil line with the scissors.
Step 5
Measure and mark two spots near the top edge where the string will go using the ruler and pencil.
Step 6
Punch holes at the marked spots using the hole punch.
Step 7
Lightly write your name or a short message in the center of the sign with the pencil.
Step 8
Trace over your pencil letters with markers or crayons to make them bright and bold.
Step 9
Decorate the rest of the sign with stickers and extra drawings however you like.
Step 10
Reinforce the punched holes by placing a piece of tape over each hole on the back.
Step 11
Thread the string through both holes and tie the ends together to make a hanging loop.
Step 12
Hang your finished sign on your door or a doorknob at the height you like.
Step 13
Share a photo of your finished door sign on DIY.org so others can see your awesome creation.
Help!?
What can we use instead of cardboard, a hole punch, or string if those are missing?
If you don't have cardboard use a cereal box or foam board for the cut-out, if there's no hole punch carefully make holes with a sharpened pencil or pushpin (with adult help), and replace string with ribbon, yarn, or a twist-tie when you thread and tie the hanging loop.
My sign tore when I punched the holes and the string keeps pulling through—what should I do?
If holes tear or the string slips, follow step 10 and reinforce each hole on the back with extra tape or small punched cardboard circles before threading, and if cutting was uneven trace the shape with a ruler and cut slowly or ask an adult to help with the scissors.
How can I change this activity for younger kids or older kids?
For younger children have an adult pre-cut the chosen shape and pre-punch the holes so they can focus on decorating and tracing their name, while older kids can measure and draw their own shapes with the ruler, use stencils or a craft knife for precision, and add layered materials like foam letters or paint.
How can we make the door sign more special or durable beyond stickers and drawings?
To enhance the sign, add foam letters over your traced name from step 6, cover the decorated surface with clear contact paper or tape to protect it, attach magnets or a suction cup instead of string for different hanging options, or outline the edge with battery fairy lights before sharing a photo on DIY.org.
Watch videos on how to make a custom sign for your door
Top 20 Kids' Room Decorating Ideas 2021 | Baby Room Decorations | Toddlers room decor ideas
3 Videos
Top 20 Kids' Room Decorating Ideas 2021 | Baby Room Decorations | Toddlers room decor ideas
DIY Door Hanger with Cricut & Foam | No Laser Needed!
How to Make Welcome Door Hanger || Decor Decor Idea || Cardboard Craft Idea || DIY Wellcome Board
Facts about crafts for kids
📦 Corrugated cardboard became popular in the 19th century and is one of the most recycled materials worldwide.
🖍️ Marker pens come in water-based and permanent inks—water-based markers wash out of clothes more easily.
🎨 Typography (lettering style) can totally change a sign’s mood—serif fonts feel classic, sans-serif feels modern.
📏 "Measure twice, cut once" is a maker’s rule that helps you avoid mistakes and save materials.
🚪 Door signs have been used for centuries to identify homes and shops and share messages with visitors.
How do I make a custom door sign with measuring and lettering practice?
What materials do I need to design and decorate a door sign?
What ages is a custom door sign activity suitable for?
What are the benefits, safety tips, and fun variations for a door sign craft?
