Make a crazy vehicle
Design and build a small crazy vehicle using cardboard, wheels, tape, and rubber bands; test and improve its movement while learning simple engineering concepts.


Step-by-step guide to make a crazy vehicle
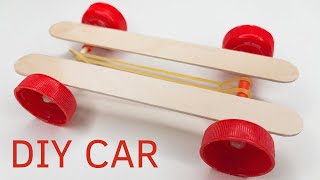
DIY TOY CAR! How to make Speedy CAR! SUPER EASY and FUN!
Step 1
Gather all materials on a clear table.
Step 2
Draw a rectangular chassis outline about 20 cm long and 8 cm wide on the cardboard using the pencil and ruler.
Step 3
Cut out the chassis shape from the cardboard using scissors with adult help.
Step 4
Mark two axle positions near the front and rear edges 1–2 cm in from each short side and centered left-to-right.
Step 5
Poke small holes at the marks just big enough for the pencils or skewers to spin freely.
Step 6
Insert the two pencils or skewers through the holes so they span the chassis and act as axles.
Step 7
Trim the axles so about the same length sticks out each side leaving room for wheels.
Step 8
Attach one wheel to each axle end by pushing or taping them on so they turn freely and sit snug.
Step 9
Secure each axle to the top of the chassis with a small piece of tape so the axle can still rotate but cannot slide forward or backward.
Step 10
Make a small notch or hook at the front center of the chassis by cutting a tiny slit and folding a little tab up.
Step 11
Loop a rubber band from the rear axle to the front hook so the band runs along the underside of the chassis and can twist when the rear axle turns.
Step 12
Wind the vehicle by turning the rear axle backward so the rubber band twists and stores energy.
Step 13
Place the vehicle on a smooth floor.
Step 14
Let go of the axle or the front hook to release the rubber-band energy and watch your vehicle zoom.
Step 15
Share a photo or video of your finished crazy vehicle on DIY.org.
Help!?
What can we use if we don't have cardboard, pencils/skewers, or a rubber band?
Use a cereal-box or shoebox panel for the chassis, drinking straws (with a skewer or thin wooden dowel inside) for axles, and a hair elastic or twist-tie loop instead of the rubber band so you can still draw, cut, poke holes, insert axles, and wind the band.
The wheels won't turn or the axle slides—what should we fix first?
If wheels stick or the axle slides, slightly enlarge the holes so the pencil/skewer spins freely, add a short straw bushing or a tiny ring of tape around the axle where it passes through the cardboard, and then re-secure the axle to the top with tape as in the 'secure each axle' step.
How can we adapt this activity for younger or older kids?
For younger children, have an adult pre-cut the 20 cm × 8 cm chassis and pre-poke the axle holes so they can focus on inserting axles, attaching wheels, and winding the rubber band, while older kids can measure and design different chassis sizes, try different wheel materials, or add simple gears for more challenge.
What are some fun ways to extend or personalize our crazy vehicle?
Decorate the cardboard chassis with markers or stickers, add a lightweight cardboard body or a driver cutout, experiment with two rubber bands or different wheel sizes for speed changes, and share a photo or video on DIY.org as suggested.
Watch videos on how to make a crazy vehicle
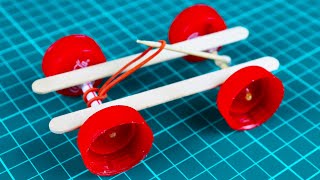
How to Make a Mini Rubber Band Car / Simple Science Project Idea / DIY Toy Car at Home
4 Videos
How to Make a Mini Rubber Band Car / Simple Science Project Idea / DIY Toy Car at Home
How To Make a Mini Rubber Band Car (SIMPLE CAR TOY)
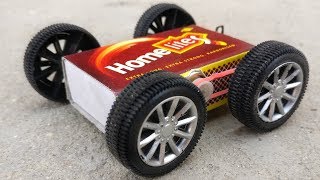
How to Make a Powerful Mini Matchbox Toy Car at Home - Mini Car
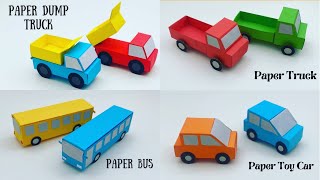
How To Make Paper Toy Vehicles ( CAR , TRUCK , BUS ) For Kids / Nursery Craft Ideas / KIDS crafts
Facts about engineering and mechanics for kids
🚗 Wheels were first used on vehicles about 5,000 years ago (around 3500 BCE) — ancient people rolled their way to faster travel!
🪢 Rubber bands store elastic potential energy: stretch one, release it, and that energy can power a tiny car.
📦 Corrugated cardboard's wavy inner layer makes it light and strong — perfect for building a lightweight vehicle frame.
🤹♂️ Rube Goldberg's cartoons turned silly, over‑complicated gadgets into a fun idea — great inspiration for a crazy vehicle design!
⚙️ Engineers tune three key things in moving toys—friction, energy transfer, and balance—to make them go farther and straighter.
How do you design and build a small crazy vehicle?
What materials do I need to make a cardboard crazy vehicle?
What ages is building a crazy cardboard vehicle suitable for?
What are the benefits of making a small cardboard vehicle?
