Make a Color Wheel! - When Do Kids Learn Colors? Right now!
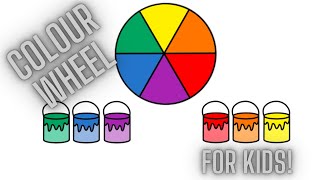
Create a paper color wheel using paints or crayons, mix primary colors to make secondary hues, and learn color names and relationships.


Step-by-step guide to make a color wheel
Step 1
Gather all your materials and set them on a clear flat workspace.
Step 2
Place the circular object on the paper and trace around it with the pencil to make a big circle.
Step 3
Use the ruler to draw three straight lines through the center like spokes so the circle is divided into six equal wedges.
Step 4
Write the words Red Blue Yellow in three alternate wedges to mark the primary color spots.
Step 5
Paint or color the three wedges labeled Red Blue and Yellow with the matching primary colors.
Step 6
Put a little red and a little yellow on your palette and mix them together to make orange.
Step 7
Paint the wedge between the red and yellow wedges with the orange you mixed.
Step 8
Put a little red and a little blue on your palette and mix them together to make purple.
Step 9
Paint the wedge between the red and blue wedges with the purple you mixed.
Step 10
Put a little blue and a little yellow on your palette and mix them together to make green.
Step 11
Paint the wedge between the blue and yellow wedges with the green you mixed.
Step 12
Let your color wheel dry completely so the colors do not smudge.
Step 13
Write the words Orange Purple Green in the three wedges with the mixed colors so you can remember their names.
Step 14
Take a photo and share your finished color wheel on DIY.org so everyone can see your colorful creation.
Help!?
What can I use instead of paint, a palette, or a circular object if I don't have them?
If you don't have paint use crayons, colored pencils, or washable markers to color the wedges, use a paper plate or cardboard as your palette, and trace a cup lid or jar as the circular object.
My mixed colors look muddy or the paint smudges—what should I do?
If your orange, purple, or green look muddy, rinse and dry your brush between mixes, test the new color on scrap paper before painting the wedge, and follow the step to let your color wheel dry completely to avoid smudging.
How can I adapt this color wheel activity for different ages?
For younger children pre-trace the circle and the three primary wedges and let them color with crayons, while older kids can use the ruler to draw exact six equal wedges, mix precise paint ratios, and neatly write each color name before photographing.
How can we extend or personalize our finished color wheel?
Enhance your wheel by using extra paint on your palette to add tints and shades around each wedge, write the shade names in the wedges, laminate the finished wheel, and then take the photo to share on DIY.org.
Watch videos on how to make a color wheel
The Color Wheel! | Educational Lesson for Kids and Beginners | Elements of Design
4 Videos
The Color Wheel! | Educational Lesson for Kids and Beginners | Elements of Design
The Color Wheel for Kids
Learn the Basics of the Color Wheel | Activities for Kids | Michaels
Colour Wheel for KIDS!
Facts about color theory for kids
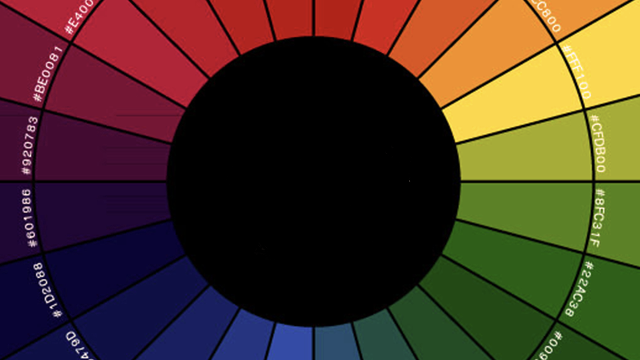
🎨 The traditional artist's color wheel has 12 slices: 3 primary, 3 secondary, and 6 tertiary colors.
🟦 Primary paint colors for mixing are often red, yellow, and blue — mix any two to make a secondary color!
🌈 Many toddlers begin naming basic colors around ages 2–3, so a color wheel is a perfect learning game.
🖍️ Mix equal amounts of red+yellow to get orange, blue+red to get purple, and blue+yellow to get green — try it on your wheel!
🧪 Adding white makes a tint (lighter), adding black makes a shade (darker) — artists use tints and shades to expand the wheel.
How do I make a color wheel with my child?
What materials do I need to make a paper color wheel?
What ages is this color wheel activity suitable for?
What are the benefits of making a color wheel with kids?


