Make a Camp DIY team t-shirt
Design and decorate a camp team T-shirt using fabric markers, stencils, and safe paints. Plan colors, create a logo, and personalize shirts.

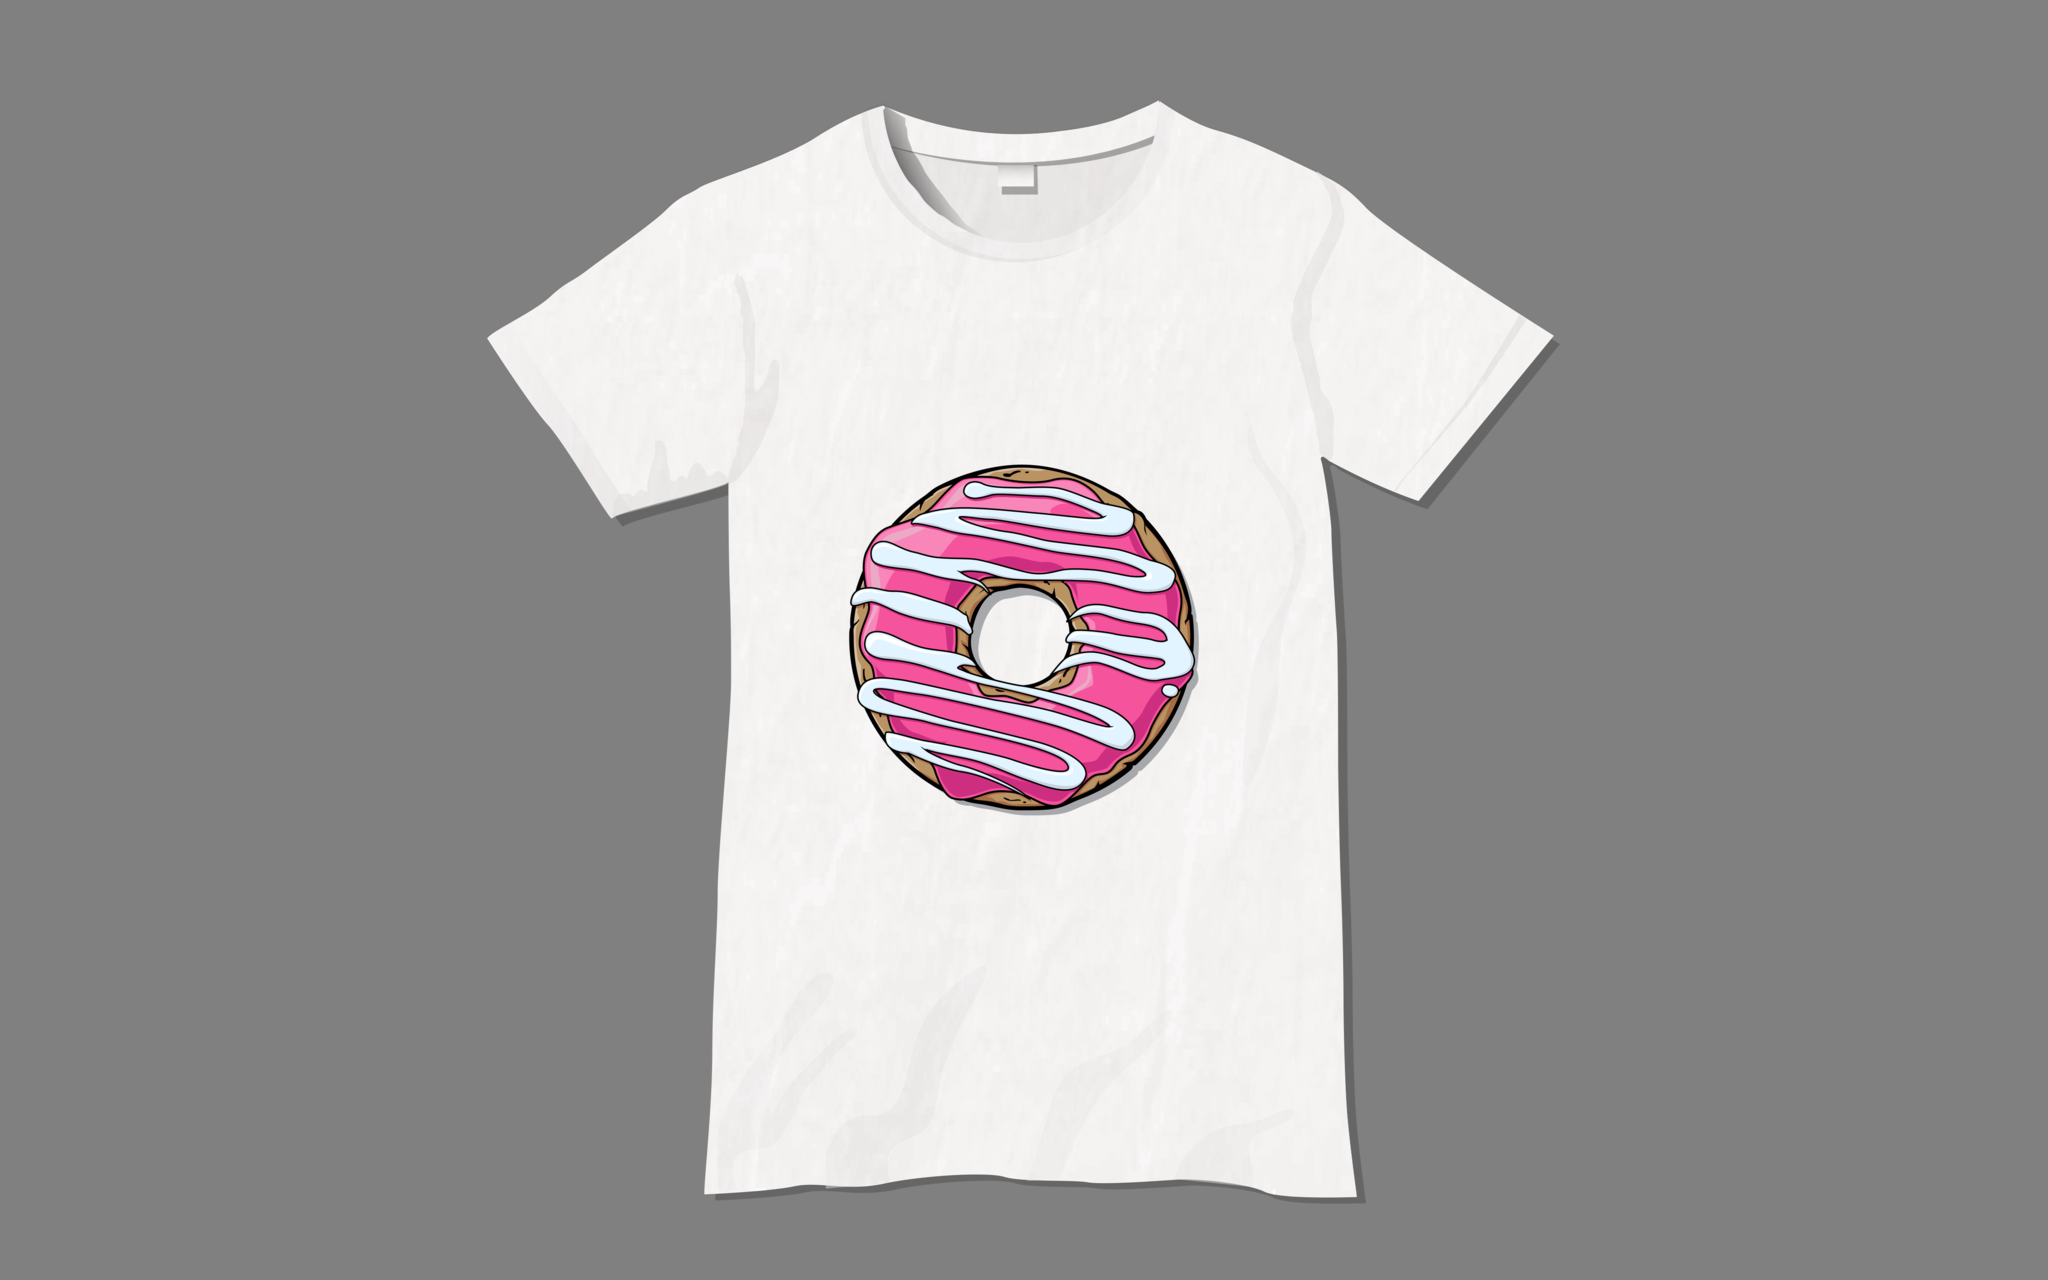

Step-by-step guide to make a camp DIY team T-shirt
How to Make Custom Sports Team Shirts (In a Hurry)
Step 1
Pick a team name and choose 2 or 3 main colors for your team so your shirt will look bright and matching.
Step 2
Lay the T-shirt flat on a table and decide where you want the logo and any names or numbers to go.
Step 3
Sketch several logo ideas on paper using your pencil until you find one you like.
Step 4
Choose your favorite sketch and add any team name or player name and number to the design on paper.
Step 5
Slide the cardboard insert inside the T-shirt under the area you will decorate to protect the back of the shirt.
Step 6
Place a stencil on the shirt where the logo will go and tape it down so it does not move while you work.
Step 7
Test your fabric markers and paints on scrap paper to see how the colors look and how the tools apply.
Step 8
Lightly trace the logo outline on the shirt with a pencil or a fine fabric marker so you have a guide to follow.
Step 9
Fill in the large color areas using fabric markers or paint and a brush, working from light to dark colors if possible.
Step 10
Add small details and write the team name and any player names or numbers with finer markers for a clean look.
Step 11
Blot any small mistakes with a paper towel quickly and carefully to tidy up the design.
Step 12
Let the design dry completely and then ask an adult to help heat-set the paint or markers using an iron or the dryer following the product instructions.
Step 13
Take a photo of your finished team T-shirt and share your creation on DIY.org
Final steps
You're almost there! Complete all the steps, bring your creation to life, post it, and conquer the challenge!


Help!?
What can we use if we can’t find fabric paints, stencils, or a cardboard insert?
Use permanent markers or acrylic paint mixed with textile medium instead of fabric paints, cut a stencil from cardstock or print one on paper for the stencil step, and slide a flattened cereal box or piece of poster board inside the T-shirt in place of the cardboard insert.
My design is smudging or the stencil keeps shifting—how do I stop that and fix mistakes?
Tape the stencil securely to the shirt, keep the cardboard insert under the decoration area to prevent paint soak-through, test colors on scrap paper first and blot small mistakes immediately with a paper towel, and let areas dry before adding more color or details.
How can I adapt this shirt activity for different ages?
For younger kids simplify by using pre-cut stencils, stickers, or chunky fabric markers and an adult for the tracing step, while older kids can freehand sketch multiple logo ideas on paper, use finer markers for names and numbers, and handle the heat-set step with supervision.
What are some ways to personalize or upgrade the finished team T-shirt?
Add fabric patches or appliqués, use glitter fabric glue or layered paint for texture, include player numbers and a team motto in finer marker, and then photograph the finished shirt to share on DIY.org as the instructions suggest.
Watch videos on how to make a camp DIY team T-shirt
Diy Custom T-shirts In Minutes: Quick And Simple Tutorial
4 Videos
Diy Custom T-shirts In Minutes: Quick And Simple Tutorial
DIY Team Jerseys Using Iron-on Numbers: How to Tutorial
DIY: 50+ EASY Upcycled Tshirts to Inspire You | ep 20
Cricut T-Shirt Design Tutorial: Easy Step-by-Step Guide for Beginners!
Facts about fabric painting and T-shirt decorating for kids
👕 T-shirts became popular outerwear after World War II and are now one of the world’s most worn garments.
🎨 Stencil art has been used for centuries and is great for making crisp, repeatable designs quickly.
🖌️ Fabric paints and markers are formulated to bond with cloth fibers so your art can survive washing.
✂️ Designing a logo with just 2–3 colors makes stenciling and decorating the whole team faster and easier.
🧵 Custom team shirts have long been used by camps and clubs to build group identity and team spirit.
How do you make a camp team t-shirt step by step?
What materials do I need to make a DIY camp team t-shirt?
What ages is making a camp team t-shirt suitable for?
What are safety tips and fun variations for decorating team t-shirts?


