Make a Buzz Paper Plane
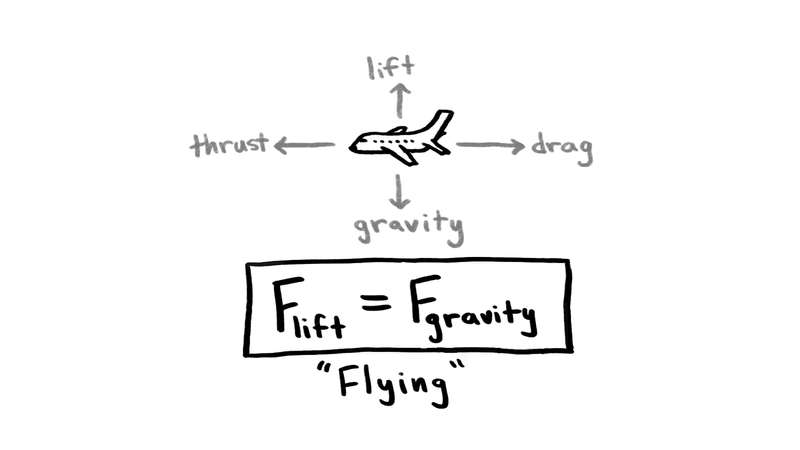
Build and fly a buzzing paper plane using folded paper and a vibrating tail to safely explore aerodynamics and sound.


Step-by-step guide to Make a Buzz Paper Plane
Step 1
Gather all your materials on a clear table so everything is ready to go.
Step 2
Place the paper on the table with the long side facing you.
Step 3
Fold the paper in half lengthwise to make a long crease.
Step 4
Unfold the paper so you can see the center crease.
Step 5
Fold the top two corners down to meet the center crease and form a point.
Step 6
Fold the pointed nose down so the tip touches the bottom edge of the paper.
Step 7
Fold the top two corners in again so their edges meet at the center and form a sleek nose.
Step 8
Fold the whole plane in half away from you along the center crease so the nose is on the outside.
Step 9
Fold each wing down so the top edges line up with the bottom edge of the plane to make matching wings.
Step 10
Cut a 2 inch section from the drinking straw using scissors.
Step 11
Cut a short 1 cm vertical slit at one end of the straw to create a tiny flap that can vibrate.
Step 12
Bend the tiny flap outward a little so it can catch the air and vibrate when you fly the plane.
Step 13
Tape the straw to the top rear of the plane with the slit facing forward so air will go through the straw.
Step 14
Go outside to an open space and gently throw the plane forward to test the buzzing tail; adjust the flap by trimming a tiny bit if the buzz is too quiet.
Step 15
Share a photo or video of your buzzing paper plane on DIY.org so other kids can see your creation.
Help!?
What can we use instead of a drinking straw if we don't have one?
If you don't have a drinking straw, roll a tight 2-inch tube from spare paper, secure it with tape, then cut the 1 cm slit and make the tiny flap just like the instructions before taping it to the top rear of the plane.
My plane won't buzz or flies crooked — what should I check?
If the plane veers or doesn't buzz, make sure the wings are folded so the top edges line up with the bottom edge, that the 2-inch straw is taped to the top rear with the slit facing forward, and tweak the tiny flap by bending or trimming a tiny bit to increase vibration.
How can I adapt this activity for younger or older kids?
For younger kids, pre-fold or guide the steps like folding the top corners and pre-cut the 2-inch straw with the 1 cm slit, while older kids can experiment with different flap lengths, tape positions on the top rear, or add a paperclip to the nose to change flight.
How can we make the buzzing plane more unique or fly farther?
To enhance or personalize the plane, decorate the paper before folding, test different slit lengths or make a double flap on the taped 2-inch straw, and try adding a small paperclip to the nose to improve glide before sharing a photo or video on DIY.org.
Watch videos on how to Make a Buzz Paper Plane
How To Make A Paper Airplane | Creativity Tips | Crayola Learning
4 Videos
How To Make A Paper Airplane | Creativity Tips | Crayola Learning
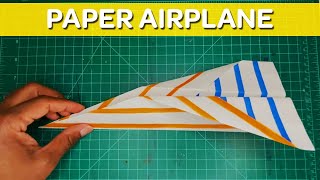
PAPER AIRPLANE THAT FLY FAR - How to make Paper Airplane that FLY Far
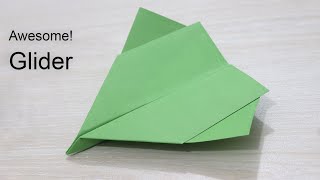
How to Make a Paper Airplane Glider that FLY FAR
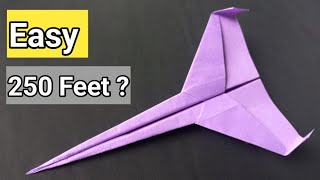
How to Make the BEST PAPER AIRPLANE | Triangle Plane that Flies Over 500 Feet!
Facts about aerodynamics and paper engineering
✈️ The world record for longest paper airplane flight is 226 ft 10 in (68.6 m) — imagine flying your plane that far!
🌀 Tiny tweaks like bending a wingtip or creasing the tail change lift and can make your plane soar, loop, or dive.
📯 A buzzing tail makes sound by vibrating air — faster vibrations create higher pitches you can hear while it zips!
🧩 Origami-style precise folds help planes fly straighter and more predictably, so neat folds = better flights.
🧷 Adding a paperclip shifts the center of gravity, a simple trick champions use to tune distance and stunts.
How do you make a Buzz Paper Plane?
What materials do I need for a Buzz Paper Plane?
What ages is this activity suitable for?
What are the benefits and safety tips for a Buzz Paper Plane?
