Make a Big Dragon!
Construct a large cardboard dragon using recycled boxes, paint, tape, and simple arm joints; decorate scales and practice storytelling with your dragon.


Step-by-step guide to make a big cardboard dragon
Step 1
Pick a large recycled box to be the dragon's body.
Step 2
Cut one side of the large box with scissors so it opens into a flat sheet.
Step 3
Roll the flat sheet into a long cylinder to form the dragon's body.
Step 4
Tape along the cylinder seam to secure the body shape.
Step 5
Pick a smaller box to be the dragon's head.
Step 6
Cut the smaller box to make a snout and a mouth opening.
Step 7
Tape the head to the front of the body so it stays in place.
Step 8
Cut four limb shapes from scrap cardboard for legs and arms.
Step 9
Punch holes in the limb ends and in the body where you want the joints.
Step 10
Fasten each limb to the body using brass paper fasteners to make simple movable joints.
Step 11
Cut a tail shape from scrap cardboard.
Step 12
Tape the tail to the back of the body so it points out behind the dragon.
Step 13
Paint and decorate the dragon with base colors scales eyes and other details using paint markers crayons or stickers.
Step 14
Practice a short story or song using your dragon as the main character.
Step 15
Share your finished creation on DIY.org
Help!?
What can we use if we don't have brass paper fasteners or a large recycled box?
If you don't have brass paper fasteners, make movable joints by threading strong yarn or twine through the punched holes and knotting it (or use brads/small bolts), and if you lack a large box roll two smaller cardboard sheets taped along the seam to form the dragon's body.
My dragon's body won't stay rolled or the head keeps drooping—what should I try?
If the cylinder won't hold or the head droops, reinforce the seam with extra tape and a taped cardboard strip inside the roll and stiffen the head by packing it with rolled-up newspaper before taping the head to the front of the body.
How can I adapt this activity for younger or older kids?
For younger kids have an adult pre-cut the box, limb shapes and punch the holes so they can tape, stuff, and decorate with crayons and stickers, while older kids can punch their own holes, fasten limbs with brass paper fasteners for movable joints, and add detailed paint marker designs or mechanical features.
What are simple ways to enhance or personalize our dragon after decorating?
Add layered scrap-cardboard scales taped to the body, movable wings attached with extra brass paper fasteners, bottle-cap or LED eyes glued to the head, and then use your dragon as the star of the short story or song to record and share on DIY.org.
Watch videos on how to make a big cardboard dragon
How to Make a Paper Dragon Puppet 🐉 | Easy DIY Craft for Kids
4 Videos
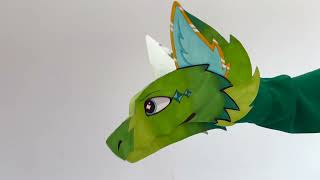
How to Make a Paper Dragon Puppet 🐉 | Easy DIY Craft for Kids
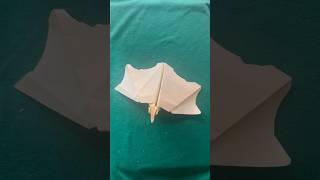
This Dragon Is Made of PAPER?! 🐉🔥 | Epic DIY Craft!
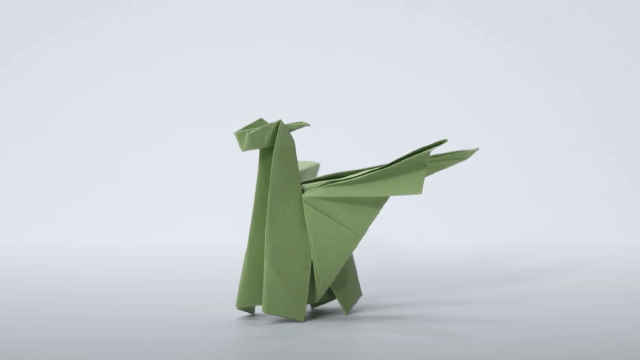
Majestic Origami Dragon | Easy Paper Folding Tutorial! Without Glue & Scissors ✂️
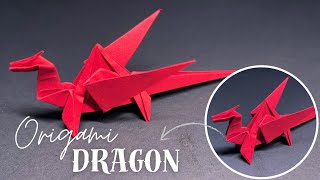
How to Make a Paper Dragon | Easy Origami Dragon Tutorial for Beginners
Facts about cardboard crafts and recycled materials
🐉 Dragons show up in myths from Europe to Asia to the Americas—each culture gives dragons a different personality!
📦 Corrugated fiberboard (cardboard) is one of the most recycled materials and can be reused about 5–7 times.
🎭 Making simple arm joints turns your cardboard dragon into a puppet you can perform with—puppetry is an art thousands of years old.
🎨 Papier-mâché (paper and glue) makes lightweight, sturdy shapes—great for big dragon heads and scales.
♻️ Upcycling old boxes into a dragon keeps materials out of the trash and saves energy compared with making new cardboard.
How do I make a Big Dragon out of recycled cardboard boxes?
What materials do I need to make a large cardboard dragon?
What ages is the Big Dragon cardboard craft suitable for?
What are the benefits of making a Big Dragon with my child?
