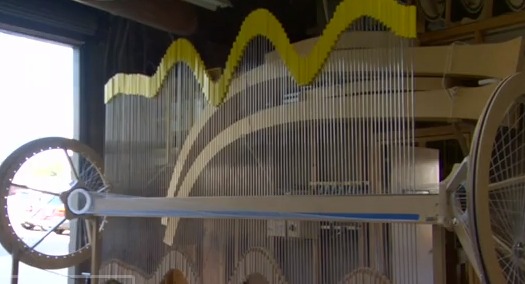
Make a kinetic machine
Build a simple tabletop kinetic machine using cardboard, wooden dowels, rubber bands, and marbles to explore gears, levers, and continuous motion through safe hands-on play.


Step-by-step guide to build a tabletop kinetic machine
How To Build a Rube Goldberg Machine | STEM Lesson Plan
Step 1
Gather all materials and clear a flat workspace.
Step 2
Cut a rectangular cardboard base about 30 cm by 20 cm.
Step 3
Use the ruler and pencil to mark three axle spots in a row about 6–8 cm apart.
Step 4
Cut three cardboard circles of different sizes to be your gears.
Step 5
Cut small notches around each circle edge to make gear teeth.
Step 6
Punch a center hole in each gear that is slightly smaller than a dowel.
Step 7
Insert wooden dowels through all three marked spots on the base so they stand as axles.
Step 8
Secure each dowel underside to the base with tape so they stay steady.
Step 9
Slide one gear onto each dowel and fasten them with paper fasteners so the gears can spin freely.
Step 10
Tape a small cardboard tab onto one gear so it acts like a cam that can nudge marbles.
Step 11
Build a marble track from folded cardboard strips and tape it to the base so marbles roll past the cam.
Step 12
Loop rubber bands between one driving gear and the cam gear to transfer rotation.
Step 13
Turn the driving dowel to start the machine.
Step 14
Share your finished creation on DIY.org
Final steps
You're almost there! Complete all the steps, bring your creation to life, post it, and conquer the challenge!


Help!?
I can't find wooden dowels or metal paper fasteners—what can I substitute so the gears and axles still work?
Use sturdy pencils or chopsticks as axles instead of wooden dowels and replace paper fasteners with small bolts and nuts, brad pins, or even stacked washers and tape so the cardboard gears can still spin on the dowels.
My gears are slipping or the marbles stop—what troubleshooting steps can fix common problems in the build?
If gears skip, make sure the cardboard circle teeth are evenly cut and the paper fasteners are loose enough to allow spin, stabilize wobbly dowels by adding extra tape under the base, and use thicker rubber bands or double them to improve drive from the driving gear to the cam gear so marbles get nudged reliably.
How can I adapt this kinetic machine activity for different ages or skill levels?
For younger children, pre-cut the 30 cm by 20 cm base and gears, use foam balls instead of marbles, and glue tabs in place, while older kids can measure and cut the base and gear teeth themselves, design gear sizes, and experiment with multiple rubber-band drives and cam positions.
What are simple ways to extend or personalize the kinetic machine after it's built?
Decorate the cardboard base and gears with paint or stickers, add a second cardboard cam tab or extra gears to change marble timing, and attach a small ramp extension or smartphone holder to record and share your finished creation on DIY.org.
Watch videos on how to build a tabletop kinetic machine
School Science Projects | Inclined plane
4 Videos
School Science Projects | Inclined plane
5 Top New Science Project Ideas for School - Easy Science Project Compilation

DIY Water Wheel Science Project - How Flowing Water Generates Motion!
Young Engineers: Pyramid Catapult - Easy and Powerful DIY STEM Project for Kids
Facts about simple machines and mechanics for kids
🎨 Alexander Calder's mobiles helped popularize kinetic sculpture—art that actually moves!
⚙️ Gears trade speed for force: a small gear driving a big gear slows motion but boosts torque.
📦 Corrugated cardboard has three layers and is very strong for its weight—perfect for prototypes.
🟠 Rubber bands store elastic energy—stretch them and that energy can power motion in your machine.
🎯 A marble at the top of a ramp holds potential energy that becomes kinetic energy when it rolls—great for chain reactions!
How do I build a simple tabletop kinetic machine for my child?
What materials do I need to build a cardboard and dowel kinetic machine?
What ages is building a kinetic machine suitable for?
What are the safety tips and learning benefits of making a kinetic machine?


