Learn to Quill!
Make colorful quilled paper designs by rolling, shaping, and gluing strips to create flowers, animals, and simple patterns while learning fine motor skills.


Step-by-step guide to Learn to Quill!
Easy Home Crafts with Kids: Kids Quill! Beginner Paper Quilling
Step 1
Gather all the Materials Needed and set them on a flat workspace.
Step 2
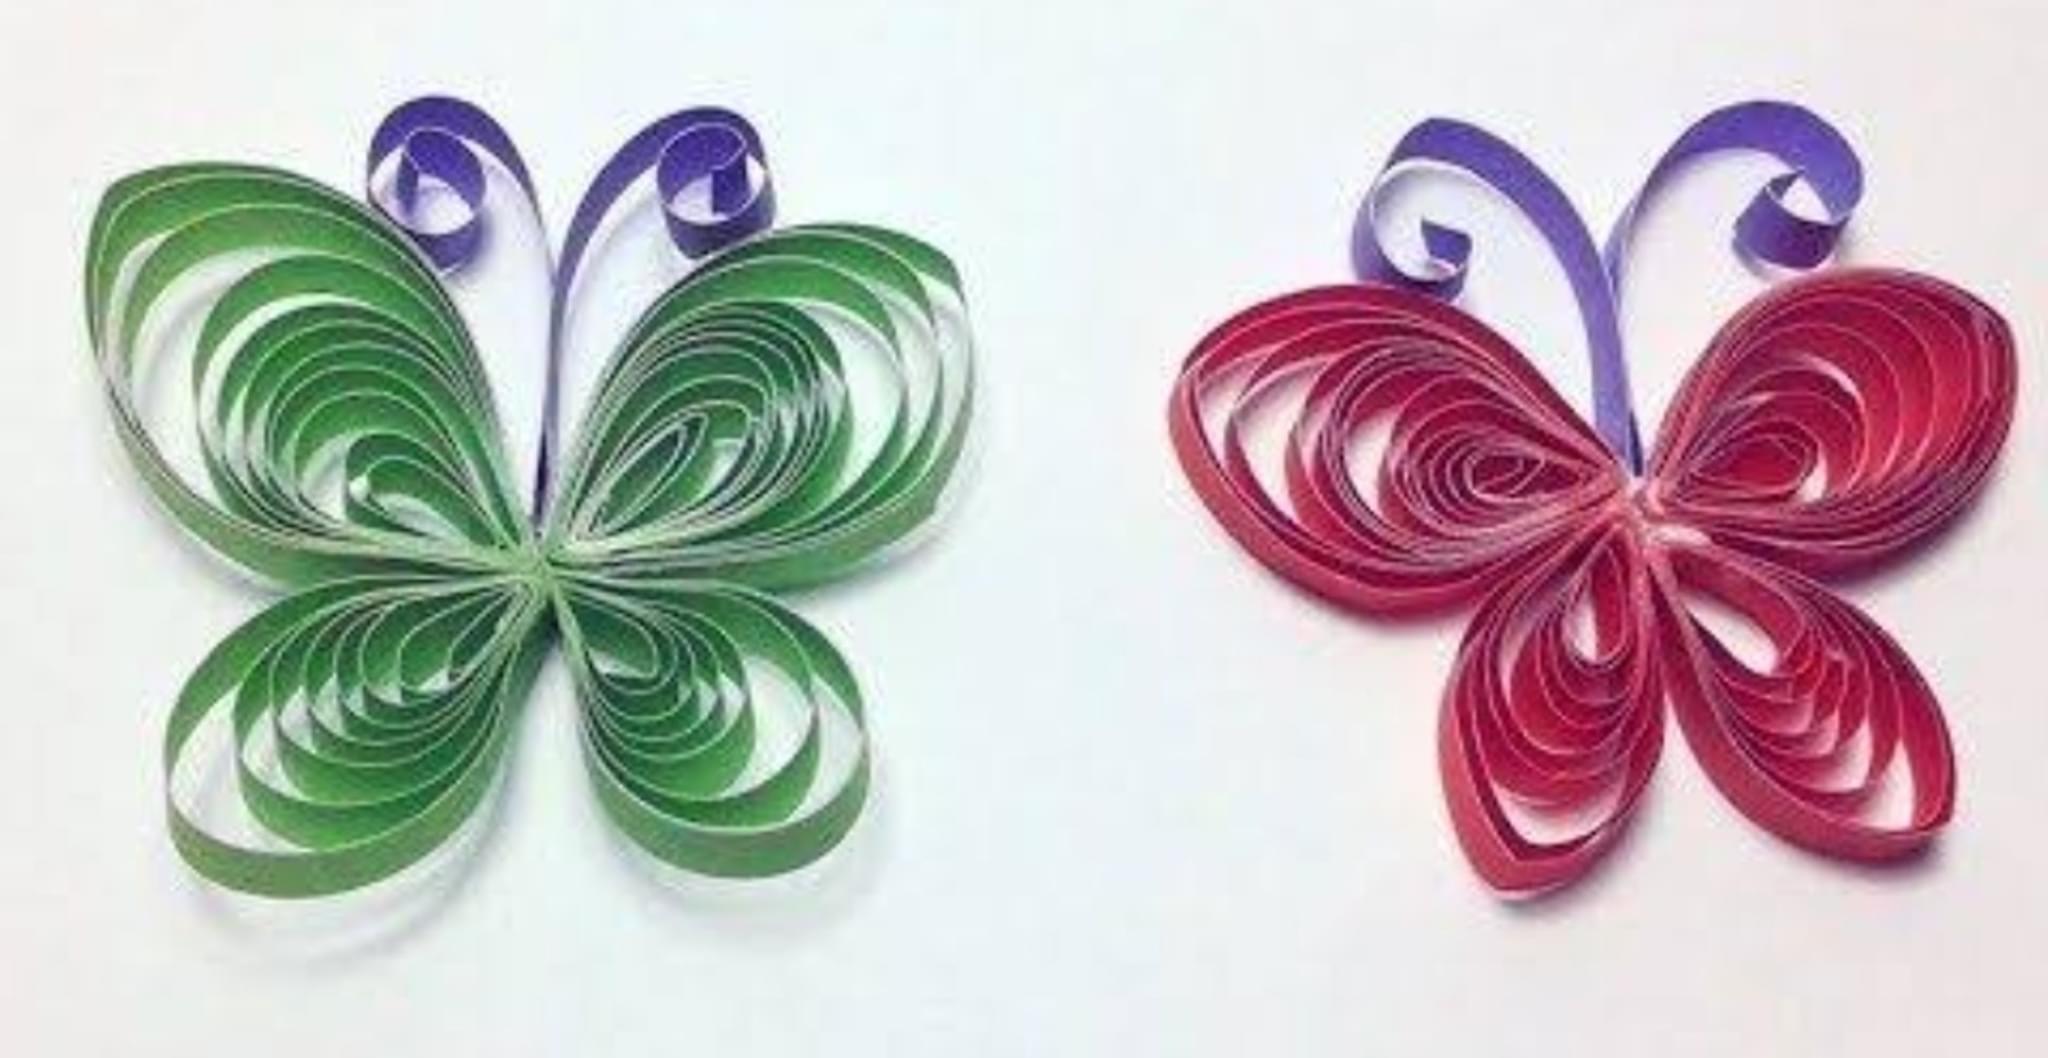
Choose one simple design to make such as a flower a butterfly or a small animal.
Step 3
Pick the colored strips you want for each part of your design.
Step 4
Put the loose end of one paper strip into the slotted quilling tool or hold it against a toothpick.
Step 5
Roll the strip tightly around the tool or toothpick until it becomes a tight coil.
Step 6
Slide the coil off the tool and let it loosen to the size you want.
Step 7
Pinch the loosened coil to make a shape like a teardrop a petal or an eye.
Step 8
Put a tiny dot of glue on the strip end to secure the coil.
Step 9
Press the glued end gently and hold for a few seconds so it sticks.
Step 10
Make as many coils and shapes as you need by repeating steps 4 through 9.
Step 11
Arrange your shaped pieces on the cardstock base until the layout looks right.
Step 12
Put small dabs of glue on each shaped piece and press them onto the cardstock to fix your design.
Step 13
Let your quilled design dry completely then share your finished creation on DIY.org.
Help!?
What can we use if we don't have a slotted quilling tool?
Use a toothpick, thin knitting needle, wooden skewer, or an unfurled paperclip to roll the loose end of a paper strip as described in step 4.
My coils keep unrolling or the glue won't hold — how do I fix that?
Roll the strip tightly around your tool in step 4, slide it off and let it loosen only to the size you want in step 5, then secure the end with a tiny dot of glue in step 8 and press it for a few seconds as in step 9.
How can I adapt the activity for different age groups?
For younger children, pre-roll larger, wider coils (steps 4–6) and let them arrange and press pieces onto the cardstock in step 11 with supervision, while older kids can use thinner strips, a slotted tool, and make more intricate pinched shapes in step 7 before gluing.
How can we enhance or personalize our quilled design?
Choose patterned or metallic strips when picking colors in step 3, layer coils for texture on the cardstock base in step 11, add small drawn details after the design dries, and frame or photograph the finished piece to share on DIY.org as the final step suggests.
Watch videos on how to Learn to Quill!
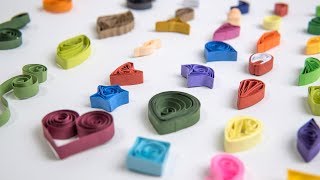
35 Paper Quilling Shapes: Art & Craft Tutorials by HandiWorks
4 Videos
35 Paper Quilling Shapes: Art & Craft Tutorials by HandiWorks

Paper Quilling for Beginners | Paper Crafts

Easy Paper Quilling for Beginners: Shapes & Monogramming | Papercraft | Create and Craft

Fun & Easy Paper Quilling Art | DIY Basics of Quilling for Kids
Facts about paper quilling
🎨 Quilling (also called paper filigree) uses thin strips of paper—often 3–10 mm wide—rolled and shaped into coils for designs.
✂️ You can quill with special quilling paper or upcycle magazine strips and scrap paper for colorful, eco-friendly projects.
🕰️ Quilling was especially popular in 18th-century Europe, where decorative boxes and frames were commonly embellished with it.
🌸 A simple quilled flower only needs 5–7 shaped coils (like teardrops and marquises), making it a perfect beginner project.
🖐️ Rolling, pinching, and gluing quilled shapes helps kids build fine motor skills, hand-eye coordination, and patience.
How do you make quilled paper designs with kids?
What materials do I need for a quilling activity?
What ages is quilling suitable for?
What are the benefits of quilling for children?
