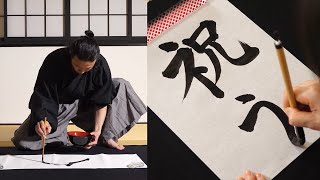
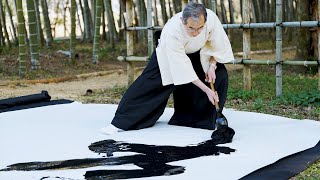
Learn Shodo Calligraphy
Learn basic Shodo calligraphy by practicing brush strokes, making simple kanji on rice paper, and exploring posture, ink control, and mindful focus.


Step-by-step guide to Learn Shodo Calligraphy
Step 1
Lay the felt mat or old towel flat on the table to protect the surface.
Step 2
Place one sheet of rice paper on the mat and smooth it flat with your hand.
Step 3
Put the simple kanji examples where you can see them easily.
Step 4
Pour a small amount of ink into the shallow dish.
Step 5
Sit with your back straight and both feet flat on the floor for good posture.
Step 6
Hold the brush upright between your thumb and fingers so the tip points down.
Step 7
Dip only the tip of the brush into the ink so the brush tip is wet.
Step 8
Lightly touch the brush tip to the paper towel to remove any extra ink.
Step 9
Practice three neat horizontal strokes across your paper using steady pressure.
Step 10
Practice three steady vertical strokes below the horizontal strokes.
Step 11
Practice dot and sweeping curve strokes three times to learn ink flow.
Step 12
Choose one simple kanji from your examples and study its stroke order.
Step 13
Slowly draw the chosen kanji on your rice paper, following the correct stroke order.
Step 14
Rinse your brush under running water until the ink is gone and set it to dry.
Step 15
Share your finished Shodo calligraphy on DIY.org
Help!?
What can we substitute if we don't have rice paper or sumi ink?
Use heavyweight printer or watercolor paper instead of rice paper, black India ink or highly diluted black watercolor paint instead of sumi ink, and a soft round watercolor brush in place of the calligraphy brush while still laying the felt mat and using the shallow dish as instructed.
My strokes look blotchy or the paper buckles — what should we check?
Ensure you dip only the tip of the brush into the ink and lightly touch the brush tip to the paper towel to remove extra ink, practice steady pressure with the three horizontal and three vertical strokes, and smooth one sheet of rice paper flat on the felt mat to prevent buckling.
How can I adapt the activity for a 4-year-old or a teen?
For young children, shorten the session, use a thicker watercolor brush and pre-draw the simple kanji outline for tracing, while teens can try more complex kanji, finer brushes, and focus on slowly drawing the chosen kanji following correct stroke order.
How can we enhance or personalize our finished Shodo piece?
Personalize by adding your name or a small seal in a corner with a fine brush, try colored ink or different paper sizes and create a series practicing dot and sweeping curve strokes, then rinse the brush and share your finished Shodo calligraphy on DIY.org as directed.
Watch videos on how to Learn Shodo Calligraphy
Shodo Brush Calligraphy - Writing from the Heart
4 Videos
Shodo Brush Calligraphy - Writing from the Heart

What Is Shodo In Japanese Calligraphy? - Asia's Ancient Wisdom
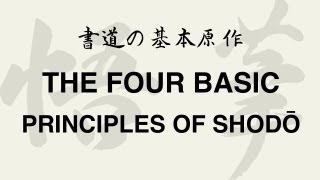
The Four Basic Principles of Japanese Calligraphy (Shodo 書道)
What is Shodo? Discover the Beauty of Japanese Calligraphy
Facts about Japanese calligraphy for kids
🖌️ Shodō means "the way of writing" — it's considered both an art and a discipline in Japan.
🧾 Rice paper (washi) soaks ink quickly, so each brush stroke is permanent and unique.
🖤 Traditional sumi ink is made from soot and glue and is rubbed on an inkstone to mix with water.
🧘 Good posture, steady breathing, and focused mind are as important as hand technique in calligraphy.
🔤 Beginners often start with simple kanji like 一 (one) to practice straight, controlled strokes.
How do I teach my child basic Shodo calligraphy?
What materials do I need for a child-friendly Shodo lesson?
What ages are suitable for learning Shodo calligraphy?
What are the benefits and safety tips for kids doing Shodo?
