Learn Hydro Dipping
Hydro dip small plastic or wooden objects using water-based paints, a shallow tub, and adult supervision to create colorful, swirled designs.


Step-by-step guide to hydro dip small plastic or wooden objects
Step 1
Put on disposable gloves to keep your hands clean.
Step 2
Put on an apron or old shirt to protect your clothes.
Step 3
Cover your table with paper towels to catch spills.
Step 4
Fill the shallow tub with warm water to about 1 to 2 inches deep.
Step 5
Pick 2 to 4 paint colors you want to use.
Step 6
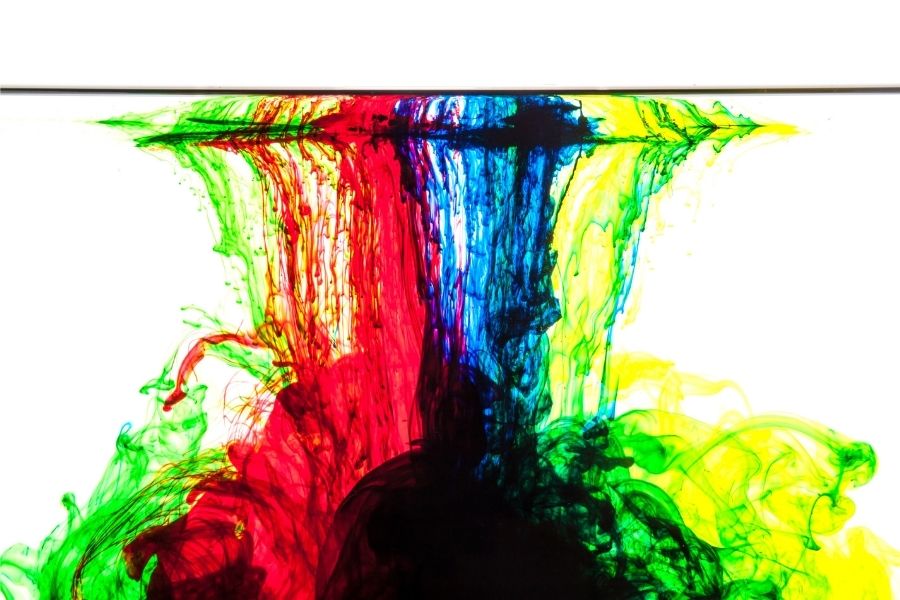
Add a few small drops of each chosen paint color onto the water surface, spacing the drops apart.
Step 7
Gently swirl the paint on the water with a skewer or toothpick to make a swirly pattern.
Step 8
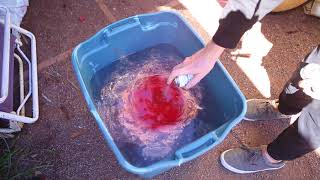
Hold your object by one end and slowly dip it into the painted water surface at a shallow angle.
Step 9
Lift the object straight up out of the water slowly to transfer the paint pattern.
Step 10
Blot any drips or loose paint away from the bottom of the object with a paper towel.
Step 11
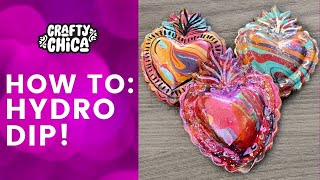
Place the dipped object on a protected drying area and wait until it is fully dry.
Step 12
Take a photo and share your finished colorful hydro-dipped creation on DIY.org.
Help!?
What can we use instead of disposable gloves, a shallow tub, or skewers if those items are hard to find?
If you don't have disposable gloves use clean plastic sandwich bags for your hands, swap the shallow tub for a cake pan or aluminum roasting pan filled with 1–2 inches of warm water, and use toothpicks or a chopstick in place of a skewer to gently swirl the paint.
What should we do if the paint blobs sink, don’t spread, or the pattern smears when dipping?
Make sure the water is warm and only 1–2 inches deep, add small drops of paint spaced apart, swirl gently with your skewer or toothpick to create a swirly pattern, dip the object at a shallow angle and lift it straight up slowly, and then blot any drips with a paper towel to fix smears.
How can we adapt hydro dipping for younger children or older kids to match skill levels?
For younger kids have an adult pre-add the small drops of paint and hold the object while the child watches the swirl and lifts it slowly, and for older kids let them pick 2–4 colors, experiment with closer paint drops and more intricate swirls using a toothpick, and encourage taking a photo and sharing the finished piece on DIY.org.
How can we improve or personalize our hydro-dipped object after it dries?
After the dipped object is fully dry on your protected drying area, seal it with a clear acrylic sealer or Mod Podge to protect the paint, add painter's tape masks before dipping for patterns, or take a photo and share your colorful creation on DIY.org to show your custom design.
Watch videos on how to hydro dip small plastic or wooden objects
HOW TO HYDRO-DIP FOR BEGINNERS
3 Videos
HOW TO HYDRO-DIP FOR BEGINNERS
Hydro Dipping for Beginners
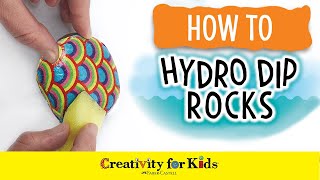
How to Hydro Dip Rock | Creativity for Kids
Facts about paint marbling and surface decoration for kids
🚗 Hydrographic printing is used in the auto and sporting industries to wrap complex curved parts like dashboards, rims, and helmets.
🌊 Hydro dipping works because a thin paint film floats on water and transfers to an object the moment you dip it through the surface.
🏺 Suminagashi, a Japanese "floating ink" marbling technique, dates back over 1,000 years to around the 12th century.
🕌 Ebru (Turkish marbling) became a prized decorative art during the Ottoman era and influenced textiles and bookbinding.
🧼 Water-based paints make cleanup easy and are safer for kids—just remember primer and a clear topcoat to make the design stick and last.
How do you hydro dip small plastic or wooden objects?
What materials do I need for hydro dipping at home?
What ages is hydro dipping suitable for?
What safety tips and variations should I know for hydro dipping?
