Launch multiple stomp rockets at once
Make and launch several safe foam or paper stomp rockets together using plastic bottle launchers and tubing, learning about force, trajectory, and teamwork.


Step-by-step guide to make and launch multiple stomp rockets
DIY Space: Stomp Rockets - Make the Rocket (Part 1)
Step 1
Choose a flat open outdoor area away from people pets and fragile things to set up your stomp rocket launch zone
Step 2
Put on your safety glasses before you start building or launching
Step 3
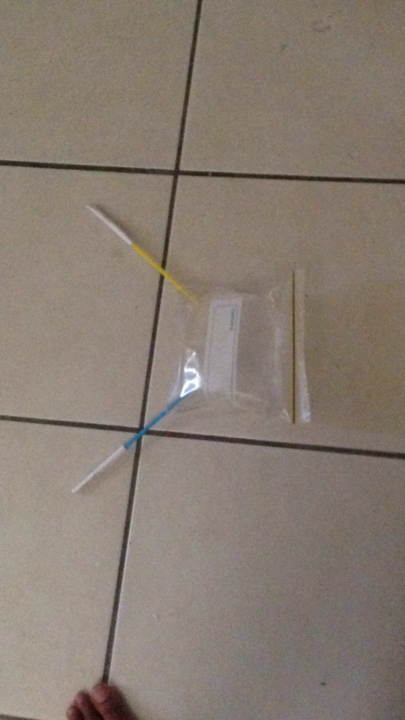
Make 3 to 5 paper or foam rockets by rolling paper into tight tubes adding a cone nose and taping a small straw sleeve at the base so each rocket can slide on a launch tube
Step 4
Decorate your rockets with colouring materials so each team member can recognize their rocket
Step 5
Attach a length of flexible tubing to the mouth of each plastic bottle and seal the connection tightly with strong tape so air won’t leak
Step 6
Push a short drinking straw or stiff tube into the free end of each piece of tubing and tape it so the rocket sleeve can slide over the straw as the launch tube
Step 7
Slide each rocket onto its launch tube sleeve so the rocket sits snugly on the straw and is ready to fly
Step 8
Place the bottles on the ground with tubes straight and rockets pointing away from people and fragile things
Step 9
Decide who stomps which bottle and agree on a loud countdown so everyone stomps at the same time
Step 10
At the countdown stomp your bottle firmly and straight to send a burst of air down the tube and launch your rocket
Step 11
Measure how far each rocket flew with the measuring tape and write down the distances to compare results
Step 12
Change one thing like the stomp force or the launch tube angle then repeat your launches to see how force and angle affect trajectory
Step 13
Share your finished rockets your launch setup and your results on DIY.org
Help!?
What can we use instead of flexible tubing or a drinking straw if those are hard to find?
If flexible tubing or a short drinking straw is unavailable, substitute a narrow garden hose or the neck of a deflated balloon securely taped to the plastic bottle mouth and follow the step to seal the connection tightly with strong tape so air won’t leak.
Why isn't our rocket flying far and how do we fix it?
If a rocket barely lifts, check for air leaks at the bottle-to-tubing seal and reseal with strong tape, make sure the rocket's straw sleeve fits snugly on the straw launch tube, and stomp the bottle firmly and straight as described so a full burst of air reaches the rocket.
How can we adapt this activity for different ages?
For preschoolers, have an adult pre-build and tape the paper or foam rockets and use smaller plastic bottles with gentler stomps and close supervision, while older kids can construct 3–5 rockets themselves, test different launch tube angles, and record distances to analyze results.
How can we extend or personalize the stomp rocket challenge?
Enhance the activity by adding fins or heavier cone noses to specific paper rockets to test stability, marking colored teams when decorating rockets, using a protractor to set and compare launch tube angles, or creating target landing zones to measure accuracy as well as distance.
Watch videos on how to make and launch multiple stomp rockets
Stomp Rocket Launcher for Kids - Fun Outdoor Gifts - STEM Toy Foam Blaster Set Soars Up
3 Videos

Stomp Rocket Launcher for Kids - Fun Outdoor Gifts - STEM Toy Foam Blaster Set Soars Up
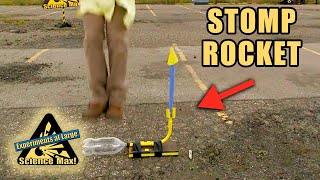
How to Make a Stomp Rocket | Home Science Experiments | Science Max

Science Sundays: How to make a stomp rocket
Facts about rocketry for kids
🚀 A sudden stomp pushes air out of the launcher, and that burst of air pushes the rocket forward — like a mini jet blast!
🎯 The rocket's path is a parabola — that's called projectile motion and you can predict it with simple math.
👣 If you stomp the same way, angling the launcher about 45° gives the farthest distance on flat ground.
🤝 Teamwork makes launches faster and safer: one person stomps, others reload rockets and check angles.
🧪 A plastic bottle works well as a launcher because compressed air (pneumatics) provides the push every rocket needs.
How do I set up and launch multiple stomp rockets at once?
What materials do I need to make safe foam or paper stomp rockets and launchers?
What ages is launching multiple stomp rockets suitable for?
What safety tips and learning benefits should I know when doing this stomp rocket activity?
