Journal Your Travel Tales
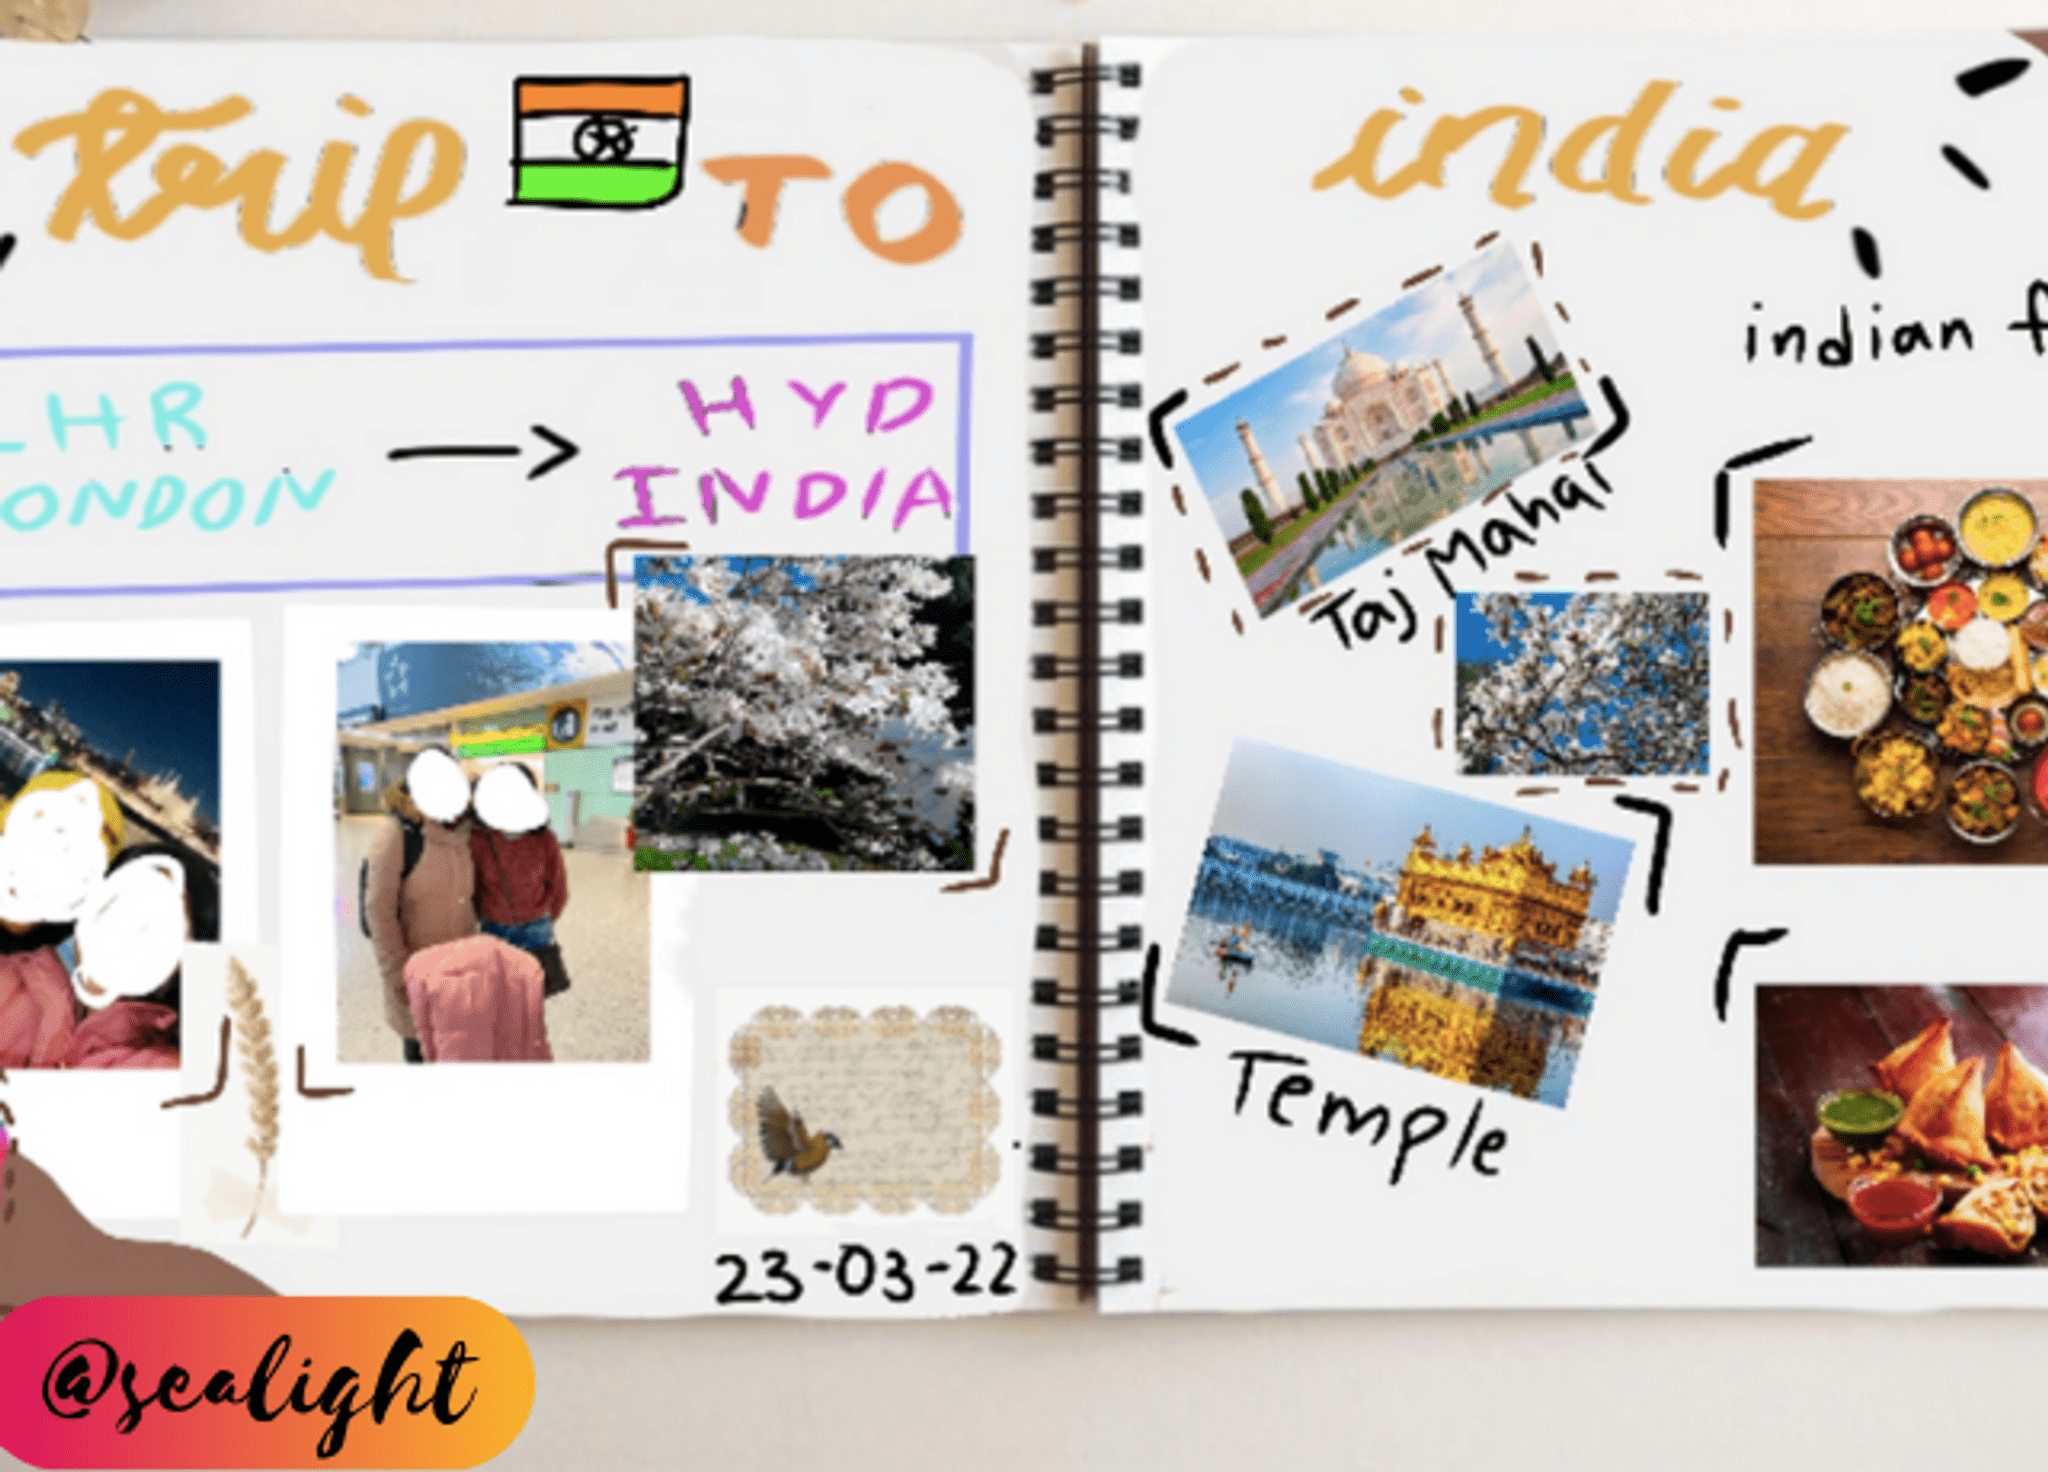
Create a travel journal by collecting maps, photos, drawings, and short stories; record places visited, favorite moments, and lessons learned each trip.

Step-by-step guide to create a travel journal
Amazing trip around the world and back in time - History and geography for kids
Step 1
Gather all Materials Needed into one pile on a table.
Step 2
Pick a blank notebook or stack plain sheets to make your journal.
Step 3
Choose a fun title for your travel journal in your head.
Step 4
Write the title on the first page with your pencil.
Step 5
Glue a map or map printout onto a new page in your journal.
Step 6
Choose 2 to 4 photos from the trip and glue them near the map.
Step 7
Draw a favorite scene from the trip beside the photos using your coloring materials.
Step 8
Write a short story of 3 to 5 sentences about your favorite moment from the trip.
Step 9
Write a simple list of the places you visited on a new page.
Step 10
Mark or star the place that was your very favorite on the list.
Step 11
Fold a piece of plain paper to make a small pocket for tickets or souvenirs.
Step 12
Glue the pocket into your journal so the top stays open for keepsakes.
Step 13
Decorate the pages with stickers or colored borders to make them cheerful.
Step 14
Make a contents page at the front listing each trip and its page number.
Step 15
Share your finished travel journal on DIY.org.
Help!?
What can we use if we don't have a glue stick, printed map, or travel photos?
Use clear tape or double-sided tape to attach the map and photos, tear a map from a brochure or draw a simple map on plain paper to glue into the journal, and replace printed photos with smartphone prints or hand-drawn pictures to place near the map.
My folded pocket glued into the journal ended up stuck shut; how can I fix or avoid that?
To avoid sealing the pocket, apply glue only to the bottom and side edges of the folded paper pocket when you glue it into the journal and press flat until dry, and if it's already stuck gently insert a thin tool to open the top then re-glue the sides correctly.
How can I change this activity for different ages?
For preschoolers let them choose and stick photos and draw beside the map while an adult writes their short story, for early elementary kids have them write the 3–5 sentence favorite moment and make the pocket and contents page themselves, and for older kids encourage map annotations, longer journal entries, photo captions, and sharing the finished journal on DIY.org.
How can we personalize or extend the travel journal to make it more special?
Personalize the journal by adding captions under each glued photo, labeling and starring your favorite place on the map, decorating pages with washi tape or stickers, laminating a cover, and placing small souvenirs into the glued pocket before sharing on DIY.org.
Watch videos on how to create a travel journal
History for kids - Travel through Time - Compilation
4 Videos

History for kids - Travel through Time - Compilation
WRITING for Kids ✏️ TYPES OF TEXTS and Their Secrets 🤩 Stories, Plays, News and More!
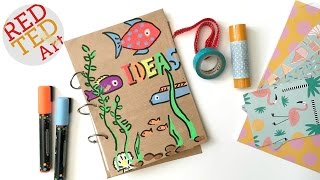
Easy SMASH BOOK DIY - How to make a Journal Tutorial - Scrapbooking - DIY Art Books
Writing Tips: How To Make Writing Fun For Kids
Facts about travel journaling
🗺️ Some of the world's oldest maps are over 4,000 years old — people have been recording places for millennia!
📸 Early travel photos were rare because 19th-century cameras were big and slow, so travelers often mailed postcards instead.
✍️ Famous explorers like Marco Polo and Lewis and Clark kept journals that later became important books about distant lands.
📚 Scrapbooking boomed in the 1800s when people started pasting photos, tickets, and notes into albums to save memories.
🎒 Writing by hand in a travel journal helps you remember details better—studies show handwriting improves memory more than typing.
How do you make a travel journal?
What materials do I need for a travel journal?
What ages is this travel journal activity suitable for?
What are the benefits of keeping a travel journal?
