Invent a tube squeezing mechanism
Design and build a simple tube-squeezer using cardboard, rubber bands, clothespins, and a dowel; test and improve how well it empties tubes safely.


Step-by-step guide to design and build a tube-squeezing mechanism
School Science Projects | Pulley
Step 1
Gather all materials and clear a flat workspace so you have room to build.
Step 2
Cut a cardboard rectangle about 20 cm by 10 cm to make the base.
Step 3
Cut two cardboard strips about 20 cm by 3 cm to act as the channel sides.
Step 4
Tape the two strips upright along the long edges of the base to form a channel for the tube.
Step 5
Cut two small cardboard support tabs about 3 cm by 1 cm.
Step 6
Tape one support tab inside the channel near each end to create holders for the dowel.
Step 7
Lay the wooden dowel across the channel so it rests on the two support tabs.
Step 8
Wrap one rubber band around the dowel to give it extra grip against the tube.
Step 9
Place the closed tube inside the channel with the cap facing the open end of your base.
Step 10
Clip a clothespin to the back end of the tube to act as a stop so the tube does not slide back.
Step 11
Turn the dowel by hand a few full rotations so the dowel rolls and pushes the tube toward the cap.
Step 12
Add another rubber band around the dowel if the tube slips and the dowel does not roll smoothly.
Step 13
Move the clothespin forward and reclamp it nearer the dowel if the tube still has product near the back.
Step 14
Take a photo or video and share your finished tube-squeezer on DIY.org
Help!?
What can I use if I don't have a wooden dowel or clothespin?
Use a sturdy pencil, marker, or chopstick in place of the wooden dowel and a binder clip or hair clip instead of the clothespin, making sure the substitute dowel rests on the two cardboard support tabs and the clip clamps the back end of the tube as instructed.
Why won't the dowel roll or the tube keep moving toward the cap?
If the dowel slips instead of rolling, wrap an extra rubber band around the dowel and press or re-tape the cardboard support tabs so the dowel sits level on the two tabs, then move the clothespin forward as described to keep the tube contacting the dowel.
How can I adapt this project for different age groups?
For younger children, pre-cut the 20 cm × 10 cm base and the 20 cm × 3 cm strips and let them tape and decorate the channel and place the dowel, while older kids can measure and cut the cardboard themselves, add a crank handle, or experiment with rubber-band tension to improve squeezing.
How can we improve or personalize our tube squeezer?
Decorate the cardboard base, attach a straw or small wooden knob to the dowel as a crank for easier turning, and try adding more rubber bands or changing channel width to compare squeezing efficiency before taking the photo or video.
Watch videos on how to design and build a tube-squeezing mechanism
HOW TO MAKE A WIND VANE | Wind vane - School Project | Step by step instructions on making wind vane
4 Videos
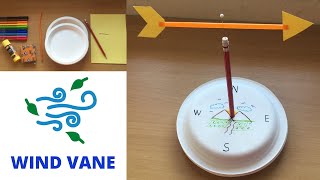
HOW TO MAKE A WIND VANE | Wind vane - School Project | Step by step instructions on making wind vane

How to make an Automata- a STEM activity | DIY | School project | science project | STEM activity
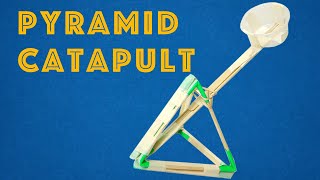
Young Engineers: Pyramid Catapult - Easy and Powerful DIY STEM Project for Kids
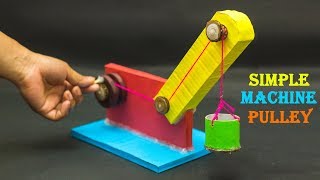
Science Fair Projects | Simple Machine Pulley
Facts about simple machines and mechanical design for kids
📦 Cardboard is lightweight, usually made from layers of paper pulp, and is one of the most recycled packaging materials worldwide.
⚖️ Levers — one of the six simple machines — help you trade distance for force so a small push can create a big squeeze.
🪢 Rubber bands were first patented for general use by Stephen Perry in 1845 and are made from stretchy natural latex.
🧷 Clothespins are great mini-clamps in DIY projects — people often reuse them to hold small parts while glue or paint dries.
🖌️ The collapsible metal tube used for toothpaste was inspired by artist paint tubes, first invented by John G. Rand in 1841.
How do I design and build a simple tube-squeezer using cardboard, rubber bands, clothespins, and a dowel?
What materials do I need to make a tube-squeezing mechanism from household items?
What ages is a tube-squeezer design and build activity suitable for?
How can we test and improve the tube-squeezer safely?
