Invent a new drawing technique
Invent a new drawing technique by combining household tools, textures, and colors; experiment, test variations, and create an original artwork demonstrating your invented process.


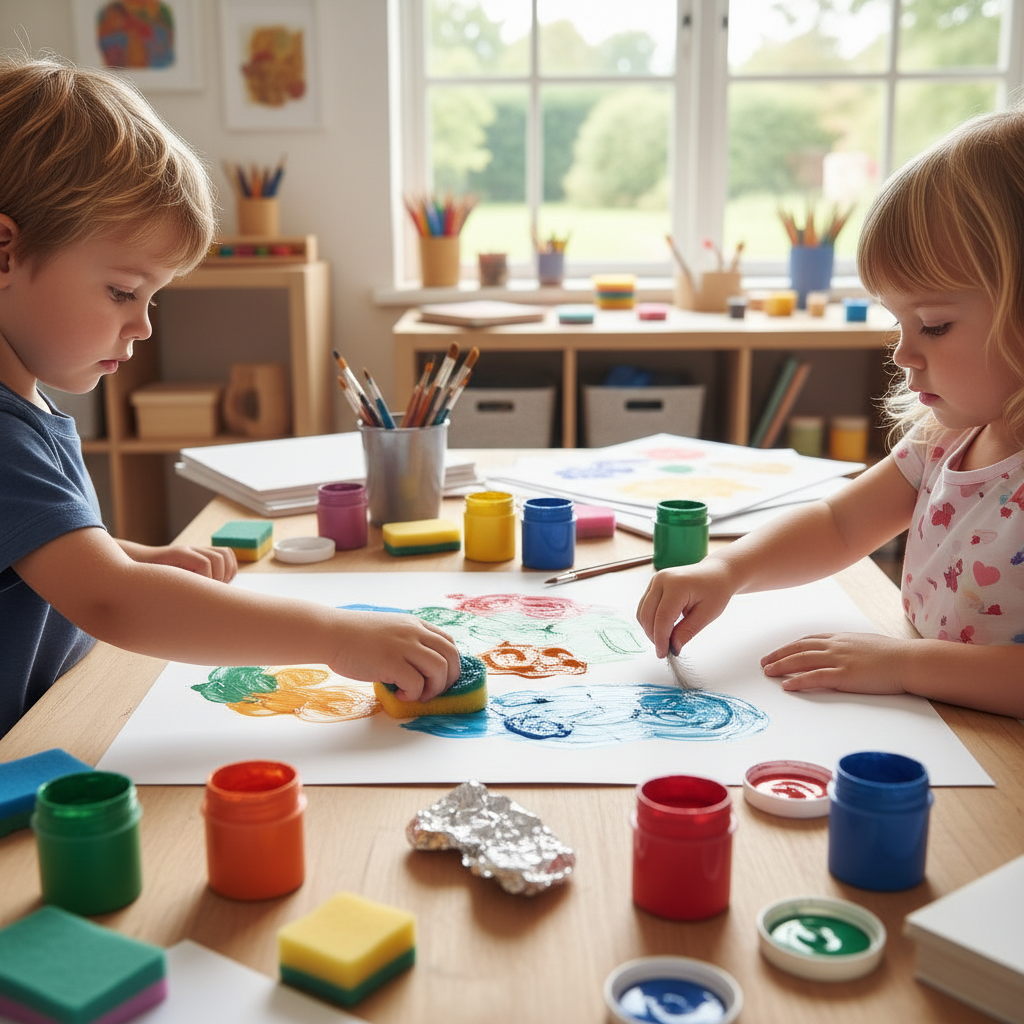

Step-by-step guide to invent a new drawing technique using household tools, textures, and colors
Step 1
Choose a subject or idea for your drawing like an animal a plant or a cool pattern.
Step 2
Arrange your workspace with a sheet of paper and all your materials within easy reach.
Step 3
Lightly sketch the main shapes of your subject with your pencil.
Step 4
Pick three texture tools from your box of household items to test.
Step 5
Make test marks with each chosen tool on a scrap of paper to see how they look.
Step 6
Choose a color palette of three or four colors to use in your technique.
Step 7
Decide how to combine one texture tool with one color for your first pass.
Step 8
Apply that first textured layer to your main drawing using the tool and color you chose.
Step 9
Try a variation by changing pressure direction or swapping to a second tool and color in another area.
Step 10
Add final details and outlines with pens crayons or a small brush to finish your artwork.
Step 11
Share your finished creation on DIY.org
Help!?
What can I use if I don't have the texture tools or a small brush?
If you don't have the suggested texture tools, use common items from your 'box of household items' like a toothbrush, bubble wrap, a kitchen sponge or fork, and swap a cotton swab or stiff marker for a 'small brush' when you 'Add final details and outlines with pens, crayons or a small brush'.
My texture marks are coming out faint, muddy, or ripping the paper — how can I fix that?
If your texture marks are too faint, muddy, or tear the paper, use the 'Make test marks with each chosen tool on a scrap of paper' step to try heavier or lighter pressure, drier media, or switch to thicker paper and let each textured layer dry before applying the next color.
How can I adapt this activity for younger or older kids?
For ages 3–5, simplify by sketching basic shapes, choosing just one texture tool and one color for the 'first textured layer' with adult help testing tools, while ages 6–9 can follow most steps with supervision and ages 10+ can experiment with all three tools, a four-color palette and more complex layering before adding 'final details and outlines'.
How can we extend or personalize this drawing technique after finishing one piece?
Enhance your technique by making a comparative series that keeps the same subject while changing the 'texture tool and color' combination, adding collaged textured scraps before you 'Add final details and outlines', or photographing the results to create a shared gallery on DIY.org.
Watch videos on how to invent a new drawing technique using household tools, textures, and colors
Explore the Art of Paper Cutting | Arts and Crafts For Beginners | Fun Activities For Kids
4 Videos
Explore the Art of Paper Cutting | Arts and Crafts For Beginners | Fun Activities For Kids

Origami For Kids | Paper Crafts | Fun Activities For Kids
60 Easy Paper Projects - The new Red Ted Art Craft Book for Kids
How To Draw A Fall Folding Surprise 🍁
Facts about mixed-media art for kids
🎨 Mixed media means combining two or more art materials—like paint plus paper or fabric—to make one artwork.
🧽 Everyday tools such as sponges, toothbrushes, aluminium foil, and bubble wrap are often used to create fun textures.
🧪 Artists use experimentation (trying lots of variations) to discover new marks and techniques that become signature styles.
🌈 Color changes how we see texture—warm colors tend to make textures feel closer, cool colors make them recede.
🖨️ Techniques like monoprinting and rubbings let you transfer real-world textures (leaves, coins, fabrics) onto paper.
How do I invent a new drawing technique using household tools, textures, and colors?
What materials and household items do I need to invent a new drawing technique at home?
What ages is inventing a drawing technique suitable for and what supervision is needed?
What are the benefits of inventing a drawing technique, and are there safety tips or variations?
