Identify local trees
Explore nearby parks or neighborhoods, observe leaves, bark, and seeds, use a simple field guide to identify and record local tree species.


Step-by-step guide to identify local trees
Trees for Kids | Learn all about trees in this fun educational video for kids
Step 1
Choose a nearby park or a quiet street with trees to explore.
Step 2
Go to that place with an adult so you stay safe.
Step 3
Walk slowly and look closely for trees that look different from each other.
Step 4
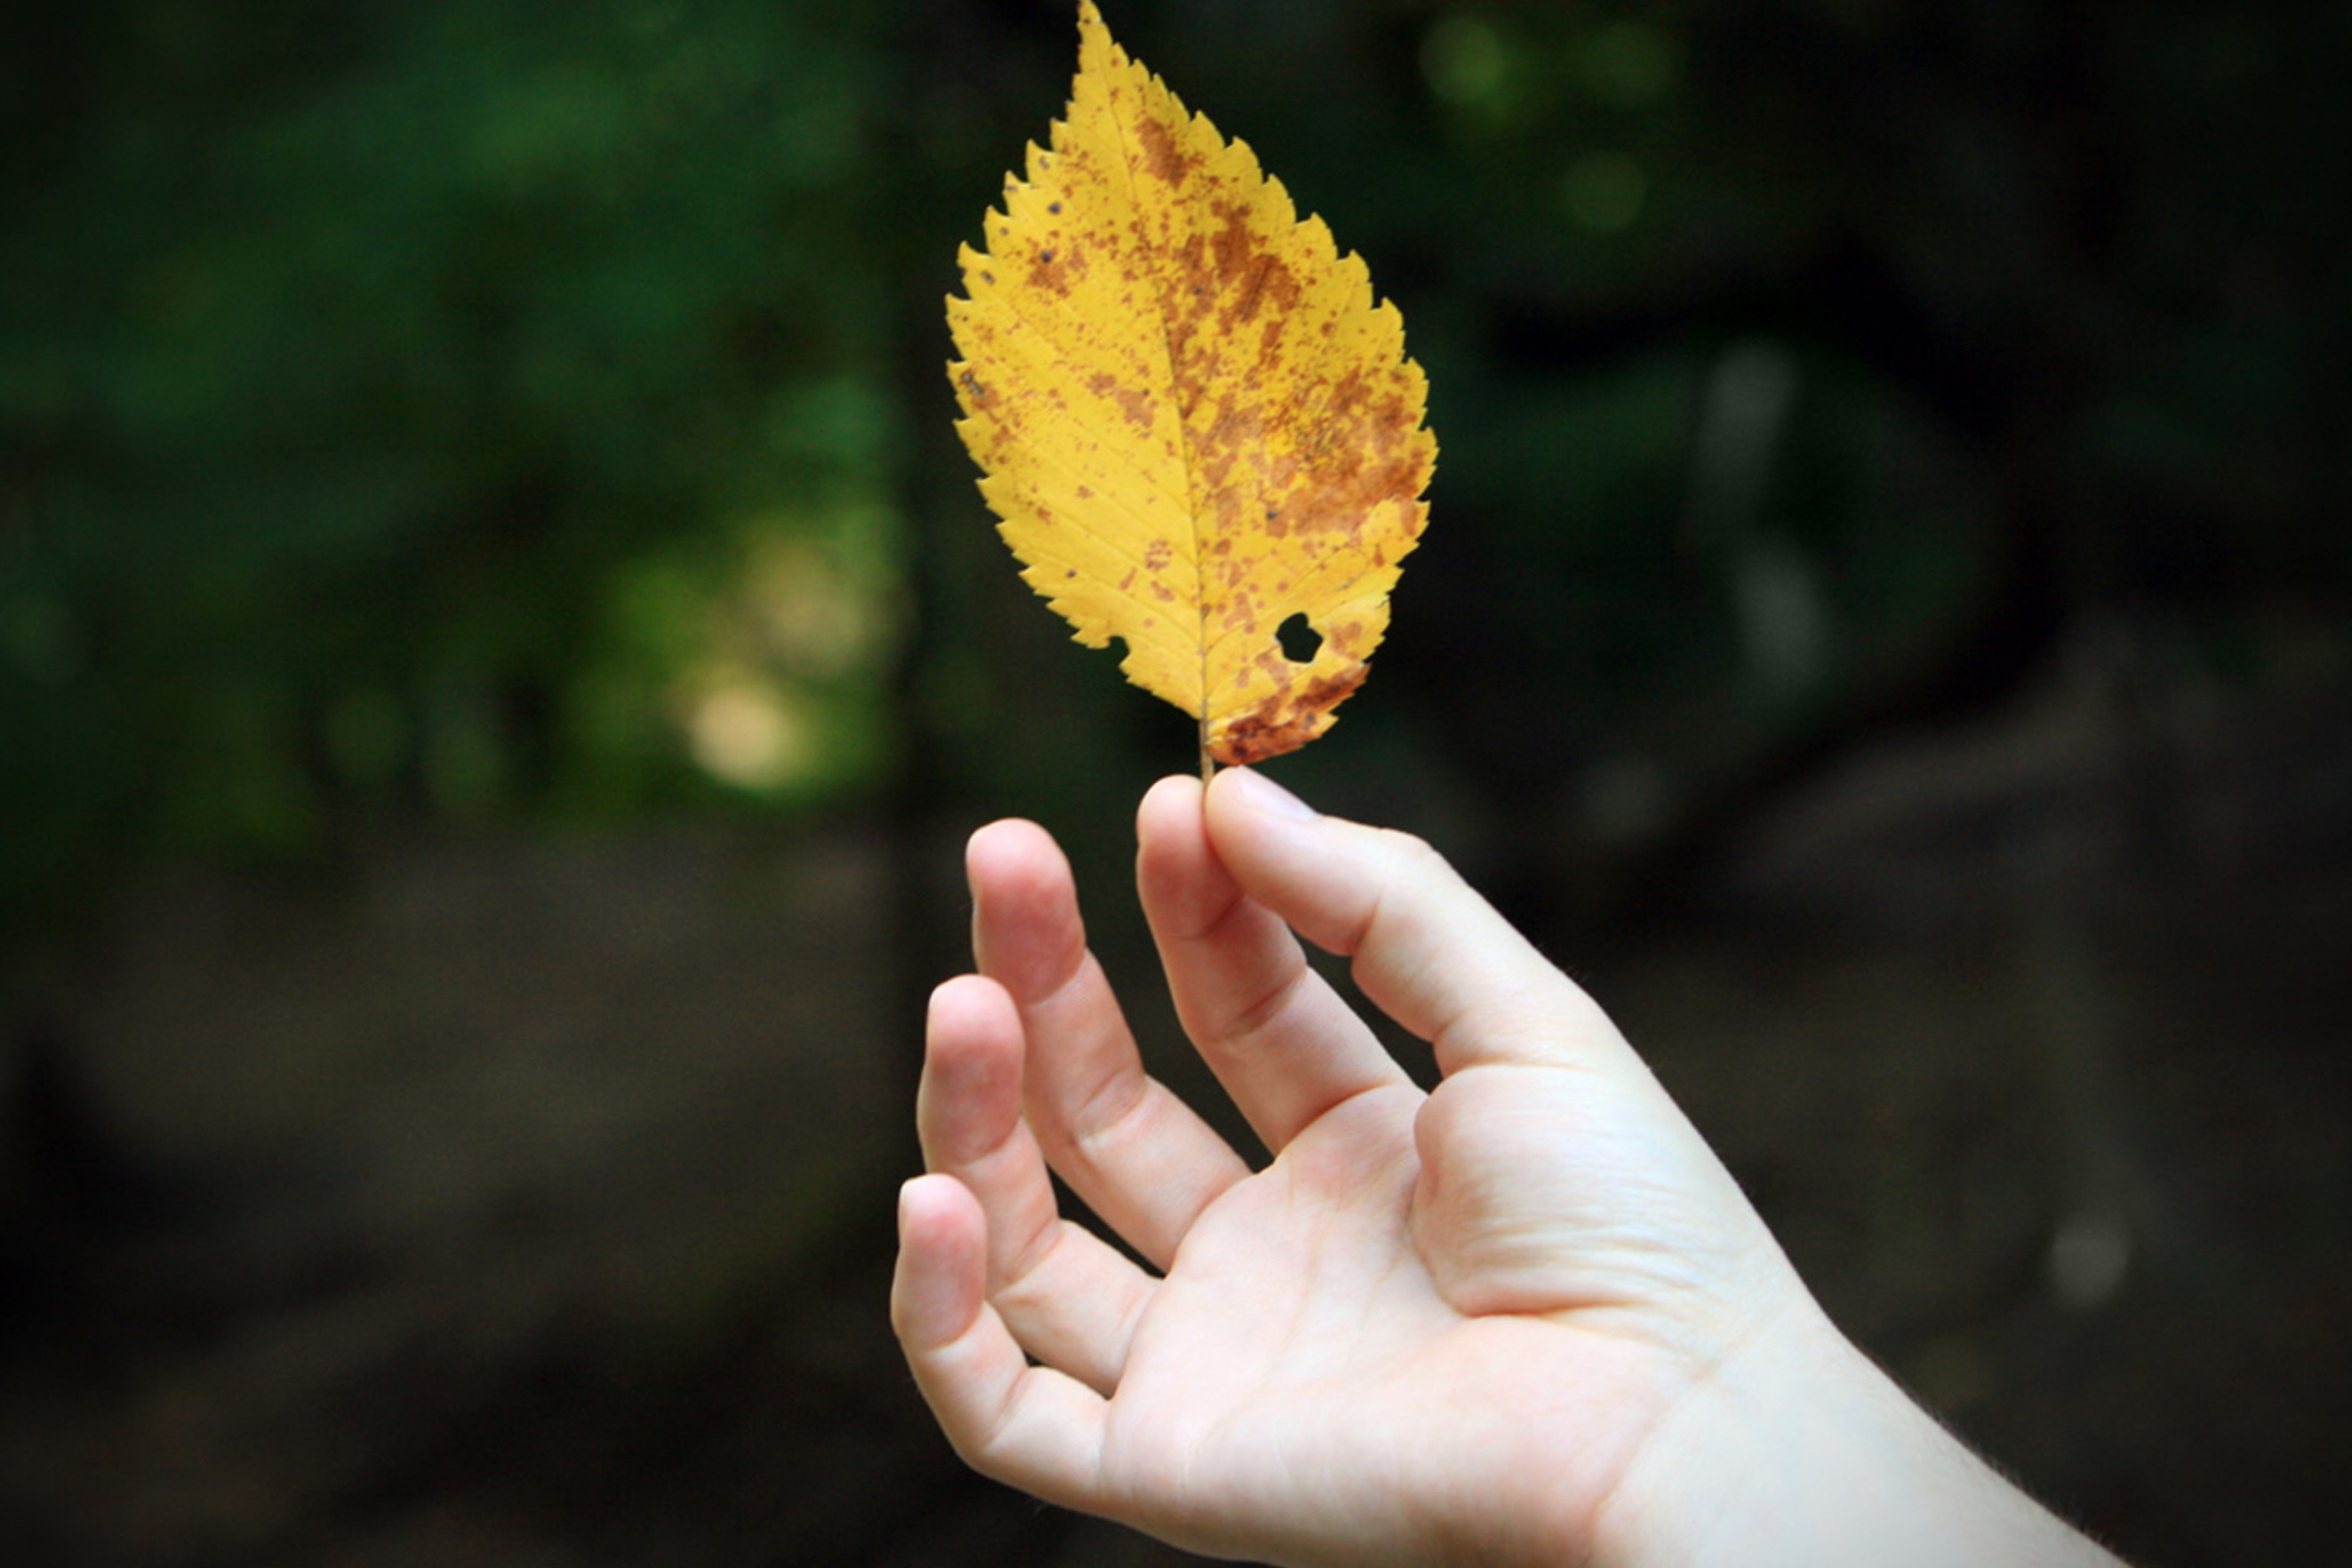
When you find a tree you like, pick up one leaf from the ground next to it and place it in your paper bag.
Step 5
Use the magnifying glass to examine the leaf's edges veins and texture up close.
Step 6
Write three words in your notebook that describe the leaf's shape size and color.
Step 7
Make a bark rubbing by holding a sheet of paper flat against the trunk and rubbing a crayon sideways over the paper to show the texture.
Step 8
Look on the ground near the tree for any seeds nuts or fruits and put one in your bag if you find one.
Step 9
Open your field guide and compare its pictures to your leaf shape bark rubbing and seeds to find the closest match.
Step 10
Write the tree's likely name and the exact place you found it in your notebook.
Step 11
Repeat Steps 3 to 10 for at least two other trees so you record three different species.
Step 12
Back at home color your drawings and make each page neat so others can read your notes.
Step 13
Make a simple list in your notebook that shows each tree's name where you found it and one interesting thing you noticed about it.
Step 14
Take a photo or scan your notebook pages and share your finished tree-identification project on DIY.org.
Help!?
What can we use instead of a magnifying glass, paper bag, or field guide if we don't have them?
If you don't have a magnifying glass, use a smartphone camera zoom to examine veins (Step 5); replace the paper bag with a small envelope or resealable sandwich bag for collecting leaves (Step 4); and use free online tree ID apps or printable field guide PDFs instead of a paper field guide (Step 9).
My bark rubbing turned out faint or blank — how can I make a clearer rubbing?
Make sure the paper is held flat against the trunk (Step 6), use a softer, broader crayon or a charcoal stick held sideways and press firmly as you rub to better capture the bark texture, and try a different spot with rougher bark if the area is too smooth.
How can I change the activity for younger or older children?
For younger kids, do Steps 3–8 on just one tree and use stickers or drawings instead of writing three words (Steps 5 and 8), while older kids can add measurements like leaf length, record GPS coordinates, and look up scientific names in the field guide (Steps 5, 9, and 11).
How can we make the project more interesting before sharing it on DIY.org?
Enhance your project by pressing extra leaves into your notebook and adding watercolor or labeled diagrams to the colored pages (Step 12), create a simple map showing where each tree was found (Step 11), and assemble a short slideshow of scanned pages and photos to upload to DIY.org (Step 13).
Watch videos on how to identify local trees
Trees for Kids | Learn Parts of a Tree for Kids | Tree and their Parts for Kids | Preschool Videos
4 Videos
Trees for Kids | Learn Parts of a Tree for Kids | Tree and their Parts for Kids | Preschool Videos

What Are Some Easy Trees To Identify? - Childhood Education Zone

Why are Trees Important? | Science for Kids
Meet the Trees! 🌳 | Tree Names for Kids | Let's Learn different Types of Tree Names Together baby
Facts about tree identification for kids
🌳 Some trees live for thousands of years — the oldest known wild tree is over 4,800 years old.
🍁 Leaf shapes (like lobed, serrated, or needle-like) give quick clues to a tree's identity.
🌰 Seeds get around in surprising ways: by wind, water, animals, and even by popping out of their pods!
🔎 Bark comes in many textures — smooth, flaky, or deeply ridged — and helps you tell species apart.
📘 A pocket field guide or ID app can help you identify dozens of local trees on one walk.
How do I identify local trees with my child?
What materials do I need to identify local trees?
What ages is identifying local trees suitable for?
What are the benefits of identifying local trees with kids?
