How to make an envelope
Make a simple paper envelope by measuring, folding, cutting, and gluing a sheet; practice neat edges and add optional decoration safely.

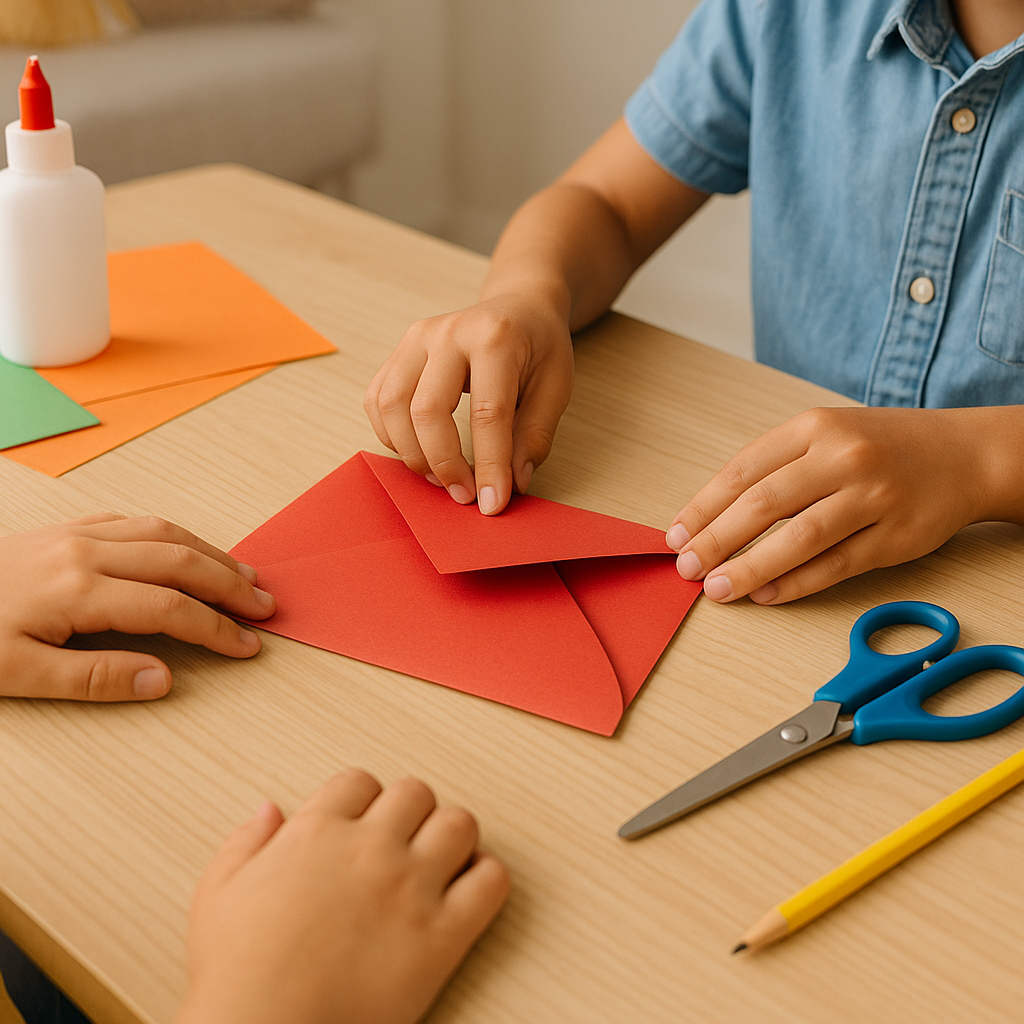

Step-by-step guide to make a paper envelope
📩 No-Glue Origami Envelope! Easy Paper Folding Craft for Kids | Miss Daisy
Step 1
Put the sheet of paper flat on the table and gather your ruler pencil scissors and glue.
Step 2
Place the card or note you want to put inside the envelope in the center of the paper.
Step 3
Use your pencil to lightly trace around the card so you can see its exact size on the paper.
Step 4
With the ruler draw a border 1 cm away from your traced rectangle all the way around.
Step 5
Cut out the larger rectangle along the outside border you just drew so you have a working sheet the size of the envelope.
Step 6
Fold the left side of the cut paper inward so the edge meets the inner traced rectangle and crease the fold.
Step 7
Fold the right side of the cut paper inward so the edge meets the inner traced rectangle and crease the fold.
Step 8
Press firmly along the folded edges to make sharp creases so the sides stay neat.
Step 9
Cut small triangles from the two bottom outer corners outside the inner rectangle so the bottom can fold up flat.
Step 10
Fold the bottom section up over the traced card area to form the pocket of the envelope.
Step 11
Put glue along the inside edges of the triangular cut areas or on the inside edges of the side folds.
Step 12
Press the side folds down onto the glued areas so the bottom pocket is attached and the envelope holds its shape.
Step 13
Fold the top section down to make the envelope flap that will close over the pocket.
Step 14
Decorate your envelope using colouring materials or stickers to make it colorful and neat.
Step 15
Take a photo of your finished envelope and share your creation on DIY.org
Help!?
What can we use if we don't have one of the materials listed (ruler, pencil, scissors, glue)?
If you don’t have a ruler, use a straight edge like a hardcover book to draw the 1 cm border, use a ballpoint pen for the light tracing of the card, swap scissors for safety scissors or have an adult pre-cut the rectangle, and use double-sided tape or a glue stick to attach the side folds in place.
My envelope sides don't line up or the pocket is floppy—what should I check or redo?
If the left and right folds don't meet the inner traced rectangle neatly or the pocket is floppy, reopen the folds, realign the edges to the traced rectangle, press firmly and run the ruler along the creases, then put glue only on the inside edges of the triangular cut areas and press until set so the pocket holds its shape.
How can I adapt this activity for different ages or skill levels?
For younger kids, have an adult pre-trace and pre-cut the larger rectangle and corner triangles so they can fold, glue, and decorate, while older kids can measure the 1 cm border themselves, cut precise triangles, and make sharper creases with a ruler for a neater envelope.
What are some ways to enhance or personalize the finished envelope?
To personalize and extend the project, use patterned or textured paper for the sheet, add a small interior pocket or a window before cutting the triangles, seal the top flap with a sticker or string-and-button closure, and decorate with colouring materials or stickers before photographing to share on DIY.org.
Watch videos on how to make a paper envelope
How to Make a Beautiful Green Origami Envelope - Easy Paper Craft for Kids
4 Videos
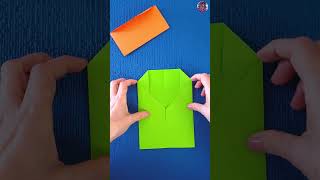
How to Make a Beautiful Green Origami Envelope - Easy Paper Craft for Kids

Super Easy Origami Envelope Tutorial - DIY - Paper Kawaii
Easy Origami Envelope Tutorial | How to Make Paper Envelopes
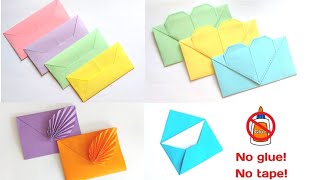
DIY 4 Easy Paper Envelopes | No Glue Crafts | Make Simple Envelope at home | Origami tutorial
Facts about paper crafts for kids
✉️ The word "envelope" comes from the French verb "envelopper," which means "to wrap" — envelopes are tiny wrappers for letters.
📐 Leaving a small seam allowance (about 4–6 mm) makes folding and gluing much easier and helps edges stay neat.
✂️ Long before paper envelopes, people used folded papyrus, clay, or wax-sealed wrappers to protect messages in ancient times.
🎨 Washi tape and stickers are great for decorating envelopes because they don't need wet glue and kids can use them safely and cleanly.
🧼 Working on a flat, clean surface with dry hands and a ruler helps achieve straighter folds and tidier edges every time.
How do you make a simple paper envelope step by step?
What materials do I need to make a paper envelope?
What ages is making a paper envelope suitable for?
What are the benefits, safety tips, and fun variations for this envelope craft?
