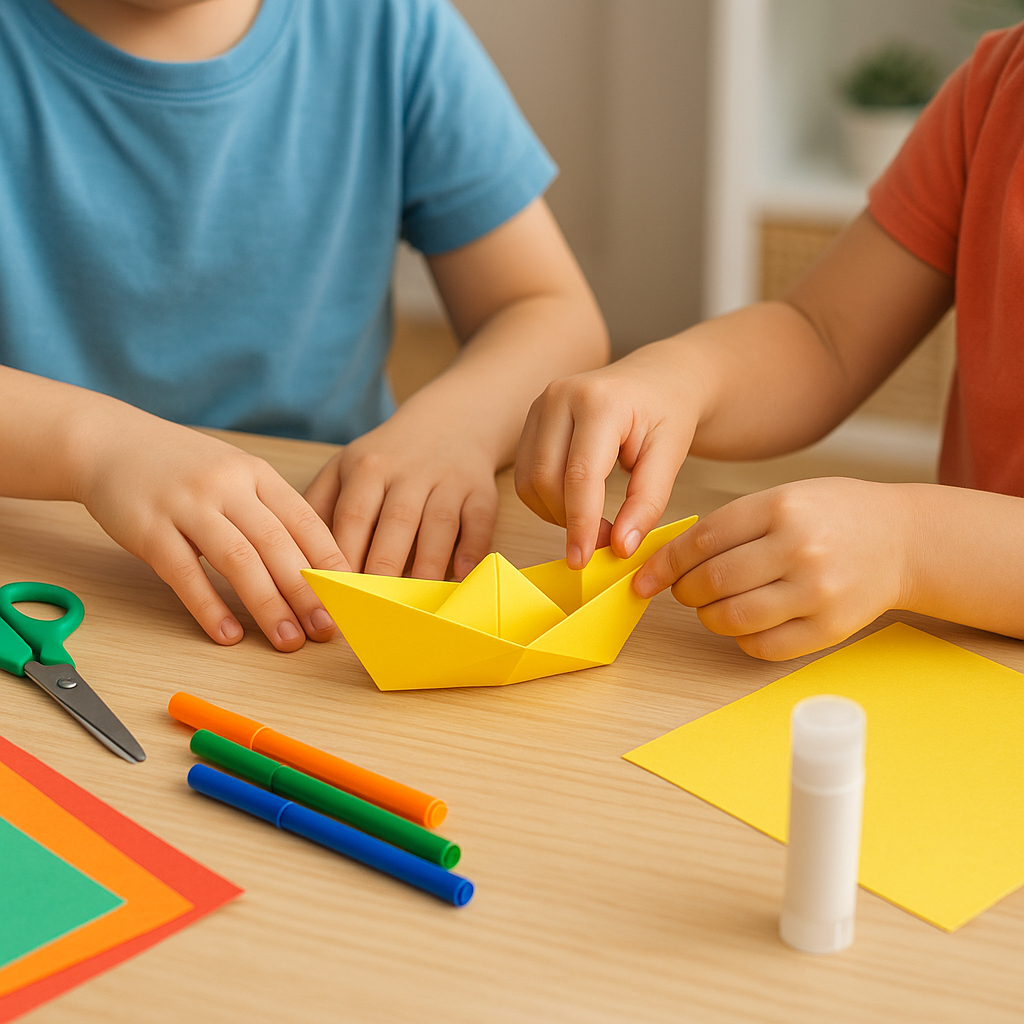
How to make a paper boat
Fold a simple paper boat using rectangular paper, follow step-by-step creasing, decorate it, then test flotation in a bowl of water to learn buoyancy.


Step-by-step guide to make a paper boat
How to Make a Paper Boat that Really Floats | Easy Step-by-Step Tutorial
Step 1
Lay your rectangular paper flat on a clean table.
Step 2
Fold the paper in half from top to bottom and press the crease firmly.
Step 3
Fold both top corners down to the center crease so they meet and press the folds.
Step 4
Fold the bottom strip up on both sides over the triangle base and press the folds.
Step 5
Pull the two open ends apart to open the hat shape so it becomes a square.
Step 6
Fold the bottom corner of the square up on both sides to meet the top corner and press.
Step 7
Gently pull the two outer points apart to open the shape into a boat and press the bottom flat.
Step 8
Decorate your boat using coloring materials and stickers.
Step 9
Place a towel next to your sink or table to catch any spills.
Step 10
Ask an adult to fill a bowl halfway with water and place it on the towel.
Step 11
Carefully place your paper boat on the water surface to test flotation.
Step 12
Watch to see whether your boat floats or tips.
Step 13
If your boat sinks, remove heavy decorations and smooth any crumpled creases.
Step 14
Try your boat again in the water to see if it floats better.
Step 15
Share a photo of your finished paper boat and what you learned about floating on DIY.org.
Help!?
What can I use if I don't have rectangular paper, stickers, or a bowl for the water test?
Trim printer paper, magazine pages, or a cereal-box sheet into a rectangle for the folds, use light marker drawings or washi tape instead of heavy stickers, and test flotation in a large cup or the sink on the towel if you don't have a bowl.
My boat won't open into a square or keeps sinking — what should I check?
If the 'hat' won't open into a square, press the center crease firmly and gently pull the two open ends apart, and if the boat sinks remove heavy decorations and smooth any crumpled creases before retesting in the bowl.
How can I adapt this paper boat activity for different age groups?
For toddlers, pre-fold the main creases and let them decorate with washable coloring materials while supervised, and for older kids, challenge them to try different paper thicknesses, add a toothpick sail, and count how many small coins the boat holds during the bowl test.
How can we make the boat stronger or more unique after following the folding steps?
Reinforce the bottom and triangle base creases with clear tape or a thin wax-paper lining, add a toothpick sail or stickers for personalization, and share a photo and what you learned about floating on DIY.org.
Watch videos on how to make a paper boat
How to make a Paper Boat Making Tutorial For Kids
4 Videos
How to make a Paper Boat Making Tutorial For Kids

How to Make an Easy Origami Boat - Perfect for Kids & Beginners! ⛵️
Make the BEST Paper Boat that Floats with Easy Origami Folding
Make a Paper Boat That Floats | Easy Origami Boat Step-by-Step for Kids | Making Crafts
Facts about paper crafts and buoyancy
📝 Origami means "folding paper" in Japanese — simple paper boats are a classic origami model kids learn first.
🛶 A boat floats because it displaces water equal to its weight; the shape and trapped air help even a paper boat stay afloat.
🧪 Archimedes discovered the principle of buoyancy — the upward force on an object equals the weight of the fluid it displaces (hence "Eureka!").
🌊 Plain paper soaks up water and will usually sink after a few minutes unless you protect it (wax, tape, or waterproof coating).
🎨 Decorating with crayons, stickers, or a thin wax coating keeps your boat colorful and can help repel water a little longer.
How do you fold a simple paper boat step by step?
What materials do I need to make a paper boat and test buoyancy?
What ages is folding paper boats suitable for?
What are the learning benefits of making paper boats?
