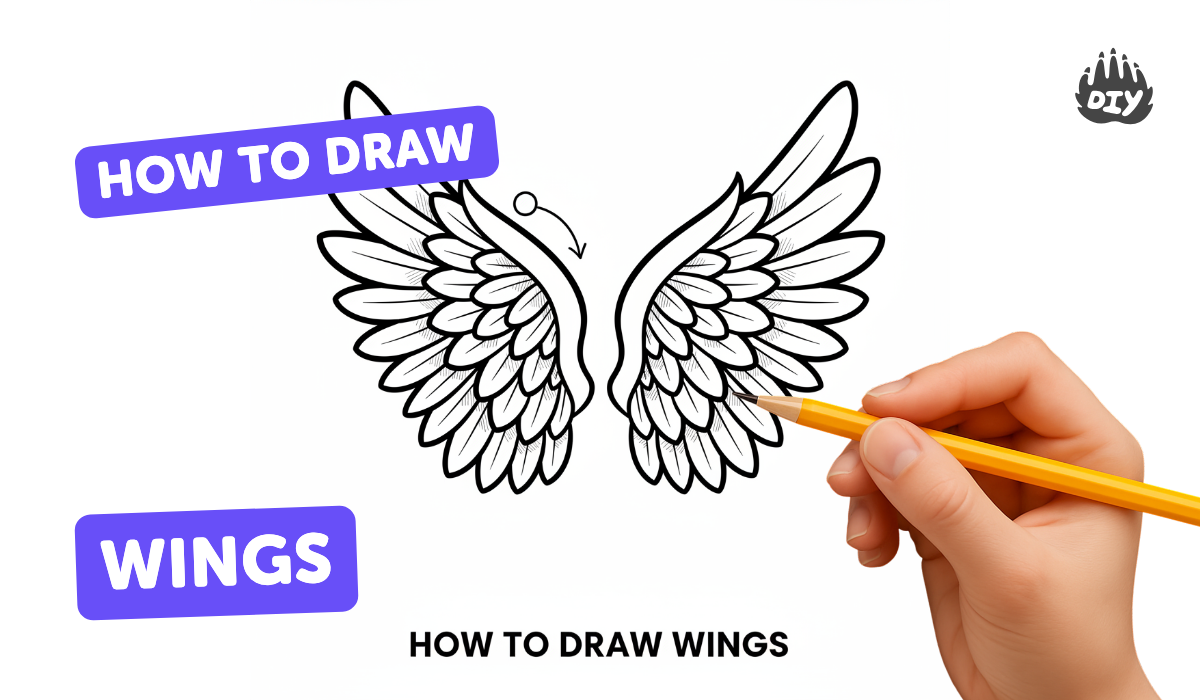
How to draw wings - a free wings drawing guide
Draw realistic bird or fantasy wings step-by-step using pencils and paper, practicing shapes, shading, and symmetry to improve illustration skills.

Drawing Apps
Get inspired with these


Instructions
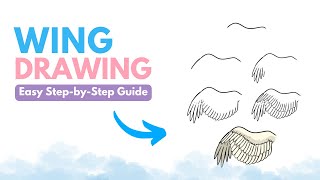
EASY How to Draw WINGS
Step 1
Lightly draw two small shoulder circles side by side and a faint center line between them to plan where each wing will start.
Step 2
Decide the left circle will be the feathered wing and the right circle will be the bat wing and label them L and B.
Step 3
Mark three anchor dots outward from each shoulder for joint elbow and tip to help keep both wings symmetrical.
Step 4
Draw a smooth outer curve from the left shoulder through the left dots to form the outer silhouette of the feathered wing.
Step 5
Draw a long curved top edge and a slightly scalloped bottom edge from the right shoulder through the right dots to form the bat wing silhouette.
Step 6
Sketch several long tapered primary feathers along the outer edge of the feathered wing pointing toward the tip.
Step 7
Add shorter secondary feathers closer to the shoulder by drawing smaller layered feather shapes above the primaries.
Step 8
Draw light parallel lines on each feather to show the feather barbs and texture.
Step 9
For the bat wing draw three or four slightly curved finger bone lines from the shoulder toward the wing edge ending at the tips.
Step 10
Connect the bat wing finger tips with smooth curved membrane lines to create the skin between the fingers.
Step 11
Erase the guide dots and center line carefully to clean up the drawing outlines.
Step 12
Shade under the feather layers on the feathered wing with soft pencil strokes and blend gently with a tissue or cotton swab for depth.
Step 13
Shade the bat wing membrane darker near the shoulder and fingers and add thin wrinkle lines to suggest stretched skin.
Step 14
Darken the final outlines of both wings to make them stand out.
Step 15
Share your finished wing drawings on DIY.org
Help!?
What can we use instead of a cotton swab or tissue to blend the shaded feather layers and bat membrane?
Use a clean, slightly crumpled paper towel square, a soft cotton ball, the rounded end of a tissue folded tightly, or a blending stump/chamois to gently blend the shading under the feather layers and along the bat wing membrane.
My wings look uneven—how can I keep the feathered and bat wings symmetrical when marking anchor dots and drawing curves?
Keep the faint center line visible, measure equal distances from it when placing the three anchor dots on each side (use a ruler or folded paper), and sketch the outer curves with very light strokes so you can erase and adjust before darkening the final outlines.
How can I adapt this activity for younger or older kids?
For younger kids simplify by making larger shoulder circles, using sticker dots for the anchor points and drawing one or two big feather shapes instead of layered primaries and secondaries, while older kids can add detailed parallel barb lines, tighter feather layering, more dramatic shading under the feather layers, and accurate bat finger bones and membrane wrinkles.
How can we extend or personalize the finished wings before sharing on DIY.org?
Personalize by adding colored pencils or watercolor washes to the feathered wing, inking and emphasizing wrinkle lines on the bat wing, attaching the drawing to black paper for contrast or creating a folded paper costume pattern from your outlines, then photograph and upload to DIY.org.
Related videos
How to Draw Wings | Drawing Wings Step by Step | Drawing Easy
4 Videos
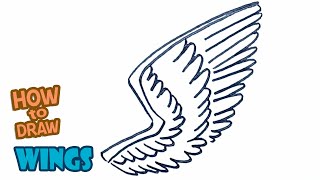
How to Draw Wings | Drawing Wings Step by Step | Drawing Easy
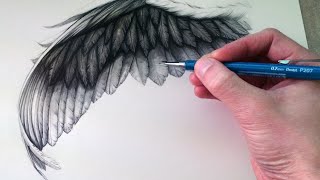
How to Draw Angel Wings For Beginners / Easy Drawing Tutorials
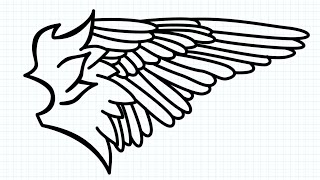
How to Draw a Wing
How to Draw A Wing - A Step-by-Step Guide ✍️
Fun Facts
🪶 Feathers are made mostly of keratin—the same protein as hair and nails, and studying feather layers helps you draw realistic plumage.
🦇 Bats fly using skin stretched over elongated fingers (not feathers), and they’re the only mammals that achieve sustained flight.
🐦 Different bird wing shapes (pointed, rounded, slotted) let species soar, dive, hover, or glide—great reference ideas for wing styles in drawings.
🔁 Wings are usually bilaterally symmetrical, so folding paper or drawing a center guideline makes it much easier to keep both sides even.
✏️ Shading tricks—darken under overlapping feathers and use gradual tones from light to dark—turn flat outlines into convincing 3D wings.
How do I teach my child to draw feathered and bat wings step-by-step?
What materials do I need to draw feathered and bat wings with my child?
What ages is drawing feathered and bat wings suitable for?
What are the benefits of practicing symmetry, observation, and shading when drawing wings?
