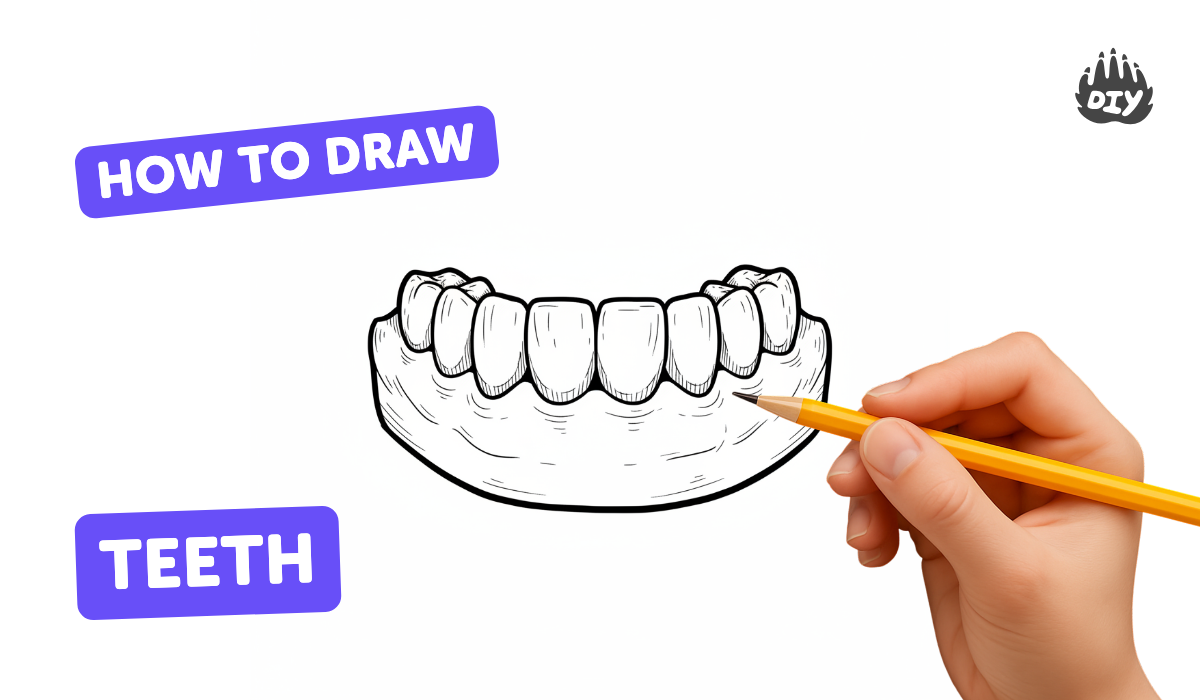
How to draw teeth - a free teeth drawing guide
Draw realistic human teeth step-by-step using pencil and eraser. Practice shapes, shading, and symmetry to create a believable smiling mouth.

Drawing Apps
Get inspired with these


Instructions
How To Draw A Dentist
Step 1
Set up your workspace with your paper and sharpened pencils ready.
Step 2
Draw a light horizontal center line where the mouth will sit.
Step 3
Draw a light vertical midline to help keep the mouth symmetrical.
Step 4
Sketch a light oval to mark the open area of the smiling mouth.
Step 5
Draw the top lip outline using a smooth curved shape above the oval.
Step 6
Draw the bottom lip outline using a gentle curve below the oval.
Step 7
Lightly draw a gentle curved gum line inside the oval to show where the top teeth start.
Step 8
Lightly draw vertical guide lines inside the oval to mark each tooth width.
Step 9
Draw the basic tooth shapes as slightly rounded rectangles inside the guides.
Step 10
Erase extra guide lines so only the clean tooth and lip outlines remain.
Step 11
Shade the edges of each tooth lightly with an HB pencil to show their curved surfaces.
Step 12
Darken the inside of the mouth and the gums with a 2B pencil to create contrast behind the teeth.
Step 13
Use the eraser to lift small areas on the teeth and lips to make bright white highlights.
Step 14
Gently blend shaded areas with a tissue or cotton swab and add darker accents under the bottom lip for depth.
Step 15
Share your finished smiling mouth drawing on DIY.org
Help!?
What can we use if we don't have an HB pencil, 2B pencil, or cotton swabs for blending?
If you don't have an HB or 2B, use a regular #2 (HB) for light tooth-edge shading and press harder or use a softer charcoal/4B for darkening the mouth and gums, and substitute a soft tissue, fingertip, or cotton ball for the cotton swab when blending.
My mouth looks lopsided—what step likely went wrong and how do I fix it?
If the mouth is asymmetric, redraw the light vertical midline and the oval, then mark equal vertical guide lines from that midline before sketching the rounded-rectangle tooth shapes to keep both sides balanced.
How can I adapt this drawing activity for younger or older children?
For younger kids, skip the fine shading and have them draw the oval, top/bottom lip outlines, and three large rounded tooth shapes, while older kids can follow every step including light guide lines, HB edge shading, 2B mouth darkening, eraser highlights, and tissue blending for realism.
What are simple ways to extend or personalize the smiling mouth drawing once it's finished?
To personalize and extend the drawing, erase selected guide lines to add gaps or braces, color the lips and gums with colored pencils or markers, and photograph the finished smiling mouth to share on DIY.org.
Related videos
How To Draw Toothless From How To Train Your Dragon
4 Videos

How To Draw Toothless From How To Train Your Dragon
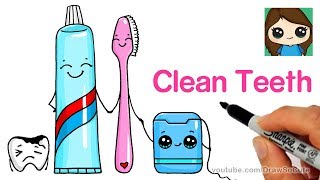
How to Draw a Cute Tooth Brush, Tooth Paste and Floss Easy
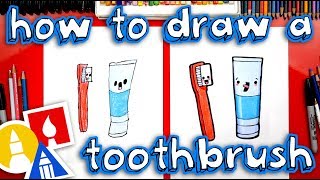
How To Draw A Toothbrush And Toothpaste

How To Draw The Tooth Fairy
Fun Facts
🦷 An adult mouth usually has 32 teeth while most children start with 20 baby teeth — great for counting practice in your drawing!
😁 A smile can use about 12–17 facial muscles — those muscle shapes create the creases and shadows you’ll sketch.
✏️ Graphite pencils are graded from 9H (hardest, lightest) to 9B (softest, darkest) — use harder pencils for outlines and softer Bs for deep shadows.
🎨 Artists often leave tiny white paper spots as highlights on teeth rather than coloring them in to make them look shiny and realistic.
🔍 Teeth aren’t pure white — subtle yellows, grays and small shadows make them appear natural when you shade carefully.
How do I teach my child to draw a realistic smiling mouth with teeth?
What materials do I need for drawing a realistic smiling mouth with pencil shading?
What ages is this teeth-drawing activity suitable for?
What are the benefits and safe variations of drawing teeth for kids?
