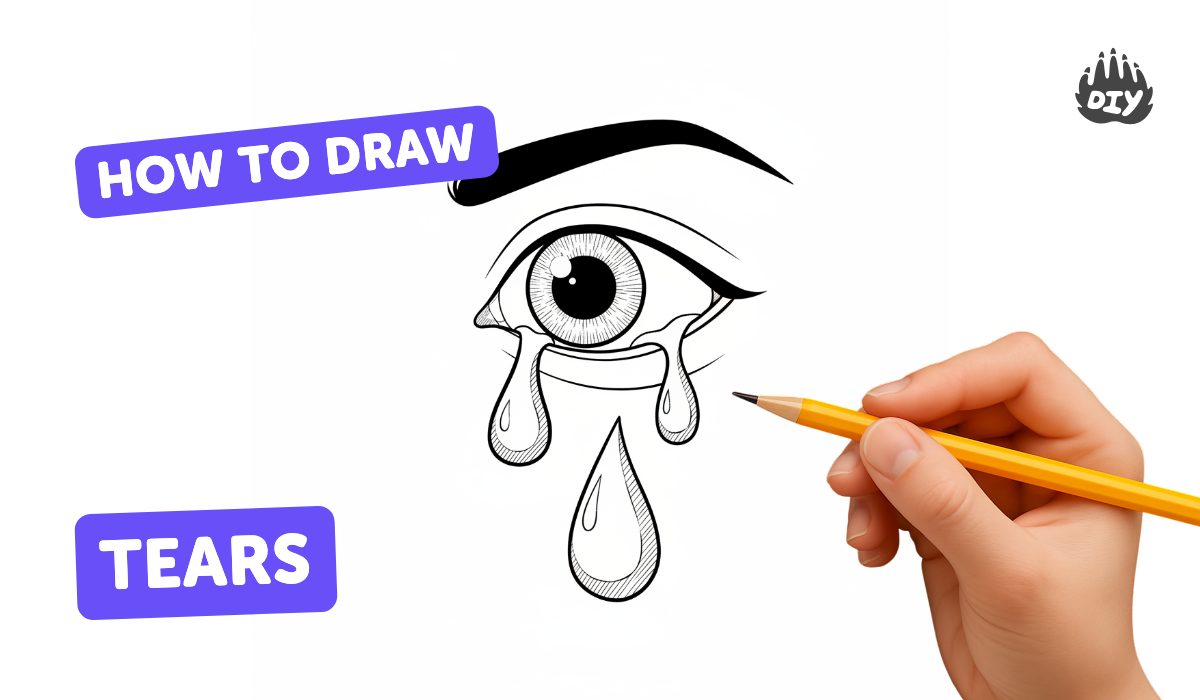
How to draw tears - a free tears drawing guide
Draw realistic tears on a face using pencil and shading. Practice shapes, highlights, reflections, and blending to create lifelike water droplets and emotional expression.

Drawing Apps
Get inspired with these


Instructions
EASY DRAWING TIPS: How to teach someone to draw? 🖌️🎨
Step 1
Gather all your materials and set them on a clean flat surface.
Step 2
Pick a clear face photo or sit in front of a mirror to use as your reference.
Step 3
Draw a small arrow on your paper showing which direction the light is coming from.
Step 4
Lightly sketch the eye shape and the cheek area where the teardrop will sit using your HB pencil.
Step 5
Lightly outline one or two teardrop shapes under the eye with soft pencil lines.
Step 6
Shade the teardrop’s far edge and underside with the 4B pencil to show its thickness.
Step 7
Smooth the shading inside the teardrop with a blending stump or tissue to make it look glossy.
Step 8
Draw a soft cast shadow on the cheek beneath the teardrop opposite the light source.
Step 9
Gently blend the cast shadow with the stump or tissue so it looks soft and natural.
Step 10
Draw faint thin tear trails from the lower eyelid down the cheek with light pencil strokes.
Step 11
Lightly blend the tear trails with a fingertip or tissue to create a wet streak effect.
Step 12
Use the white gel pen or white colored pencil to add a bright highlight where the light hits the teardrop and a thin curved rim inside the drop.
Step 13
Use the eraser to lift tiny spots of graphite for reflected light and to tidy any edges.
Step 14
Share your finished drawing on DIY.org.
Help!?
What can I use if I don't have a 4B pencil, blending stump, or white gel pen?
Substitute a softer pencil such as 6B or layer two HB pencils for the darker shading instead of a 4B, use a tightly rolled tissue or cotton swab if you don't have a blending stump to smooth the teardrop, and swap the white gel pen for a sharpened white colored pencil or a tiny dab of white gouache to add the highlight described in the instructions.
My teardrop looks flat—how do I fix it?
Darken the teardrop’s far edge and underside with the 4B pencil as the instructions say, smooth that shading with a blending stump or tissue, then lift tiny reflected spots with the eraser and add a bright white gel-pen highlight on the light-facing rim to recreate thickness and gloss.
How can I adapt this activity for younger or older children?
For younger kids, simplify by tracing the eye and drawing one large teardrop with HB pencil and blending with a fingertip, while older kids can use multiple graphite grades (HB–6B), refine the soft cast shadow and thin tear trails, and add crisp white-gel highlights for realism.
How can we extend or personalize the finished drawing?
Personalize by sketching several teardrops with varied sizes and trails, add subtle colored reflections with colored pencils or watercolor around the drop, experiment with different light-arrow directions from your mirror reference, and then share the finished piece on DIY.org.
Related videos
How To Draw Spring Blossoms - Preschool
4 Videos
How To Draw Spring Blossoms - Preschool
Easy Drawing And Painting Tutorials For Beginners
Drawing A Person With My 2-Year-Old (Preschool Lesson)
Fun & Easy Drawing Tutorial For Beginners
Fun Facts
💧 The human eye produces three kinds of tears—basal (keeps the eye moist), reflex (from irritants), and emotional tears (linked to feelings).
🔍 A tiny teardrop behaves like a convex lens and can contain small, often inverted, reflections of the scene around it.
🎨 Chiaroscuro, the art of strong light and shadow, is what helps artists place highlights and depth so tears look glossy and three-dimensional.
✏️ Pencil artists commonly lift graphite with a kneaded eraser to make crisp white highlights for realistic teardrops instead of adding pure white pigment.
😭 Even a faint wet rim along the lower eyelid or a single sparkling drop can instantly change how a viewer reads a character's emotion.
How do I draw realistic teardrops on a face using pencil shading and highlights?
What materials do I need to draw realistic tears with pencils?
What ages is this tear-drawing activity suitable for?
What are the benefits of practicing realistic teardrop drawing for kids?
