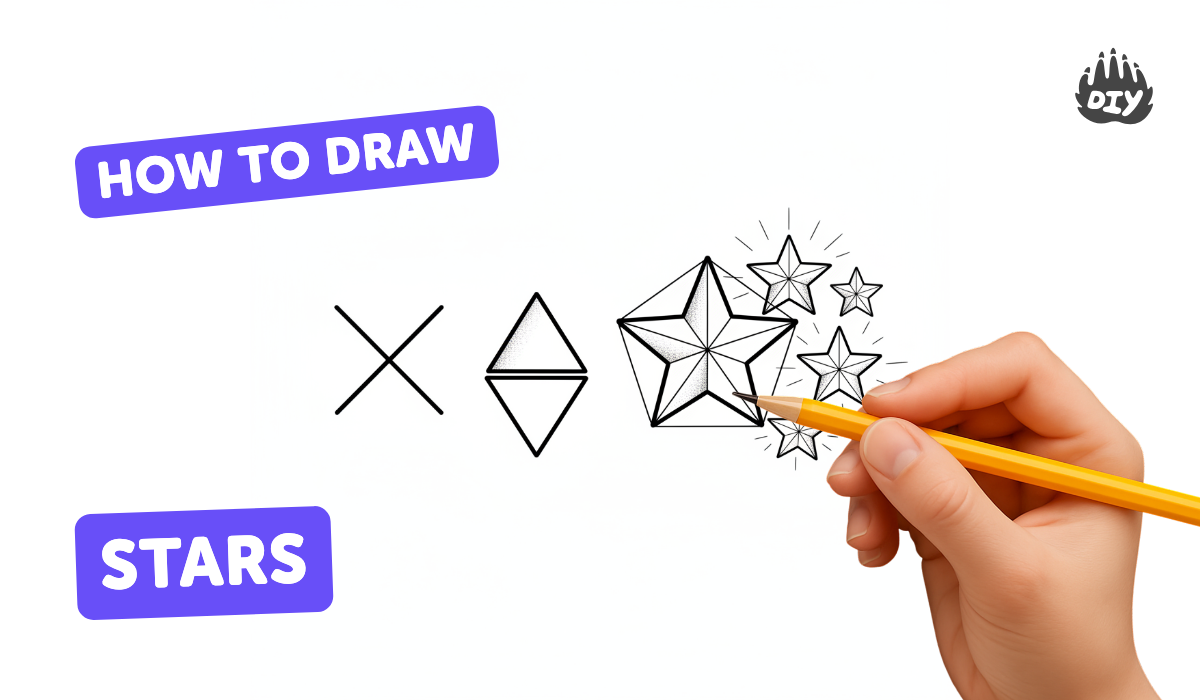
How to draw stars - a free stars drawing guide
Draw five pointed stars using pencil, ruler, and paper to learn symmetry and angles. Practice steady lines to improve hand eye coordination.


Instructions
How to Draw a Star for Kids Easy
Step 1
Place your paper on a flat table so it won't move while you draw.
Step 2
Sharpen your pencil until it has a nice sharp point.
Step 3
Use your ruler to draw one light vertical line and one light horizontal line that cross in the middle of the page as guides.
Step 4
Make five small dots evenly spaced around an imaginary circle near the center to mark the points of your first five-point star.
Step 5
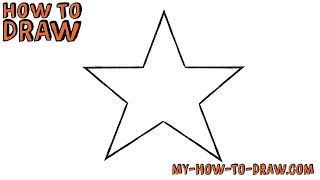
Connect the five dots in this order to form a star: top to lower-left to upper-right to upper-left to lower-right back to the top.
Step 6
Choose where you want an overlapping star to sit and make five small dots for that second star so it crosses part of the first star.
Step 7
Connect the dots of the overlapping star the same way to finish the second star.
Step 8
Make a set of five dots farther from the center or much closer together to create a larger or smaller third star.
Step 9
Connect those dots to complete the third different-sized star.
Step 10
Pick a new spot for a starburst and make one small center dot for the burst.
Step 11
Use your ruler to draw straight rays from the center dot outward like sunbeams to make the starburst.
Step 12
Erase the light guide lines and any extra dots you don't need anymore.
Step 13
Darken the star outlines you like and add colour or decoration with your colouring materials.
Step 14
Take a photo of your finished stars and share your creation on DIY.org
Help!?
What can we use if we don't have a ruler or a sharp pencil?
Use the straight edge of a hardcover book or a cereal box to draw the light vertical/horizontal guide lines and starburst rays, and swap a sharpened pencil for a mechanical pencil or a well-pointed washable marker.
My five-point star looks lopsided when I connect the dots—how can I fix that?
If the five small dots are uneven, lightly trace an imaginary circle with a cup or coin to place the dots evenly, then connect them in the instructed top → lower-left → upper-right → upper-left → lower-right → top order with your ruler.
How can I adapt this star-drawing activity for different ages?
For younger children, pre-mark the five-dot patterns and let them connect with a chunky crayon and erase guide lines for them, while older kids can sharpen their pencil, use a compass or protractor for precise circles, add overlapping or differently sized stars, and refine outlines and colouring.
What are simple ways to extend or personalize the finished star drawings?
Darken the star outlines you like, add colour or decoration with your colouring materials, sprinkle glitter along the rays or transform overlapping stars into a constellation, then mount the page as a card or take a photo to share on DIY.org.
Related videos
Easy Step-by-Step Star Drawing Tutorial for Kids | Learn to Draw Stars Easily!
4 Videos

Easy Step-by-Step Star Drawing Tutorial for Kids | Learn to Draw Stars Easily!
How to draw a Star *SUPER EASY* - Easy step-by-step drawing tutorial
Easy How to Draw a Perfect Star - Step-by-Step Drawing Tutorial - For All Ages & All Levels
How to Draw a Star: Simple Techniques for Beginners"
Get inspired with these


Fun Facts
⭐ You can draw a five-pointed star (a pentagram) in one continuous line by connecting every second vertex of a regular pentagon.
📐 Using a ruler (or straightedge) helps keep star lines perfectly straight and evenly spaced for clean shapes.
🔁 Symmetry is why stars look balanced — many star designs have rotational or mirror symmetry that repeats their points.
✏️ Artists often sketch light construction lines with pencil first, then darken final star outlines and erase guides for neat linework.
🌟 Starburst designs (many lines radiating from a center) are used in comics and posters to show sparkle, light, or impact.
How do I draw five-point, overlapping, and starburst stars using a pencil and ruler?
What materials do I need to draw different types of stars with a pencil and ruler?
What ages is drawing stars with rulers and pencils suitable for?
What are the benefits and safe variations of star-drawing practice for kids?
