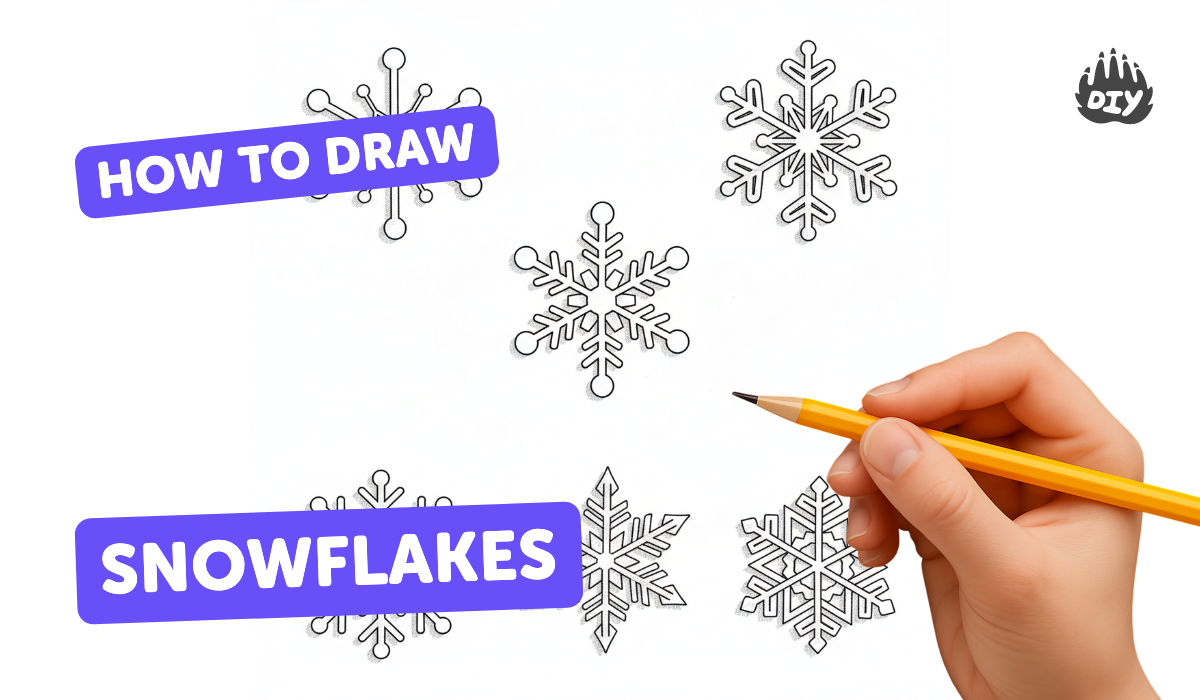
How to draw snowflakes - a free snowflakes drawing guide
Make and draw symmetrical snowflakes by folding paper, cutting shapes, and adding details. Practice symmetry, fine motor skills, and pattern design.


Instructions
How to Draw a Cute Snowflake | Easy Winter Drawing for Kids
Step 1
Pick one sheet of paper and fold one corner to the opposite edge to make a triangle then press the crease firmly.
Step 2
Cut off the long rectangle that sticks out along the triangle edge so the folded paper becomes a square shape.
Step 3
Keep the paper folded as a triangle and fold it in half by bringing the pointed ends together then press the crease.
Step 4
Fold the small triangle into thirds by folding one point across and then folding the other point over so the edges overlap like a little cone.
Step 5
Trim the top of the folded cone with scissors so the top edge is a straight line.
Step 6
Use your pencil to draw shapes and lines along the folded edges and sides where you want the snowflake holes to be.
Step 7
Carefully cut out the pencil shapes through all the folded layers with scissors.
Step 8
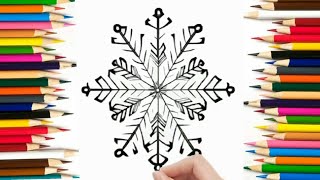
Slowly and gently unfold the paper to reveal your symmetrical snowflake.
Step 9
Decorate your snowflake with colouring and decorating materials to make it sparkle and special.
Step 10
Share your finished snowflake creation on DIY.org.
Help!?
What can we use if we don't have standard paper, a pencil, or scissors for this snowflake activity?
Use thin construction paper, newspaper, or tissue paper for the folding and cutting steps, draw your shapes with a pen or marker instead of a pencil, and cut with child-safe scissors or have an adult use a craft knife for the trimming step.
My snowflake rips or looks uneven after unfolding—what might be going wrong and how can I fix it?
Make sure each crease (the corner-to-edge square fold and the triangle folds) is pressed firmly with a fingernail before you trim the long rectangle and before you cut through all folded layers, and cut slowly along your pencil lines to prevent ripping or uneven shapes.
How can I adapt the folding and cutting steps for younger or older kids?
For younger children, pre-fold the paper to the triangle or cone stage and let them make large simple cut-outs with safety scissors, while older kids can draw finer, more intricate shapes and try layered or multiple snowflake sizes for a challenge.
What are some ways to decorate or display the finished snowflakes to make them extra special?
After you slowly unfold the snowflake, decorate it with glitter glue, sequins, or watercolor, punch a small hole and add string to hang it, or glue several different-sized snowflakes together to make ornaments or a garland to share on DIY.org.
Related videos
How to draw a snowflake EASY 6 ways
4 Videos
How to draw a snowflake EASY 6 ways
How to Draw Snowflakes Easy for Kids and Toddlers
Draw snowflakes with 1XV. It's easy to learn. #Drawing #Learn to Draw Together #Children's Drawing
How to Draw a Snowflake: Simple Step-by-Step Tutorial for Beginners and Kids
Get inspired with these


Fun Facts
❄️ Real snowflakes almost always have six arms because water molecules freeze in a hexagonal crystal pattern.
✂️ Making paper snowflakes is a form of kirigami — you fold paper and cut it to create repeating designs.
📐 Folding and cutting teaches symmetry: many snowflakes show 6-fold rotational symmetry, where one slice repeats around the center.
🔁 A single cut on folded paper becomes many identical cuts when you unfold it, so tiny snips make big, dramatic patterns.
🌨️ Scientists say no two natural snowflakes are exactly alike — tiny changes in temperature and humidity make endless variations.
How do I teach my child to draw and cut folded paper snowflakes?
What materials do I need to make folded paper snowflakes?
What ages is folding, drawing, and cutting snowflakes suitable for?
What are the benefits of making paper snowflakes and safety tips to keep in mind?
