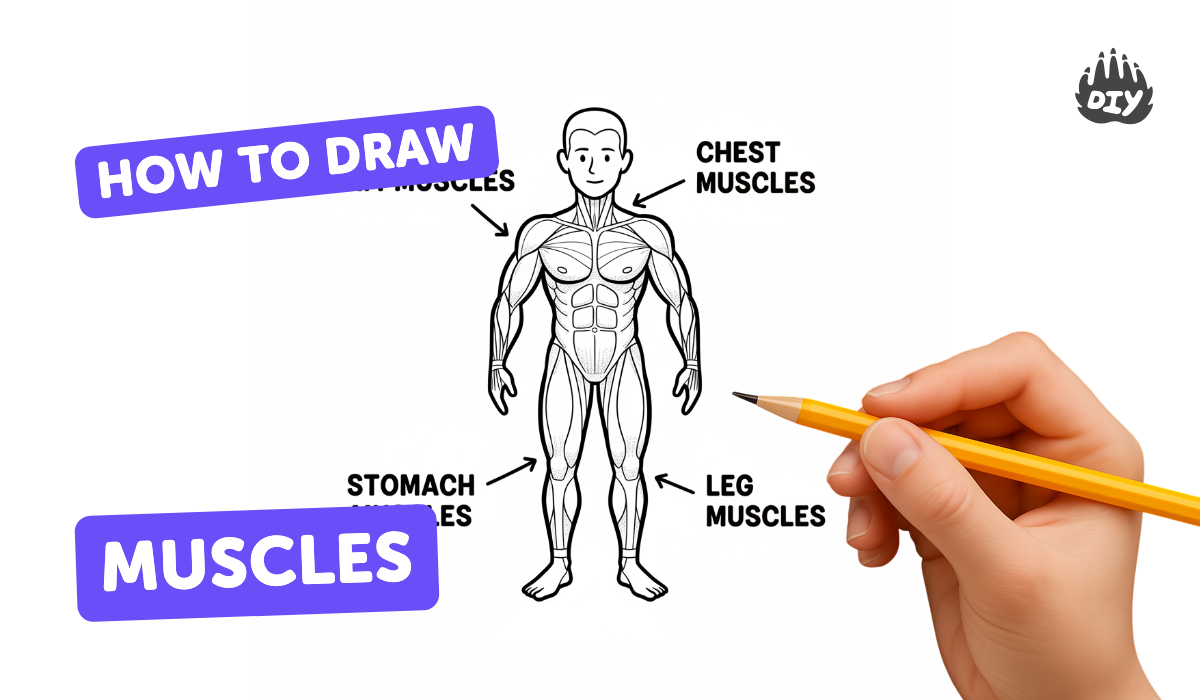
How to draw muscles - a free muscles drawing guide
Draw basic human muscles using step by step body guides, practice shading and contour lines, and label major muscle groups to learn anatomy.

Drawing Apps
Get inspired with these


Instructions
How to Draw Muscles Step by Step Easy for Beginners/Kids - Simple Muscle Drawing Tutorial
Step 1
Gather your materials and find a clean flat place to draw.
Step 2
Lightly draw a vertical centerline to show the front of the body and a horizontal shoulder line to set the pose.
Step 3
Sketch a large oval for the ribcage and a smaller oval for the pelvis below it to show the torso proportions.
Step 4
Draw a light line for the spine connecting the two ovals and add short lines for the upper arm and forearm bones with small circles for elbow and wrist joints.
Step 5
Block the chest and belly muscles by drawing two rounded shapes on the top of the ribcage for pectorals and a simple column of three rounded boxes for the abs.
Step 6
Add the deltoid on each shoulder as a rounded triangular shape wrapping from the shoulder line to the top of the upper arm.
Step 7
Draw the biceps on the front of each upper arm as an elongated teardrop shape attached to the deltoid.
Step 8
Draw the triceps on the back of each upper arm as a curved crescent shape opposite the biceps.
Step 9
Add simple forearm muscle shapes by sketching tapered curved bands from the elbow to the wrist.
Step 10
Refine the outlines by connecting the shapes smoothly and erase extra construction lines you no longer need.
Step 11
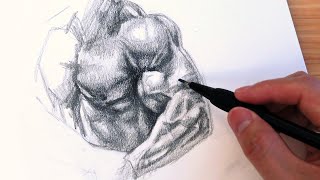
Decide where your light comes from and add darker shading on the muscle areas away from the light using soft pencil strokes.
Step 12
Blend the shading gently with a tissue or blending tool and darken the strongest shadows to make the muscles look rounded.
Step 13
Take a photo of your finished muscle drawing and share your creation on DIY.org.
Help!?
What can we use if we don't have a blending tool or tissue for the shading step?
If you don't have a tissue or blending tool for the soft pencil strokes in the shading steps, gently blend with a clean fingertip, a folded paper towel, or a cotton swab to smooth the shadows.
My drawing's muscles look flat or disconnected—which step should I check and how can I fix it?
If muscles look flat or disconnected, go back to the construction steps where you drew the large ribcage and smaller pelvis ovals plus the deltoid, biceps and triceps shapes, smooth-connect those blocked shapes into continuous outlines, then reapply darker shading away from your chosen light source to create rounded form.
How can I change this activity for younger kids or older kids who want more challenge?
For younger children simplify the torso to two big ovals and three rounded abs boxes and let them trace and color, while older kids can add cross-contour lines, more forearm muscle bands, and more contrast when blending with a soft pencil and tissue.
What are some ways to personalize or extend the muscle drawing activity after finishing?
To personalize or extend the project, try coloring the muscles with colored pencils, labeling each muscle group on your finished drawing, photograph it as instructed and share on DIY.org, or create a series showing different light directions by repeating the shading and blending steps.
Related videos
HOW TO DRAW MUSCLES IN 10 MINUTES | SixPack, Arms and Chest | DrawlikeaSir
4 Videos
HOW TO DRAW MUSCLES IN 10 MINUTES | SixPack, Arms and Chest | DrawlikeaSir
How to Draw Muscles Step by Step
How to Draw Muscles
How to Draw and Shade Muscles Easy
Fun Facts
💪 About 40% of an average human's body weight is skeletal muscle — that's a lot of shapes to practice drawing!
🎨 Artists often start muscles as simple shapes (cylinders, ovals, and blocks) to build clear, easy sketches.
✏️ A handy proportion: the forearm and upper arm are usually about the same length, which helps when drawing arms.
🧍Focusing on three torso muscles (pectorals, rectus abdominis, and obliques) covers most front-view poses for beginners.
🌗 Shading along a muscle's curve (following form, not just under it) makes it look rounded and 3D on paper.
How do I teach my child to draw simple arm and torso muscles?
What materials do I need to draw muscles with my child?
What ages is this muscle-drawing activity suitable for?
What are the benefits of drawing muscles with kids?
