How to draw mountains - a free mountains drawing guide
Draw realistic mountain landscapes using simple shapes, shading, and perspective. Practice sketching peaks, adding texture, and creating depth with foreground and background techniques. Download the PDF for complete instructions.

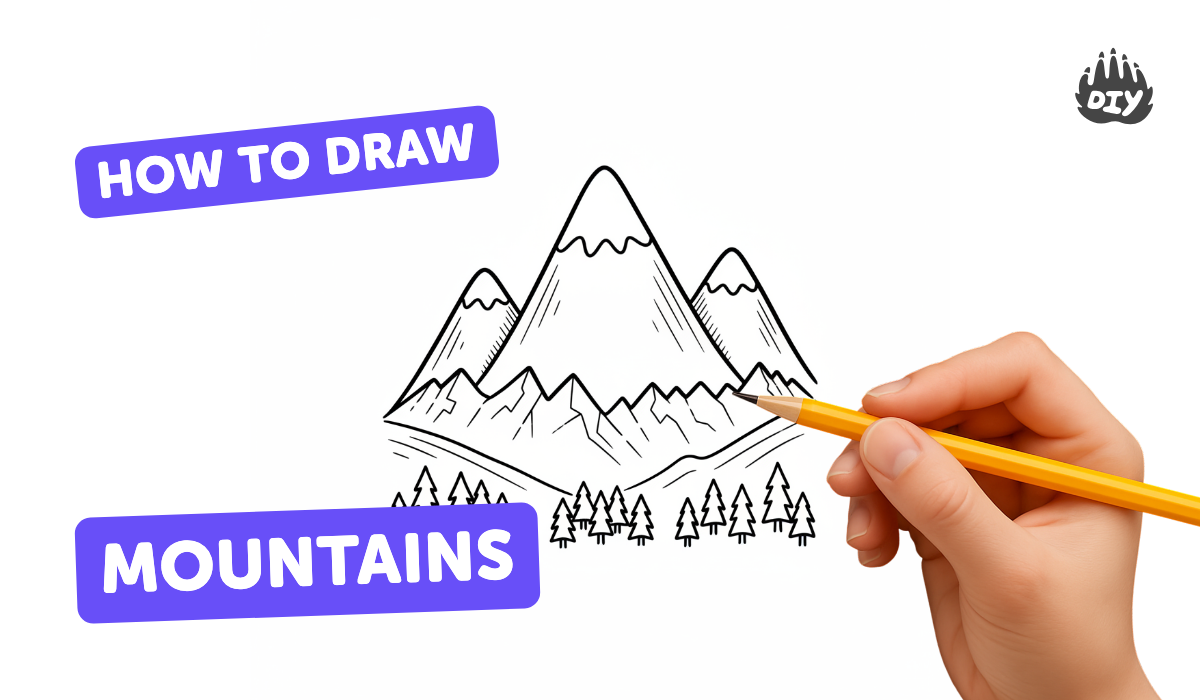
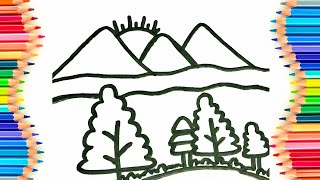
Step-by-step guide to draw mountain landscapes
How to Draw Mountains for Beginners
Step 1
Gather your pencil eraser sharpener ruler and paper.
Step 2
Find a clean flat workspace with good light.
Step 3
Lightly draw a straight horizontal line across your paper to mark the horizon.
Step 4
Choose a spot on the horizon and put a small dot to be your vanishing point.
Step 5
Sketch three large overlapping triangle shapes near the bottom for the foreground mountains.
Step 6
Draw smaller triangle shapes higher on the page behind the first ones to create midground and background ranges.
Step 7
Add jagged ridgelines along the triangle tops to turn simple shapes into mountain peaks.
Step 8
Draw short contour strokes along the slopes to add rocky texture and snow lines.
Step 9
Decide where the sunlight comes from and mark its direction with a tiny arrow.
Step 10
Shade the sides of each peak that face away from the light using even pencil strokes to make shadows.
Step 11
Lightly smudge the background mountains with your blending tool so they look hazier and farther away.
Step 12
Draw darker sharper details like trees rocks or a stream in the foreground to boost depth.
Step 13
Erase any stray construction lines you no longer need.
Step 14
Darken the strongest outlines or add colour where you want your picture to pop.
Step 15
Share your finished mountain landscape on DIY.org.
Help!?
If I don't have a blending tool, ruler, or eraser, what can I use so I can still follow the horizon, vanishing point, and smudging steps?
Use a clean tissue or your fingertip to lightly smudge the background mountains, the straight edge of a book or cardboard for drawing the horizon and vanishing point, and a folded clean paper corner or kneaded gum as an eraser substitute to remove stray construction lines.
My mountains look flat or don't feel distant—what should I check or redo in the steps?
Make sure foreground triangles overlap larger and lower, smudge the background mountains lightly with your blending tool or tissue, and darken shadows on sides facing away from the light arrow while adding sharper foreground details like trees or rocks to increase depth.
How can I adapt this activity for younger kids, older kids, or teens while still following the same instructions?
For preschoolers simplify to three big triangles colored with crayons and skip smudging, for elementary add jagged ridgelines and short contour strokes, and for teens emphasize accurate horizon and vanishing point with a ruler plus refined shading and smudging with a blending tool before darkening outlines or adding colour.
What are simple ways to extend or personalize the finished mountain landscape beyond the basic steps?
After erasing construction lines, add colour or a light watercolor wash, place a darkened cabin, animals, or a stream in the foreground for interest, and experiment with changing the light arrow to create sunrise or sunset shadows before sharpening outlines.
Watch videos on how to draw mountain landscapes
How To Draw a Mountain Landscape | Step by Step Art Lesson for Beginners
4 Videos
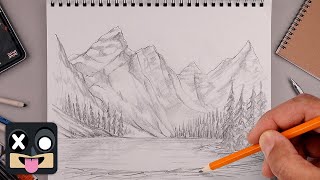
How To Draw a Mountain Landscape | Step by Step Art Lesson for Beginners
How to Draw a Simple Mountain | Step-by-Step Lesson
How to Draw Mountains
How to Draw a Beautiful Mountain with Natural Scenery for Kids
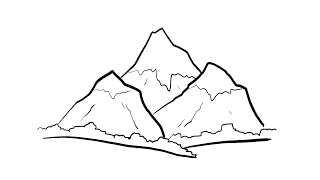
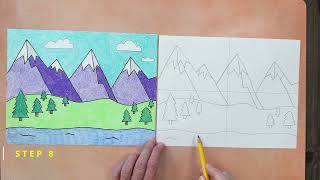
Photos of mountain landscape drawing examples


Facts about landscape drawing for kids
🗻 Mountains appear bluer and lighter the farther away they are because of atmospheric perspective—artists use this to show depth.
✏️ Linear perspective, popularized in the Renaissance, uses vanishing points to make roads, ridges, and peaks recede realistically.
🎨 Chiaroscuro (Italian for "light-dark") is a shading technique artists use to make flat shapes look three-dimensional.
🖌️ Hatching and cross-hatching are quick line techniques that can mimic rock texture, snow shadows, and grassy slopes.
📐 Breaking mountains into simple shapes (triangles, trapezoids, cones) helps beginners sketch accurate peaks before adding detail.
How do I draw realistic mountain landscapes step by step?
What materials do I need to draw mountains with kids?
What ages is mountain drawing suitable for?
What are the benefits and fun variations of drawing mountains?
