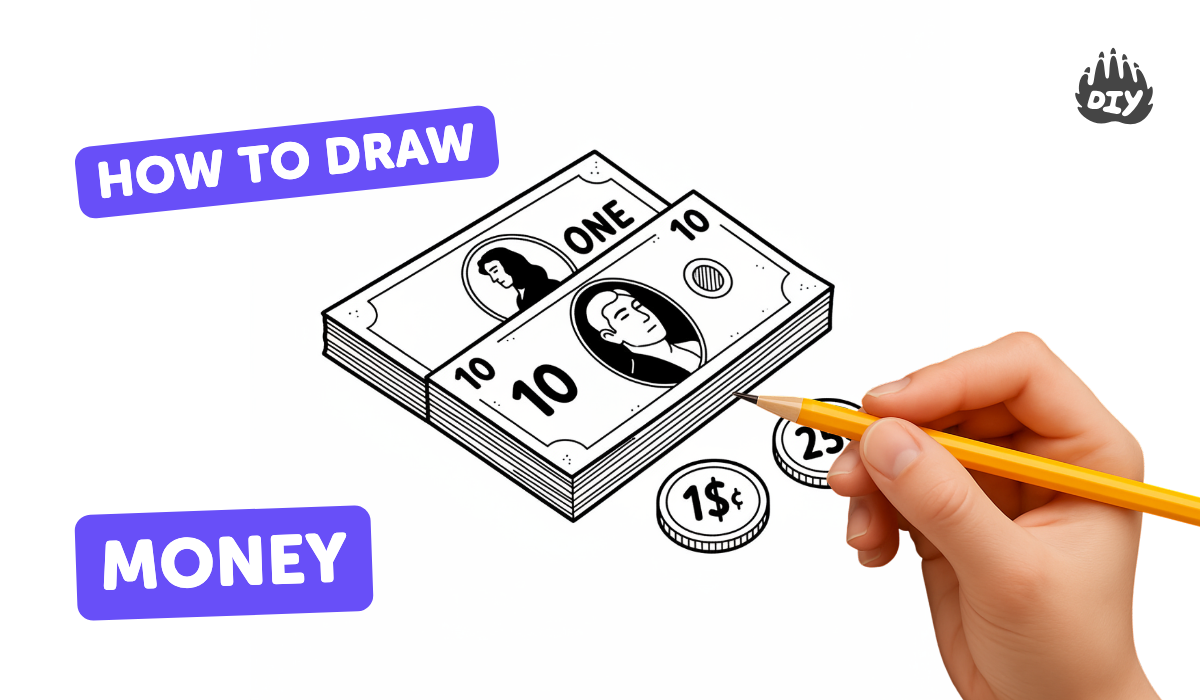
How to draw money - a free money drawing guide
Design and draw your own play money using shapes, patterns, shading, and symbols to practice proportions, lettering, and color. Download the PDF for complete instructions.


Step-by-step guide to draw your own play money
How To Draw Money - One Hundred Dollar Bill
Step 1
Decide the denomination number and the name for your play money.
Step 2
Choose the size of your bill and lightly mark a rectangle on the paper with your pencil and ruler.
Step 3
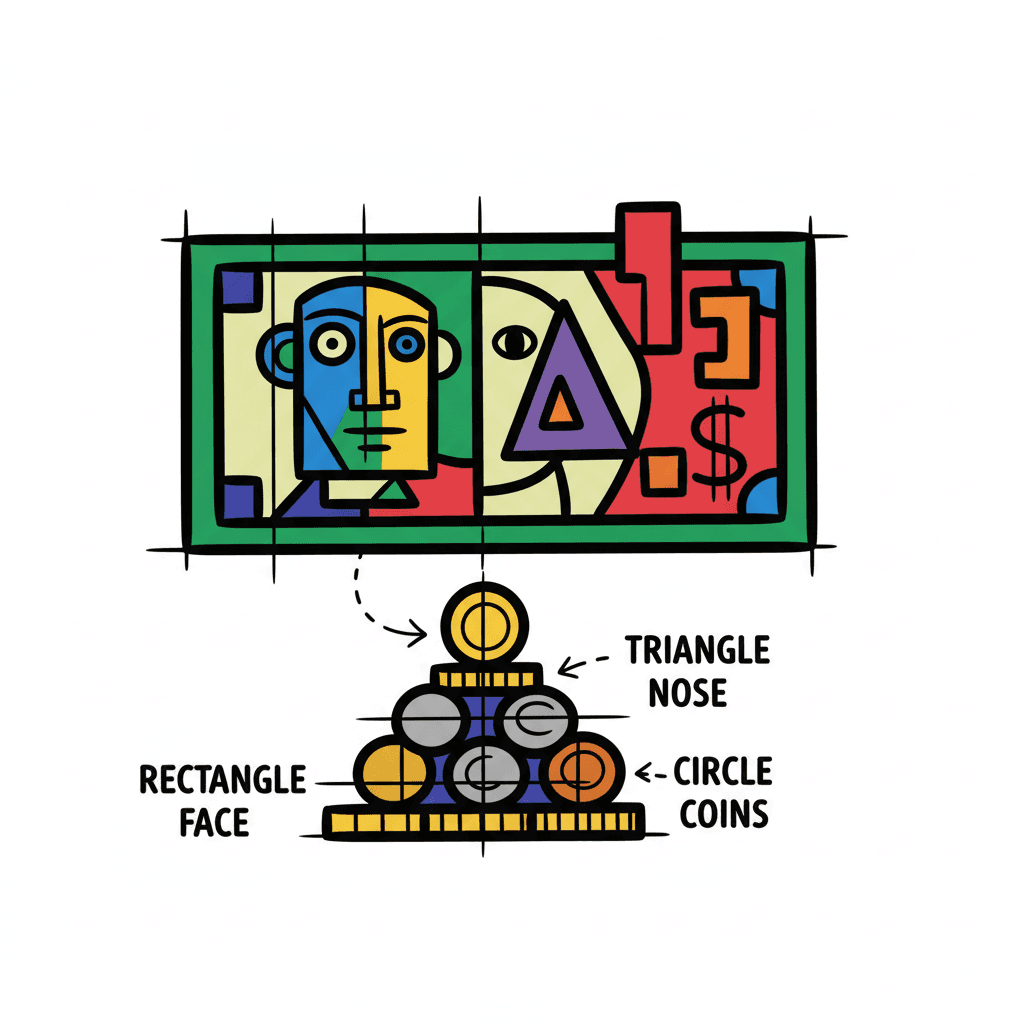
Divide the rectangle into sections with faint pencil lines for a center panel two side borders and four corner boxes.
Step 4
Sketch a central portrait emblem or fun character in the middle panel using simple shapes like circles and ovals.
Step 5
Draw small boxes in the corners and write the denomination number in each corner with neat block numbers.
Step 6
Create a repeated background pattern inside the center panel using shapes like waves stars or lines.
Step 7
Add a security seal or special symbol on one side such as a star circle or flower.
Step 8
Write the bank or country name in a banner area using clear practiced lettering.
Step 9
Add a neat serial number across the top or bottom using small tidy digits.
Step 10
Shade the portrait and decorative shapes with pencil strokes to show light and dark areas.
Step 11
Trace the final outlines and important details with a black pen to make them stand out.
Step 12
Erase any remaining pencil construction lines carefully to clean up your design.
Step 13
Colour your bill using your colouring materials and use darker and lighter tones to add depth.
Step 14
Add tiny finishing details like a signature small border patterns or miniature symbols with pen or coloured pencil.
Step 15
Take a photo of your finished play money and share your creation on DIY.org.
Help!?
I don't have a ruler or a black pen—what can I use instead to draw my play money?
Use any straight-edged object like a book or credit card to lightly mark the rectangle with your pencil, replace the black pen for tracing with a fine-tip marker or dark coloured pen, swap coloured pencils for crayons or markers when you colour the bill, and use a phone camera to take the final photo for sharing on DIY.org.
My traced lines smudge and the shading looks flat—how can I fix that?
Make faint pencil construction lines as the instructions say, wait for the ink to dry before erasing remaining pencil lines carefully, use gentle eraser strokes to clean up smudges, and build up shading on the portrait with layered light and dark pencil strokes to show depth.
How can I adapt this drawing activity for younger or older kids?
For younger kids simplify by drawing a larger rectangle, pre-drawing the center portrait and corner boxes, and using chunky markers, while older kids can add detailed repeated background patterns, neat serial numbers, fine shading, tiny finishing details, and intricate banner lettering before tracing with pen.
What are some fun ways to extend or personalise our finished play money?
Create a full set of denominations with different colours, design a matching back for each bill, add a hand-drawn security seal or metallic sticker, sign and number each bill with tidy digits, and laminate or take a photo to share your creation on DIY.org.
Watch videos on how to draw your own play money
How to Draw MONEY EASY Step by Step
4 Videos
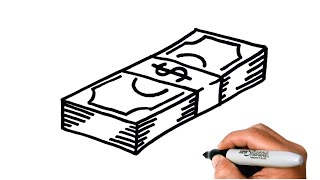
How to Draw MONEY EASY Step by Step
Money Drawing | How To Draw A Money Step by Step for Beginners
Money Drawing | How to Draw Dollar Bill Easy Sketch Step by Step for Beginners | Money's Art
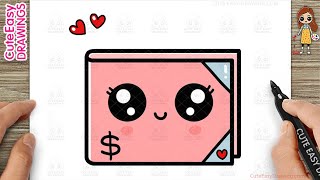
How to Draw a Cute Money Wallet Easy Step-By-Step Drawing and Coloring for Kids and Toddlers
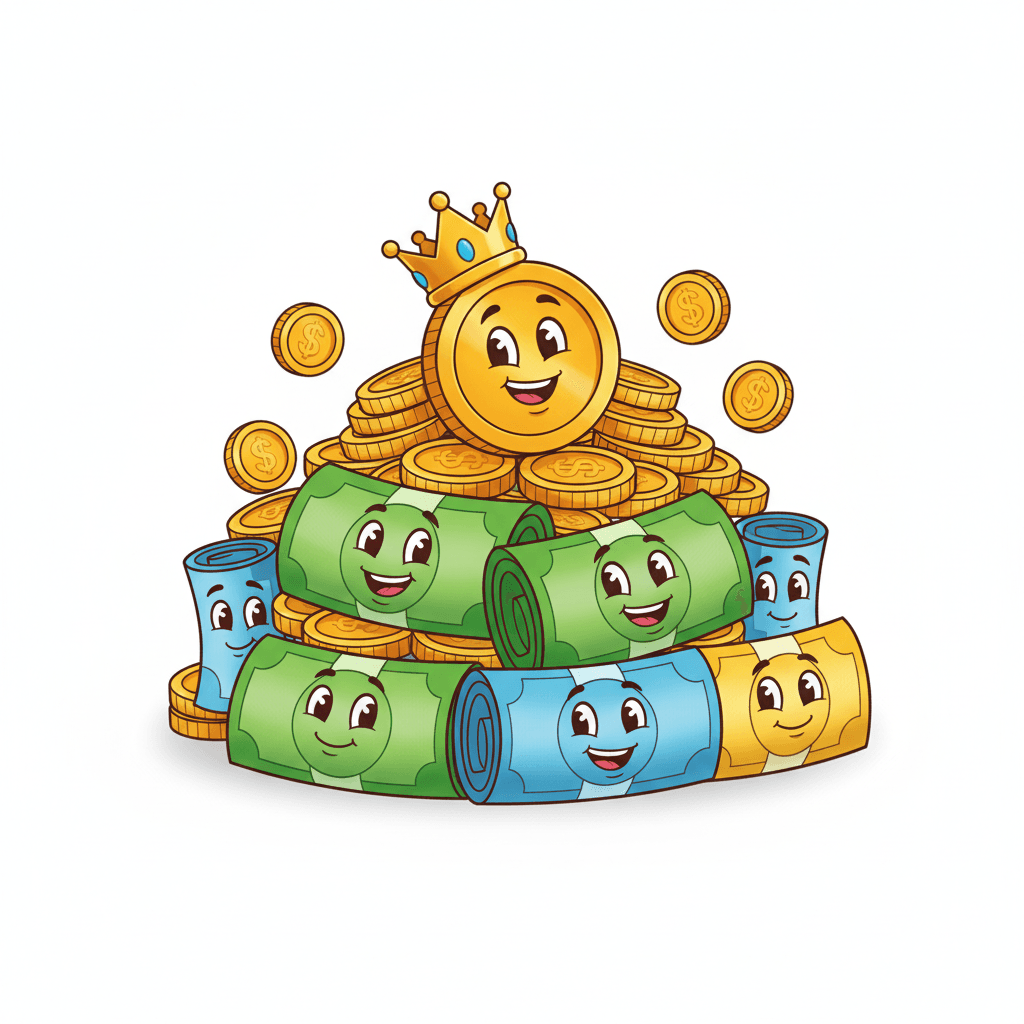
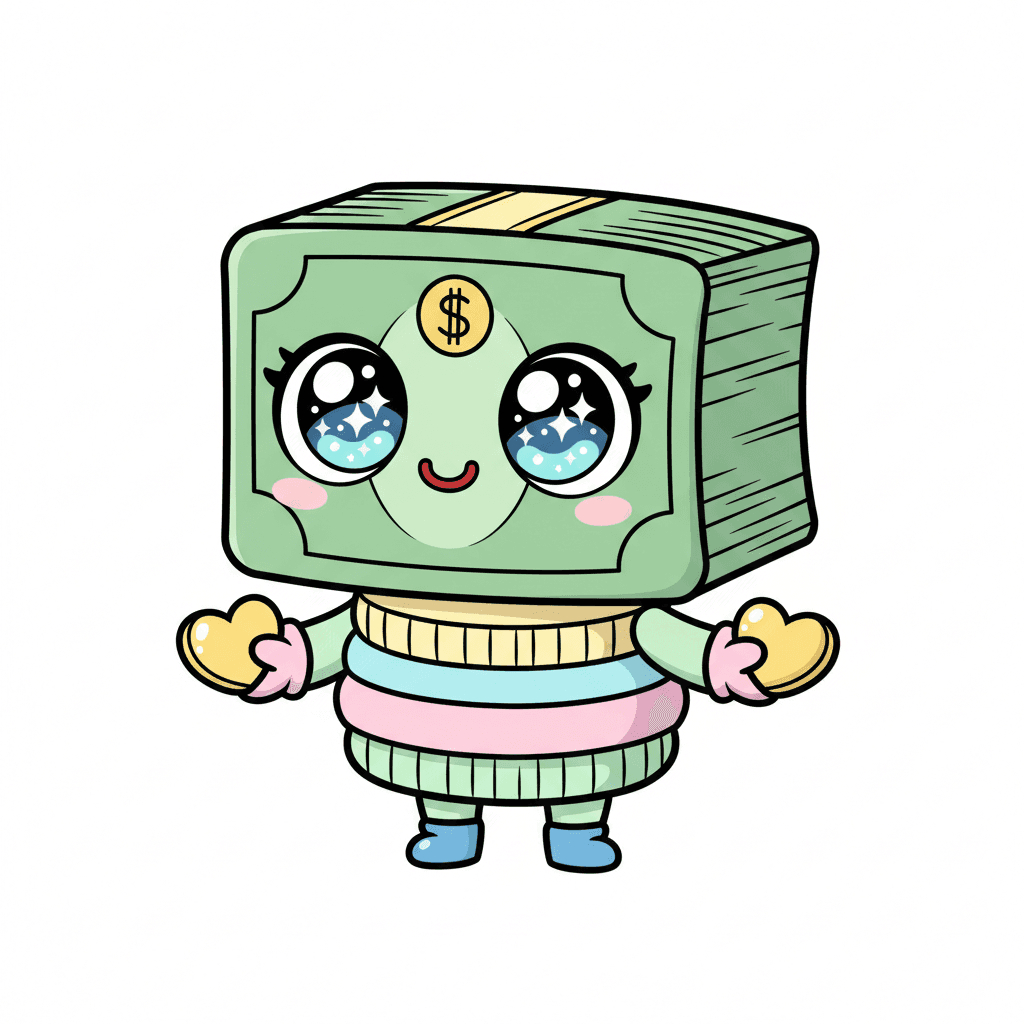
Photos of play money examples
Facts about drawing and design for kids
🧾 The world's first government-issued paper money was used in China during the Song dynasty (11th century).
🎨 Banknotes often use dozens of colors and layered patterns so they look beautiful and are hard to copy.
🔒 Tiny security features like watermarks, holograms, and color-shifting ink help stop counterfeiters.
✏️ The fonts and lettering on money are chosen to be clear at different sizes and to match the note's style.
🌏 Australia introduced the first widely used polymer (plastic) banknotes in 1988 to make them more durable.
How do I design and draw play money with my child?
What materials do I need to design play money?
What ages is designing play money suitable for?
What are the benefits and safe variations of drawing play money?
