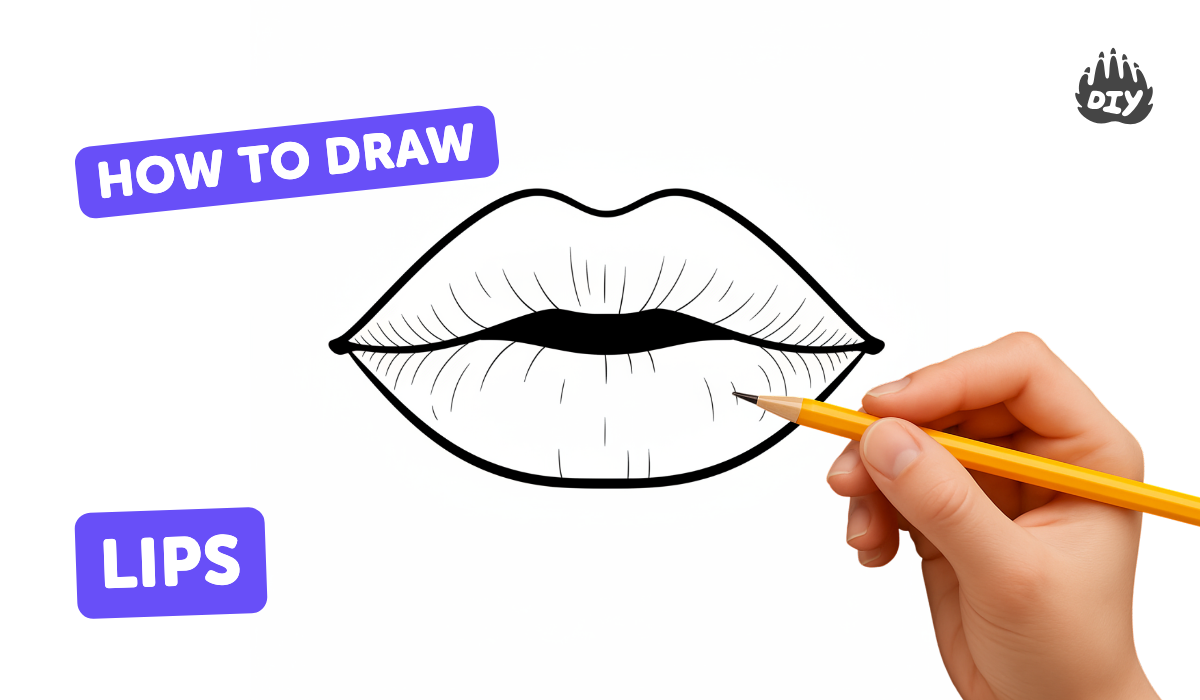
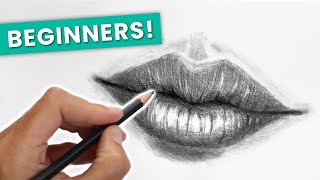
How to draw lips - a free lips drawing guide
Draw realistic lips step-by-step using simple shapes, shading, and color. Practice symmetry, proportions, and blending to create a lifelike mouth.

Drawing Apps
Get inspired with these


Instructions
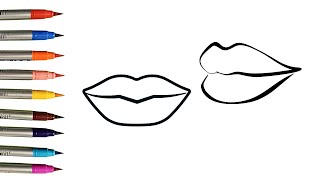
How to draw Easy Lip and Lipstick | Fun Step by Step Tutorial for kids
Step 1
Draw a light horizontal guideline across your paper to set the height of the mouth.
Step 2
Draw a light vertical centerline that crosses the horizontal line to mark the middle of the lips.
Step 3
Lightly sketch a horizontal oval around the centerlines to map the overall mouth width and shape.
Step 4
Draw the top lip outline by sketching a soft "M" shape (the cupid's bow) centered on the vertical line.
Step 5
Draw the bottom lip outline by sketching a gentle "U" shape that fills the lower half of the oval.
Step 6
Erase the oval and any extra guideline marks so only the lip outlines remain.
Step 7
Mark your light source with a small arrow in a corner so you know which side the light is coming from.
Step 8
Shade the lips lightly using your pencil so the corners and the line between lips are darker and the middle areas stay lighter.
Step 9
Blend the shaded areas gently with a blending stump or tissue to create smooth transitions.
Step 10
Lift thin highlights where the light hits by gently erasing small spots on the top of the bottom lip and the center of the top lip.
Step 11
Add soft vertical texture lines on the lips with very light pencil strokes to suggest natural creases.
Step 12
Draw a soft cast shadow under the lower lip with light shading to make the mouth look three-dimensional.
Step 13
Sign your drawing in a small neat spot.
Step 14
Share your finished creation on DIY.org
Help!?
I don't have a blending stump—what can I use instead to blend the shaded areas?
If you don't have a blending stump, use a clean tissue, a folded scrap of paper, or a cotton swab to gently blend the shaded areas in step 9.
My lips look flat or too dark in the middle—how can I fix that?
If the lips look flat or too dark, redo step 8 with lighter pencil strokes toward the middle, blend gently in step 9, and lift highlights with your eraser as instructed in step 10 on the top of the bottom lip and center of the top lip.
How can I adapt this activity for different ages?
For younger children, pre-draw the horizontal and vertical guidelines plus the oval from steps 1–3 and have them trace the 'M' and 'U' shapes, while older kids can add the fine vertical texture lines in step 11 and the soft cast shadow in step 12 for realism.
What are some ways to extend or personalize the drawing once it's done?
To enhance the activity, add colored pencils or a white gel pen to deepen color and sharpen the lifted highlights from step 10, experiment with different light-source arrows in step 7, then sign in step 13 and share on DIY.org in step 14.
Related videos
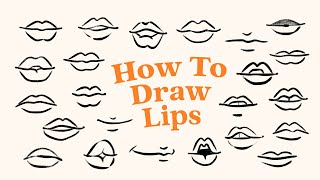
Lips drawing and colouring| how to Draw lips | Made for Kids
4 Videos
Lips drawing and colouring| how to Draw lips | Made for Kids
How to Draw Lips - A Beginner Friendly Tutorial
Lips drawing tutorial | Easy Tutorial | Step By Step |
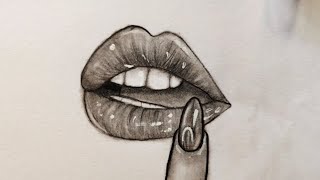
How To Draw Realistic Lips For Beginners - Step By Step
Fun Facts
👄 Human lips have no sweat glands and are some of the most sensitive skin on the body—perfect for capturing subtle expression in drawings.
✏️ Many artists begin lips with simple shapes (like ovals and curved lines) because breaking complex forms into basics speeds learning.
🎨 A single small specular highlight can make lips look moist and three-dimensional—highlights sell realism!
🔍 In average face proportions, the corners of the mouth often line up roughly with the centers of the eyes, a helpful placement guide.
🧑🎨 Blending mid-tones smoothly (with a stump, brush, or fingertip) creates the soft rounded form of the lip instead of hard flat patches.
How do you draw realistic lips step-by-step?
What materials do I need to draw realistic lips?
What ages is drawing realistic lips suitable for?
What are the benefits of drawing realistic lips for children?
