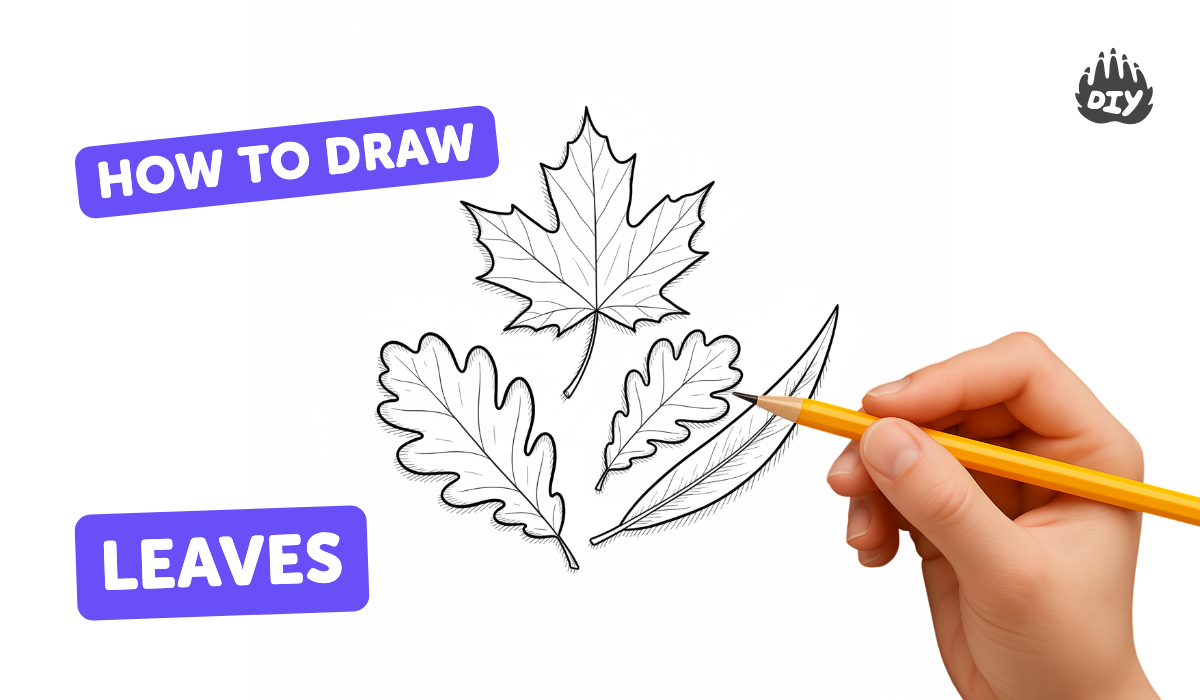
How to draw leaves - a free leaves drawing guide
Draw five different leaf shapes using pencil and color. Practice observing vein patterns, symmetry, and shading to create realistic leaves.

Drawing Apps
Get inspired with these


Instructions
How to draw a Leaf for kids | Leaf Easy Draw Tutorial
Step 1
Gather all your materials and place them on a clean well lit workspace
Step 2
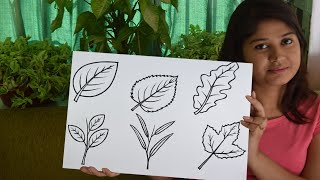
Choose three different leaves to study and draw
Step 3
Hold the first leaf and look closely to notice its overall shape tip base and edge pattern
Step 4
Lightly draw the outer outline of the first leaf using faint pencil strokes to get its proportions
Step 5
Draw the main central vein from the base to the tip with a gentle straight or slightly curved line
Step 6
Add the large secondary veins branching from the central vein with light lines to show the vein pattern
Step 7
Erase any extra guide marks so the leaf outline and veins look clean and clear
Step 8
Decide where the light is coming from and keep that direction in mind while shading
Step 9
Shade the leaf by pressing slightly harder on the side away from the light to create darker tones
Step 10
Add surface texture by using short strokes or tiny dots along the leaf following the vein directions
Step 11
Use a blending stump or soft tissue to gently smooth shaded areas and make soft transitions
Step 12
Repeat steps 3 through 11 for each of the other selected leaves to practice different shapes and textures
Step 13
Share your finished leaf sketches on DIY.org
Help!?
What can we use instead of a blending stump or soft tissue if we don't have one?
Use a folded piece of soft tissue, a clean cotton swab, or a washed fingertip to gently smooth shaded areas in step 10 as an alternative to a blending stump.
My leaf looks flat or my veins disappeared while erasing—how can I fix the drawing?
Re-establish the light direction from step 7, darken the side away from the light by pressing slightly harder in step 9, re-draw any lost secondary veins from step 6 with light strokes, then blend gently in step 10.
How can I adapt the activity for younger children or make it more challenging for older kids?
For younger children, choose large simple leaves (step 2), have them trace or focus on the outline and main vein (steps 4–5) with crayons on thicker paper, while older kids can use a magnifying glass to study tiny textures, practice precise vein placement (steps 5–6), and explore advanced shading like cross-hatching before blending (steps 9–11).
What are some ways to extend or personalize the finished leaf sketches before sharing?
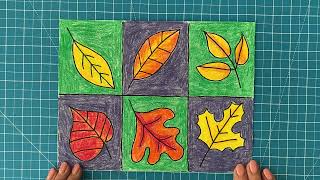
After completing the sketches (step 11), add watercolor or colored-pencil washes, label each leaf with its name and lighting notes, arrange them into a nature journal, or photograph the pages to share on DIY.org as suggested at the end of the activity.
Related videos
How to Draw a Leaf Step by Step Easy Drawing for Kids with Deotima
4 Videos
How to Draw a Leaf Step by Step Easy Drawing for Kids with Deotima
How to Draw a Leaf
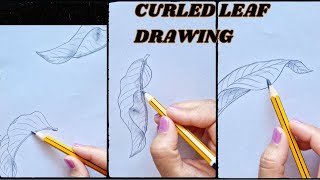
How to draw curled leaf | Easy pencil sketch folded leaves| A Beginner's Guide to Curled Leaves
How to Draw a Maple Leaf | Easy Drawing Trick for Beginners
Fun Facts
🍃 Leaves come in hundreds of shapes—lobed, serrated, needle-like, and entire—so drawing many types builds great observation skills.
✏️ Shading techniques like hatching, cross-hatching, and blending with softer pencils (2B–6B) instantly add three-dimensional form to leaf sketches.
🔬 Venation patterns (parallel, pinnate, palmate) are key ID features; drawing veins carefully helps you recognize plant families.
📏 The largest leaves in the world (from Raphia palms) can exceed 20 meters long — a fun reminder to practice proportion and scale.
🌿 Small surface details—tiny hairs, glands, or texture dots—make botanical drawings look realistic when you study them closely.
How do you draw realistic leaves step by step with a child?
What materials do I need to draw realistic leaves with my child?
What ages is leaf-drawing practice suitable for?
What are the benefits of drawing leaves for kids?
