How to draw hair - a free hair drawing guide
Draw realistic hair step-by-step using pencils and strokes. Practice shading, direction, layering, and highlights to create believable texture and movement in different styles.

Drawing Apps
Get inspired with these


Instructions
How to draw HAIR | Beginner Tutorial | DrawlikeaSir
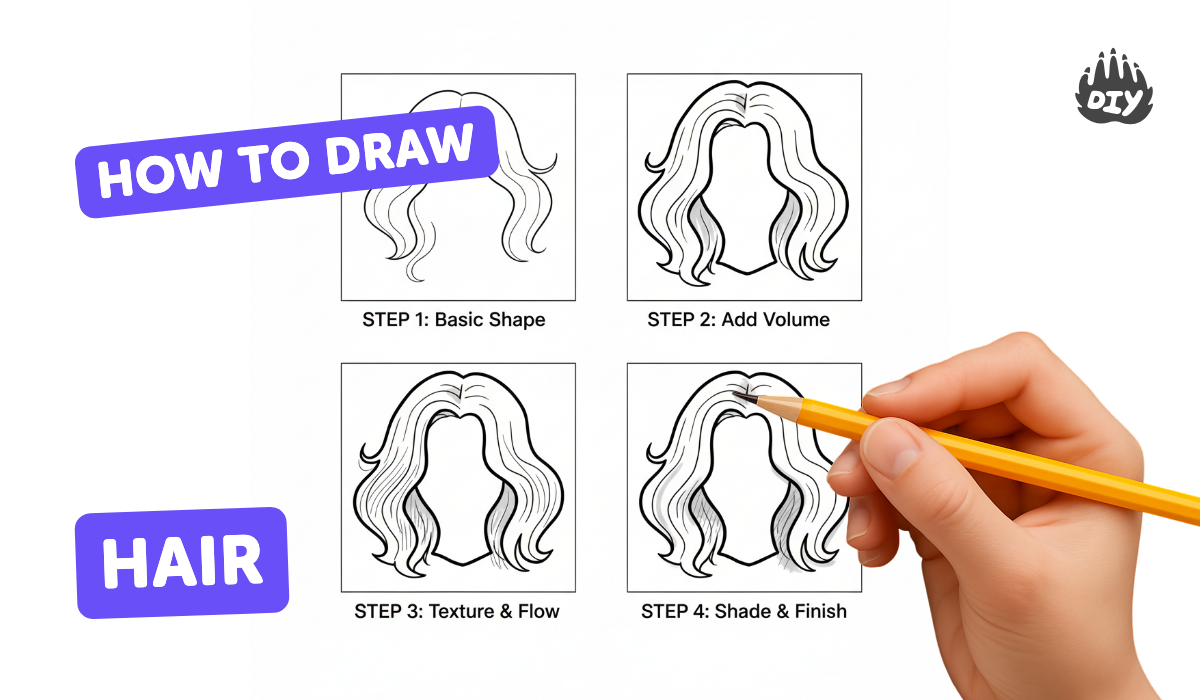
Step 1
Gather all your materials and sit at a comfortable spot to draw.
Step 2
Lightly draw a soft oval for the head with your HB pencil.
Step 3
Draw a faint line where the forehead meets the hair to mark the hairline.
Step 4
Look at your reference photo or mirror and decide which hairstyle you want to draw.
Step 5
Draw a faint center or side part line to show the hair’s main direction.
Step 6
Block in the overall hair shape with light curved lines to show big volumes.
Step 7
Draw long flow guide lines from where the hair starts to the ends to show direction.
Step 8
Outline hair clumps by drawing thicker curved shapes around groups of flow lines.
Step 9
Shade mid-tones along the flow lines with your 2B pencil to create volume.
Step 10
Darken the deepest shadows at the roots and under overlapping clumps with your 4B pencil.
Step 11
Use the eraser to lift thin highlights along some flow lines where light would hit.
Step 12
Gently blend shaded areas with a stump or tissue to soften transitions while keeping texture.
Step 13
Add fine individual hair strands and a few stray hairs with a sharp pencil for texture.
Step 14
Share your finished creation on DIY.org.
Help!?
What can we use if we don't have 2B, 4B pencils, or a blending stump?
If you don't have a 2B or 4B pencil use a softer 6B or a charcoal pencil for mid-tones and deep shadows, and replace a blending stump with a tissue, cotton swab, or your fingertip while keeping the HB for the initial soft oval.
My drawing looks flat—what step should I fix to add depth?
Darken the deepest shadows at the roots and under overlapping clumps with a 4B (or softer substitute), add mid-tone shading along the flow lines with your 2B, lift thin highlights with the eraser, and gently blend with a stump or tissue to create volume.
How can I adapt this activity for different age groups?
For younger children, simplify by using an HB or crayon to draw the soft oval, block in the overall hair shape and long flow guide lines and skip fine individual strands, while older kids should follow all steps with 2B/4B pencils, a stump, and add stray hairs before sharing on DIY.org.
How can we personalize or extend the finished hairstyle project?
Personalize by experimenting with colored pencils or light watercolor washes over the blocked hair shapes, creating a series of hairstyles from the same head outline, or photographing and posting variations on DIY.org to track improvement.
Related videos
EASY HAIR TUTORIALS
4 Videos
EASY HAIR TUTORIALS

How To Draw Every Hairstyle | DIY Course
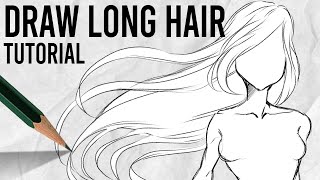
How to draw LONG HAIR | Tutorial for Beginners | DrawlikeaSir
How To Do Realistic Drawings Of Hair
Fun Facts
✏️ Graphite pencils are graded from 9B (softest, darkest) to 9H (hardest, lightest) — softer pencils give richer, velvety hair shadows.
💇 Real hair is roughly cylindrical, so highlights and shadows follow curves to show volume and direction.
🎨 Cross-hatching and directional strokes are classic tricks artists use to build hair texture without heavy smudging.
🔬 The average human scalp holds about 100,000 hairs — density and thickness change how you shade a hairstyle.
🩹 A kneaded eraser is like a paintbrush for light: gently lift graphite to create natural highlights and flyaway strands.
How do you draw realistic hair step by step?
What materials do I need for drawing realistic hair?
What ages is this activity suitable for?
What are the benefits of practicing realistic hair drawing?
