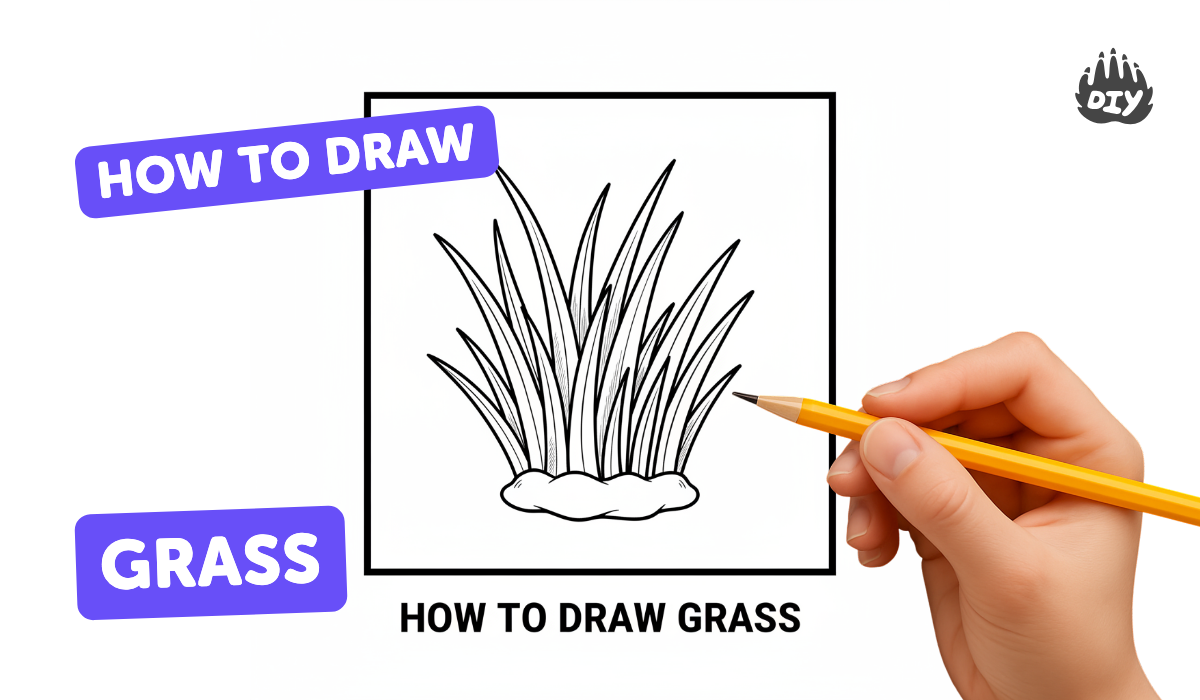
How to draw grass - a free grass drawing guide
Draw a grassy scene using pencils, markers, or watercolor. Practice blade strokes, layering, shading, and perspective to create realistic grass.

Drawing Apps
Get inspired with these


Instructions
Easy Grass Drawing | Step by Step for Kids | Shorts
Step 1
Clear a flat workspace and lay out your paper and all materials so everything is easy to reach.
Step 2
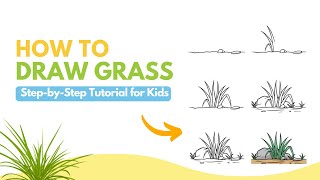
Lightly draw a horizon line about one third from the top of the paper with your pencil.
Step 3
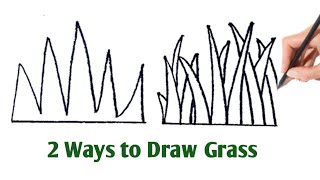
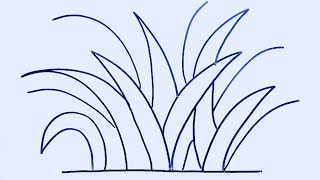
Sketch a few curved mounds for grassy clumps across the foreground and middle ground using light pencil lines.
Step 4
Choose which medium you will use now: pencil markers or watercolor.
Step 5
On scrap paper practice one long blade stroke by pressing at the base and flicking upward to a tapered tip.
Step 6
Draw long curved blade strokes in the foreground starting at the base of the clumps using varied lengths and directions.
Step 7
Add shorter finer blade strokes in the middle ground using lighter pressure or a thinner tool to show distance.
Step 8
Draw very small short strokes near the horizon to suggest background grass that is far away.
Step 9
Layer darker strokes at the base of clumps and where blades overlap to create shadow and depth.
Step 10
Add lighter strokes or gently lift color with your eraser or a white marker to make highlights on top of some blades.
Step 11
If using watercolor gently wash or blend with a damp brush to soften distant grass while keeping foreground blades sharper.
Step 12
Share your finished grassy scene on DIY.org.
Help!?
If I don't have a white marker, what can I use to make highlights on the blades?
Use a white gel pen, a white colored pencil, or gently lift color with your eraser as described in step 8 to make highlights on top of some blades.
My blade strokes aren't tapering when I flick upward — how do I fix that?
Practice the long blade stroke on scrap paper from step 4, pressing firmly at the base and making a quick upward flick, or switch to a thinner tool and lighter pressure to achieve tapered tips.
How can I adapt this activity for younger children or older kids?
For younger children simplify step 3 to big curved mounds and use chunky markers or crayons, while older kids can add finer middle-ground strokes, layered darker strokes at the base, and watercolor washes for depth as in steps 6–10.
What are some ways to extend or personalize the grassy scene after finishing the blades?
Add small flowers or insects among the foreground blades, experiment with salt or spattering during the watercolor wash in step 10 for texture, and then share your finished grassy scene on DIY.org per step 11.
Related videos
#799 How to Draw a Grass - Easy Drawing Tutorial
4 Videos
#799 How to Draw a Grass - Easy Drawing Tutorial
How to Draw Grass - Simple Nature Drawing Guide for Beginners
How to Draw Grass Step by Step / Easy Grass Drawing
How To Draw Grass |Grass Drawing Step By Step For Kids |Draw Grass Easy |Growing Grass
Fun Facts
🌾 There are over 10,000 species of grass worldwide, which is why grassy scenes can look so different!
✏️ Short, quick vertical pencil strokes are a classic trick artists use to suggest hundreds of individual blades.
🎨 Wet-on-wet watercolor lets colors blend softly, great for painting distant grass that feels fuzzy and far away.
📏 To show depth, make blades shorter and closer together as they approach the horizon line — that’s perspective for fields!
🖌️ Layering 3–4 tones and adding darker strokes at the base of clumps creates convincing shadow and volume.
How do I draw a realistic grassy scene step-by-step?
What materials do I need to draw grass with pencils, markers, or watercolor?
What ages is this grassy drawing activity suitable for?
What fun variations can we try when drawing grass?
