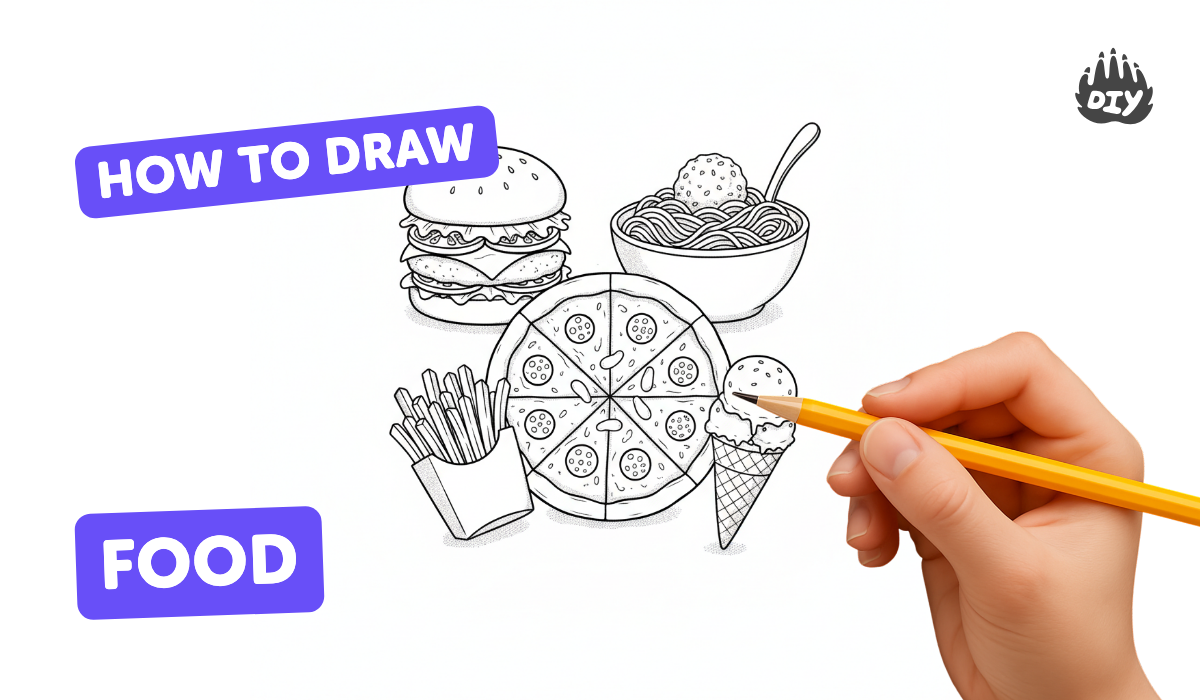
How to draw food - a free food drawing guide
Draw five different foods (fruit, sandwich, pizza, cupcake, soup) using simple shapes, shading, and color to practice observation, proportion, and texture.

Drawing Apps
Get inspired with these


Instructions
2 Hours | How To Draw Food | Art Tutorial for Kids | Artie's Show
Step 1
Gather all your materials and clear a flat space to work on.
Step 2
Decide where on the page you will put each of the five foods so they do not overlap.
Step 3
Pick a real food item or a picture to look at for each of the five foods to study its shape and details.
Step 4
Lightly sketch a simple base shape for each food: a circle for fruit a rectangle for a sandwich a triangle or circle for pizza a dome for a cupcake and a bowl shape for soup.
Step 5
Turn the circle into your fruit by adding a stem a leaf or the fruit curve as you see in your reference.
Step 6
Turn the rectangle into a sandwich by drawing bread outlines and simple layer lines for filling.
Step 7
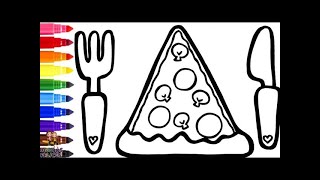
Turn your pizza shape into a pizza by drawing the crust and a few topping shapes.
Step 8
Turn the cupcake dome into a cupcake by adding a liner and swirled frosting lines.
Step 9
Turn the bowl shape into a soup bowl by drawing the rim a spoon and the soup surface.
Step 10
Add light pencil shading to each food to show roundness and depth using short strokes and your blending tool to soften edges.
Step 11
Add texture details like seeds on fruit sprinkles or crumbs and steam lines to make each food look realistic.
Step 12
Darken the final outlines with your black marker or darker pencil to make the drawings stand out.
Step 13
Gently erase any stray pencil lines that you no longer need.
Step 14
Color each food paying attention to the real colors proportions and textures you observed.
Step 15
Share your finished creation on DIY.org
Help!?
What can we use instead of a blending tool or a black marker if we don't have them?
If you don't have a blending tool, use a cotton swab or your clean fingertip to soften the short pencil strokes, and if you don't have a black marker darken outlines with a dark colored pencil or fine-tip pen.
My foods are overlapping and my shading smudges—what should I do differently?
Before darkening outlines, redraw and resize the light base shapes (circle, rectangle, dome, bowl, triangle) to fix placement so they don't overlap, and prevent shading smudges by placing scrap paper under your hand and blending gently with short strokes.
How can I adapt this drawing activity for younger or older children?
For preschoolers have them trace or stick large base shapes and color with crayons, for elementary kids focus on adding simple texture details like seeds and crumbs, and for older kids encourage close study of a real food reference to add advanced shading and color blending before sharing on DIY.org.
How can we make our food drawings more creative or personal?
Personalize each item by inventing toppings or patterns, add a placemat or background scene, try a wash of watercolor for the soup surface, and label each drawing or write a tiny recipe next to it before you darken outlines.
Related videos
How To Draw A Doughnut
4 Videos
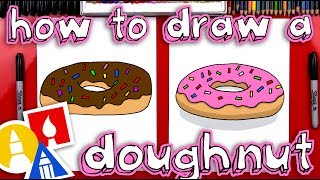
How To Draw A Doughnut
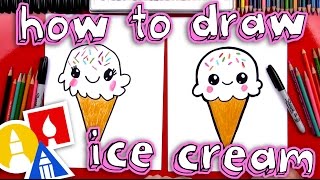
How To Draw A Cute Ice Cream Cone
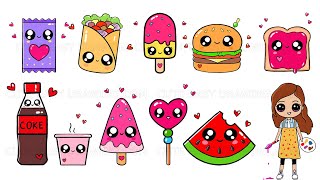
How to Draw Easy Foods and Drinks | Cute Easy Drawing's 10 Cutest Video Collections for Kids
Pizza drawing for kids: Fun and easy step-by-step guide
Fun Facts
✏️ Artists often start drawings by sketching simple shapes like circles, ovals, and rectangles to get proportions right before adding details.
🍎 Many fruits change color as they ripen because pigments shift — a great visual clue to capture when choosing colors.
🥪 The sandwich is named after John Montagu, the 4th Earl of Sandwich, who reportedly ate meat between bread so he could keep playing cards.
🍕 The Margherita pizza was named after Queen Margherita of Savoy in 1889 and its toppings mirror the Italian flag's red, white, and green.
🎨 Shading uses highlights, midtones, and shadows to turn flat shapes into 3D-looking food — try shading one side to make items pop.
How do I guide my child to draw five different foods to practice observation, proportion, and texture?
What materials do I need to draw five different foods with simple shapes, shading, and color?
What ages is this food-drawing activity suitable for?
What are the benefits of drawing different foods using shape, shading, and color?
