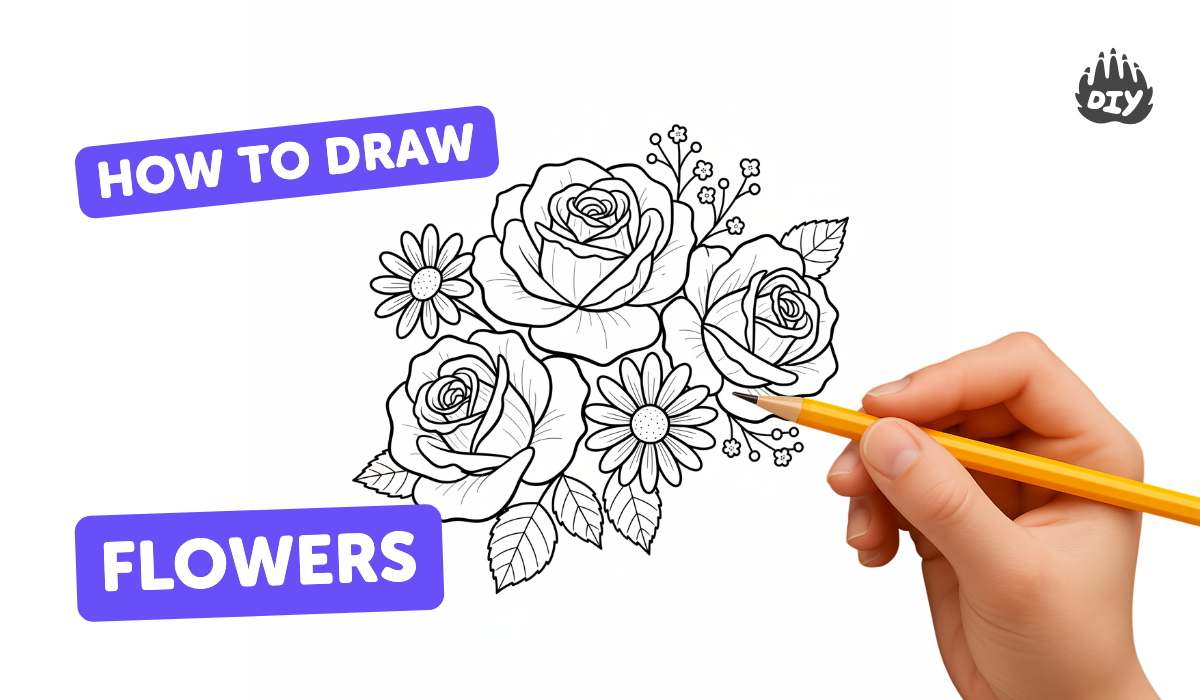
How to draw flowers - a free flowers drawing guide
Draw several simple flowers using pencil and colored pencils. Practice petal shapes, stems, and shading to create a small floral sketchbook.

Drawing Apps
Get inspired with these


Instructions
How to Draw Flowers | Simple Drawing Lesson for Kids | Step By Step
Step 1
Find a clean flat surface with good light to work at.
Step 2
Open your sketchbook to a fresh page.
Step 3
Sharpen your pencil until the tip is ready for light drawing.
Step 4
Lightly draw a small circle near the top third of the page for the center of your first flower.
Step 5
Draw five simple oval or teardrop petals around the circle, one petal at a time.
Step 6
Draw a straight or slightly curved stem from the bottom of the flower center down the page.
Step 7
Add one or two almond-shaped leaves along the stem.
Step 8
Repeat Steps 4 to 7 to draw at least two more flowers using different petal shapes like round pointy or heart-shaped.
Step 9
Add light pencil shading on one side of each petal and under the flower center to show depth.
Step 10
Use your eraser gently to lift small highlights on petals where light would hit.
Step 11
Color each flower with colored pencils using at least two colors per flower and color the stems and leaves.
Step 12
Share your finished floral sketchbook pages on DIY.org
Help!?
What can I use if I don't have a sketchbook, sharpened pencil, eraser, or colored pencils?
If you don't have a sketchbook or colored pencils, tape a clean sheet of printer paper to a flat surface (Step 1–2), use a regular or mechanical pencil sharpened as in Step 3, substitute a white rubber eraser for lifting highlights in Step 10, and use crayons or markers for the coloring in Step 11.
My petals look uneven or crowded—how do I fix that while drawing?
If your five petals look uneven when drawing around the center circle (Steps 4–5), lightly mark five spacing dots around the circle before sketching each petal so they stay evenly placed and sized.
How can I adjust this activity for younger or older children?
For younger kids simplify by drawing three large petals and coloring with crayons (Steps 4, 11), while older kids can try different petal shapes, add at least two-color blending and detailed pencil shading on petals and centers (Steps 8, 9, 11).
What are simple ways to extend or personalize the flower drawings?
To extend the activity, vary petal shapes as suggested in Step 8, add a background garden or insect details, experiment with lifting highlights using the eraser in Step 10, and then photograph or scan your favorite pages to share on DIY.org (Step 12).
Related videos
How To Draw A Flower (Tulip)- Preschool
4 Videos
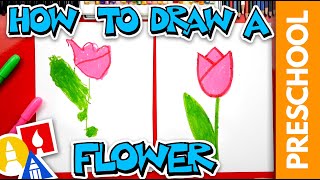
How To Draw A Flower (Tulip)- Preschool
Learn to Draw Flowers | Beginner Friendly Tutorial

6 Simple but Realistic Flowers You Can Draw Right Now (Beginner Friendly Guide)

How To Draw A Cartoon Tulip
Fun Facts
🌸 There are over 300,000 species of flowering plants — that's a huge variety of petal shapes to explore!
🌺 Many flowers show radial symmetry, so drawing one petal and repeating it around a center makes a convincing bloom.
🌼 Daisies and sunflowers are actually 'composite' flowers made of many tiny florets, not just a single petal ring.
✏️ Pencils have grades (H = hard, B = soft); artists often use H for light outlines and B for rich shading.
📓 Quick sketches in a small sketchbook are how many artists practice — tiny flower studies boost observation and speed.
How do I teach my child to draw simple flowers step-by-step?
What materials do I need to draw flowers with pencils and colored pencils?
What ages is drawing simple flowers suitable for?
What are the benefits and fun variations of making a floral sketchbook?
