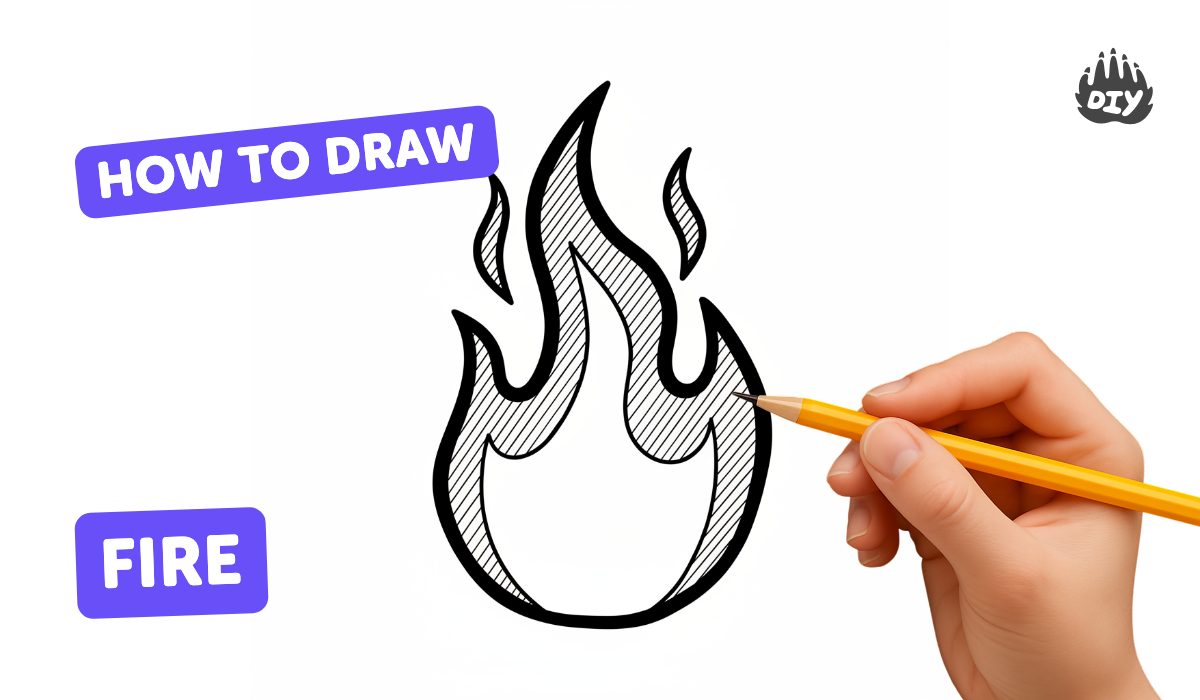
How to draw fire - a free fire drawing guide
Draw realistic flame shapes using pencil and colored pencils, observing reference photos for accurate curves. Practice shading and blending for glowing effects.

Drawing Apps
Get inspired with these


Instructions
How to Draw a Simple Fire | Step-by-Step Lesson
Step 1
Gather all your materials and place them within easy reach.
Step 2
Put your reference photos where you can see them and look closely at the flame curves and layers.
Step 3
Decide where the flame will sit on your paper and make a tiny mark for the base.
Step 4
Lightly sketch the outer silhouette of the flame with soft pencil strokes.
Step 5
Draw two or three inner flame layers that follow the same flowing curves as the outer shape.
Step 6
Gently erase any extra construction lines so the flame shapes look clean.
Step 7
Lightly shade zones with pencil to mark the hottest core and cooler outer areas.
Step 8
Color the core area with a light yellow pencil using soft pressure.
Step 9
Add an orange layer around the yellow core using small circular strokes that follow the flame curves.
Step 10
Apply red to the outer edges of the flame with strokes that follow the shape’s movement.
Step 11
Blend the color transitions by gently rubbing where colors meet with a tissue or blending stump.
Step 12
Add a soft graphite shadow at the flame base to give it depth and blend it slightly.
Step 13
Use a white colored pencil or kneaded eraser to lift tiny highlights in the core and along curved edges.
Step 14
Take a photo of your finished glowing flame and share your creation on DIY.org
Help!?
What can we use instead of a blending stump or white colored pencil?
If you don't have a blending stump or white colored pencil, use a clean tissue or cotton swab to blend where colors meet and a kneaded eraser or white gel pen to lift highlights in the core and along curved edges.
My colors look muddy and the flame lost its glow — how can I fix it?
If the flame looks muddy or dull, gently lighten heavy areas by erasing a bit, reapply the light yellow core with soft pressure, then re-layer the orange and red and blend with a tissue as described in the blending step to restore the glow.
How should we change the activity for different ages?
Younger children can use pre-drawn flame silhouettes and crayons to follow the color steps, while older kids should follow the full sequence—sketch the outer silhouette, add inner flame layers, shade hottest and cooler zones, blend with a tissue or stump, and finish with graphite base shadow and white highlights for realism.
How can we make the finished flame more special or advanced?
To personalize and enhance your flame, draw several flames of different sizes, add a dark paper background and a soft pastel halo blended around the flame, then take a photo of your finished glowing flame and share it on DIY.org.
Related videos
How to Draw Fire Step by Step Easy for Beginners/Kids - Simple Fire Drawing Tutorial
4 Videos
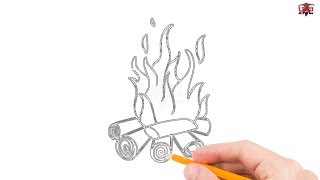
How to Draw Fire Step by Step Easy for Beginners/Kids - Simple Fire Drawing Tutorial
How to Draw FIRE (Easy Drawing Tutorial)
#228 How to Draw a Fire - Easy Drawing Tutorial
Easy Fire Drawing and Coloring for Kids | Learn to Draw Flames Step by Step | Shaafa Kids Colors
Fun Facts
🔥 Flames have layers: the inner blue part is usually hotter than the yellow or orange outer glow.
🎨 Colored pencils are great for realistic fire because you can layer light colors to build a smooth glow.
🖍️ Varying pencil pressure changes translucency—light pressure for soft glows, heavy pressure for rich, saturated edges.
👀 Flames flicker so fast that photos freeze shapes you can't always see with the naked eye, making refs super useful.
✨ Adding a tiny white highlight and soft reflected light on nearby surfaces makes a drawing look truly hot and glowing.
How do I draw realistic flame shapes with pencil and colored pencils?
What materials do I need to draw realistic flames using colored pencils?
What ages is drawing realistic flames with pencils suitable for?
What are the benefits, safety tips, and creative variations for drawing flames?
