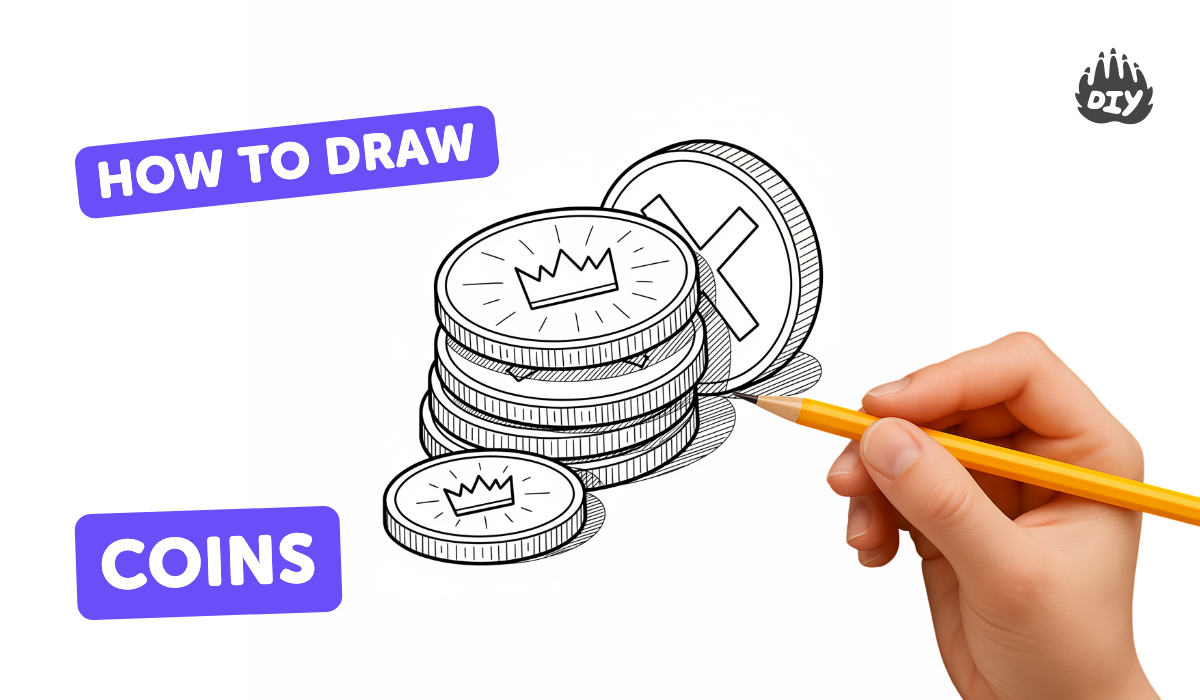
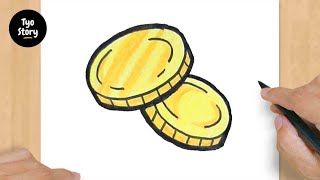
How to draw coins - a free coins drawing guide
Draw realistic coins by sketching circles, adding ridged edges, and shading highlights and shadows to suggest metal. Finish by detailing portraits and symbols.

Drawing Apps
Get inspired with these


Instructions
How to Draw a Coin Easy Step by Step | Coins Drawing Tutorial
Step 1
Lay out your paper and all your materials on a flat table so you are ready to draw
Step 2
Place the round object on the paper and lightly trace around it to make the outer circle of your coin
Step 3
Draw a slightly smaller circle inside the first one to create the raised rim area of the coin
Step 4
Make small evenly spaced short dashes along the outer circle to mark where the ridges will go
Step 5
Turn each dash into a tiny curved scallop or short triangle pointing outward to form the coin ridged edge
Step 6
Lightly sketch the main shapes of a portrait or symbol in the center using simple circles ovals and lines
Step 7
Add facial features or emblem details to those shapes with light pencil lines to refine the portrait or symbol
Step 8
Draw letters numbers or simple decorations around the rim using short strokes or shapes
Step 9
Draw a small arrow outside the coin to show where the light is coming from
Step 10
Shade the areas of the coin that are opposite the light source using soft pencil strokes to build darker tones
Step 11
Gently blend the shaded areas with a tissue or blending stump to create a smooth metallic look
Step 12
Darken the inner rim edge with heavier pencil strokes to give the coin depth
Step 13
Add a soft cast shadow under the coin on the side away from the light so the coin looks like it sits on the paper
Step 14
Use your eraser to lift tiny spots of graphite for bright highlights where the light would reflect most
Step 15
Share your finished coin drawing on DIY.org so everyone can see your shiny creation
Help!?
What can we use if we don't have the 'round object' or a blending stump mentioned in the instructions?
Use a coin, jar lid, bottle cap, or cup rim to trace the outer circle, and replace a blending stump with a tissue, cotton swab, or your fingertip when you 'Gently blend the shaded areas'.
My coin's ridged edge or shading doesn't look right — what should I try?
If ridges look uneven, lightly erase and re-mark small evenly spaced short dashes before turning them into scallops, and if shading looks flat, build darker tones with soft pencil strokes and then gently blend with a tissue to create a metallic look.
How can I adapt this coin-drawing activity for younger or older kids?
For younger children use larger traced coins, simpler center shapes (single circle or oval) and skip the blending step, while older kids can add detailed facial features, letters around the rim, heavier inner rim strokes, and delicate highlights with an eraser to increase realism.
What are some ways to enhance or personalize the finished coin drawing before sharing it on DIY.org?
Add personal initials or a date around the rim, use metallic gel pens or colored pencils for highlights after lifting graphite with your eraser, experiment with different light-arrow directions to change shadows, and include a soft cast shadow under the coin for extra depth before photographing it for DIY.org.
Related videos
How To Draw A Coins Learn for kids Step by Step
4 Videos
How To Draw A Coins Learn for kids Step by Step
How to Draw a Dollar Coin for Kids Step By Step and Coloring | Draw a Coin For Kids #dollar #coin
How to Draw a Coin Step by Step For Kids | Money Drawing, Painting & Coloring for Kids #money #coin
#718 How to Draw a Coins - Easy Drawing Tutorial
Fun Facts
🪙 The oldest coins were made in Lydia (now Turkey) around 600–500 BCE — that's over 2,500 years ago!
✏️ Artists make metal look shiny by combining sharp highlights with soft shaded shadows; cross-hatching and smooth blending both help.
🔧 Those tiny ridges on coin edges are called reeds (reeding) and were added to stop people from shaving off metal.
👤 Coin portraits are usually low relief, so when drawing them emphasize planes and contrast rather than tiny carved details.
✨ Leaving a tiny white spot or erasing a small area for a highlight instantly makes a coin look reflective — it's a quick shiny trick!
How do you draw realistic coins?
What materials do I need to draw realistic coins?
What ages is coin drawing suitable for?
What are the benefits and safe variations for coin drawing?
