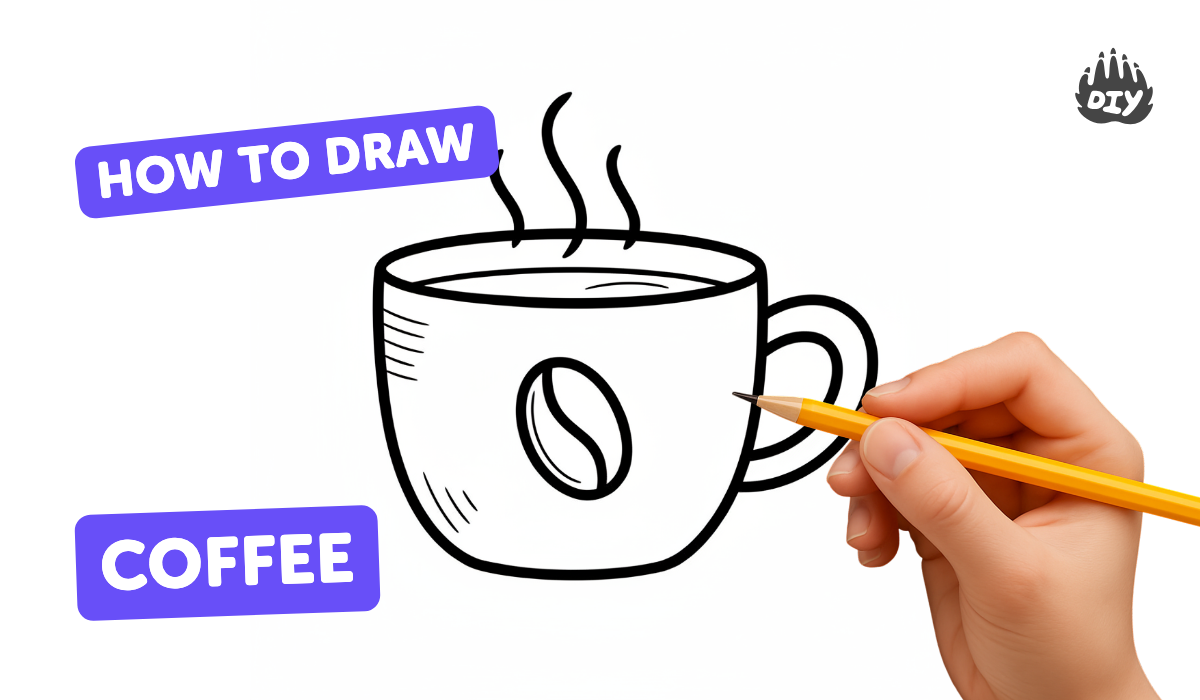
How to draw coffee - a free coffee drawing guide
Draw a realistic coffee cup with steam, shading, and handle using pencil and markers. Practice observation, proportions, and basic shading techniques.

Drawing Apps
Get inspired with these


Instructions
How to Draw a Cute Easy Coffee Cup for Kids Step by Step
Step 1
Place a real coffee cup or a clear photo of one in front of you and look at it for one minute to notice its shape.
Step 2
Lightly draw a horizontal oval near the top center of your paper to make the cup rim.
Step 3
Draw two curved vertical lines down from the sides of the oval and connect them with a soft curve to form the cup body.
Step 4
Draw a slightly smaller oval inside the rim to show the rim thickness.
Step 5
Draw a slightly smaller oval inside the rim oval to mark the coffee surface.
Step 6
Sketch a C-shaped handle on the side of the cup and attach both ends to the cup body.
Step 7
Lightly erase extra overlapping sketch lines so the cup edges are clean and easy to see.
Step 8
Pick a direction for the light and mark a small arrow on the paper to remind you where the light comes from.
Step 9
Shade the side of the cup opposite the light source with soft pencil strokes to create the main shadow.
Step 10
Use your blending tool or a cotton bud to gently smudge the pencil shading for a smooth shadow.
Step 11
Lightly draw three wiggly steam lines rising from the coffee surface with your pencil.
Step 12
Carefully trace the cup outline and the deepest shadow edges with a fine black or gray marker to define shapes.
Step 13
Color the coffee surface with a brown marker and leave a small white highlight spot to make it look shiny.
Step 14
Erase any remaining visible pencil sketch lines that are not part of the finished drawing.
Step 15
Take a photo of your finished realistic coffee cup and share your creation on DIY.org
Help!?
What can I use if I don't have a real coffee cup, a blending tool, or a brown marker?
Use a clear phone photo or printed image of a cup for the one-minute observation, a tissue, fingertip, or cotton swab instead of a blending tool, and a brown colored pencil or watercolor wash in place of the brown marker when coloring the coffee surface.
My ovals look crooked and the handle doesn't match the cup — how can I fix those drawing problems?
Lightly draw a centered horizontal guide for the rim, measure the inner coffee and rim ovals with soft pencil strokes before darkening, mark the two attachment points for the C-shaped handle on the cup body, and then erase extra overlapping sketch lines as the instructions say to clean up edges.
How can I adapt this activity for younger kids or older students?
For younger children use pre-drawn oval templates, thicker markers for the final outline, and skip the blending step, while older students should use the one-minute observation carefully, refine shading with multiple pencil grades and a blending stump, and add accurate reflections and cast shadows.
What are easy ways to personalize or enhance the finished coffee drawing before photographing it for DIY.org?
Decorate the cup with a pattern or sticker, add a simple table and cast shadow, draw latte-art swirls on the brown coffee surface while keeping the white highlight, or place the finished drawing on colored paper to make your photo pop.
Related videos
How to Draw a Cute Coffee Mug | Cute Rabbit Cup - Easy Drawing Tutorial for Kids & Beginners
4 Videos
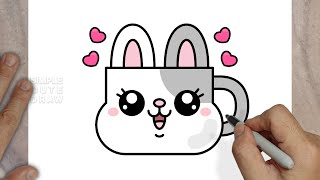
How to Draw a Cute Coffee Mug | Cute Rabbit Cup - Easy Drawing Tutorial for Kids & Beginners
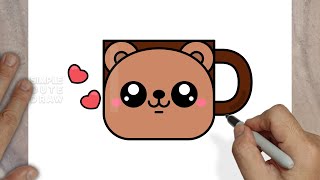
How to Draw a Cute Coffee Mug | Cute Bear Cup - Easy Drawing Tutorial for Kids & Beginners
Draw and Colour a Coffee Cup with Me! ✨ | Fun & Easy Drawing Tutorial
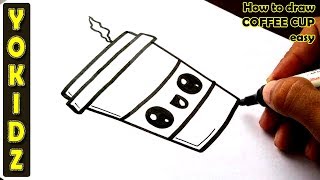
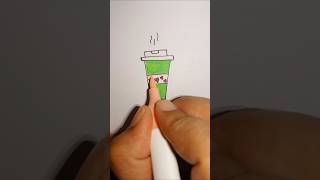
How to draw COFFEE CUP easy
Fun Facts
☕ Coffee is one of the world's most popular drinks — roughly 2.25 billion cups are enjoyed every day around the globe.
✏️ A pencil's mark is made of graphite, not lead — the 'lead' name comes from an old mistake that stuck around.
🌫️ Real steam (water vapor) is mostly invisible; the white, wispy steam you draw is tiny water droplets formed as it cools.
🎨 Chiaroscuro is an art technique whose Italian name means 'light-dark' and artists use it to make objects look three-dimensional.
🖍️ Markers usually use water- or alcohol-based inks — alcohol markers are loved for smooth blending and vibrant gradients.
How do you draw a realistic coffee cup with steam, shading, and a handle?
What materials do I need to draw a realistic coffee cup?
What ages is this drawing activity suitable for?
What are the benefits of drawing a realistic coffee cup?
