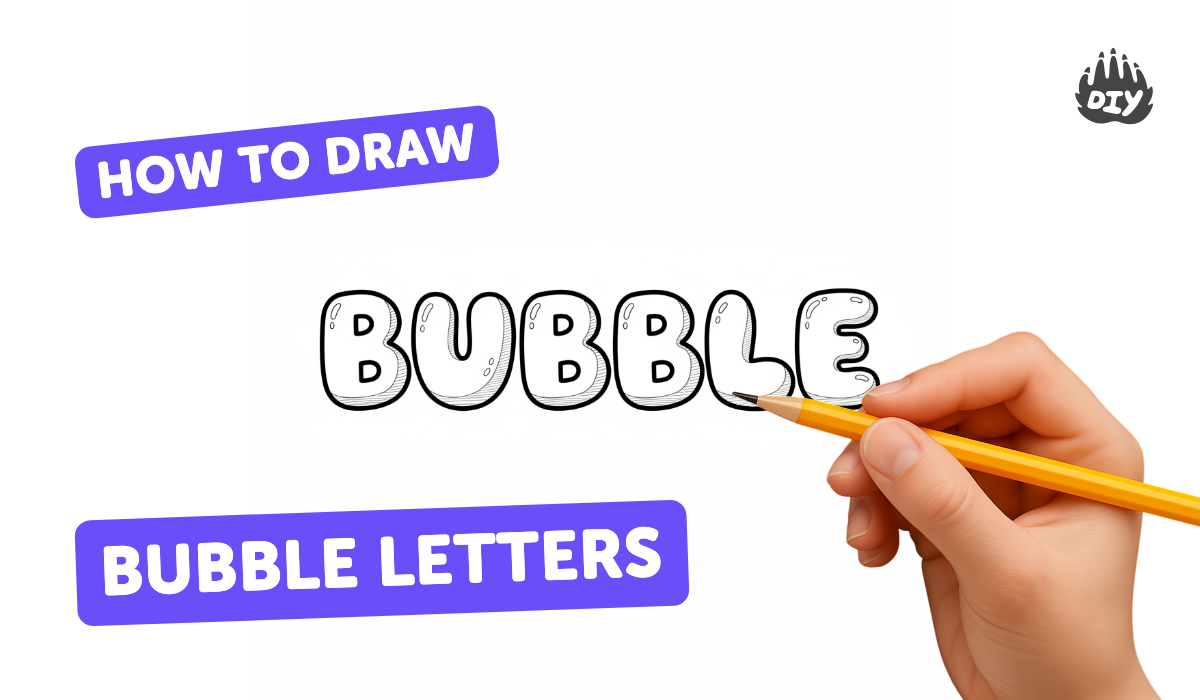
How to draw bubble letters - a free bubble letters drawing guide
Draw bubble letters to create bold, rounded alphabet art. Practice outlining, filling, shading, and decorating each letter step by step.


Instructions
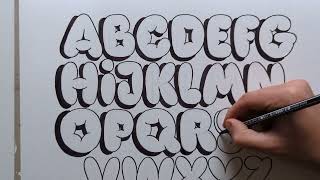
How to Draw Bubble Letters for Beginners A-Z Easy for Kids Step by Step Tutorial Simple
Step 1
Place your paper flat on a clean workspace.
Step 2
Pick one letter or a short word to practice and say it out loud.
Step 3
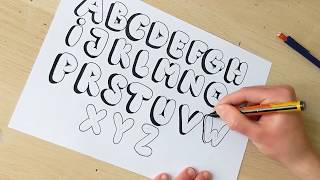
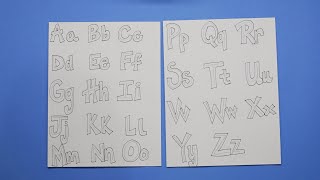
Lightly sketch the basic shapes of each letter with your pencil.
Step 4
Draw a second outline around each pencil letter about the width of your thumb to make the letters thick.
Step 5
Round all outside corners and smooth any wobbly lines so each letter looks puffy.
Step 6
Erase the original inner guide lines that remain inside the bubble shapes.
Step 7
Carefully trace the outer bubble outlines with your black marker or fine liner.
Step 8
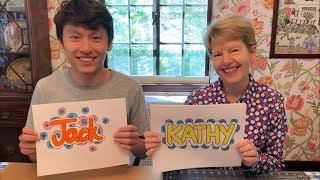
Draw a small curved highlight on the same side of each letter to make them look shiny.
Step 9
Shade the side opposite the highlight with light pencil strokes to add depth.
Step 10
Fill each letter with colors using your colouring materials.
Step 11
Add decorations like stripes dots or stars around and inside the letters.
Step 12
Share your finished creation on DIY.org.
Help!?
What can I use if I don't have a black marker, fine liner, or special colouring materials?
If you don't have a black marker or fine liner for step 7, use a dark ballpoint pen or a sharp colored pencil, and substitute markers, crayons, or colored pencils for the colouring materials in step 10.
My bubble outlines look wobbly and uneven — how do I fix them?
If your bubble outlines are wobbly after step 5, lightly practice the basic shapes from step 3 on scrap paper, erase the inner guide lines in step 6, and then carefully trace the outer bubble outlines in step 7 with slow, steady strokes.
How can I adapt the activity for younger or older children?
For younger kids, have them trace printed letters on the paper in step 1 and make the second outline in step 4 extra wide, while older kids can add the curved highlights in step 8, more advanced shading in step 9, and detailed decorations in step 11 or work with whole words to share on DIY.org in step 12.
How can we make the finished bubble letters more special or advanced?
To enhance the finished letters from steps 8–11, blend two colours inside each letter in step 10 for gradients, add metallic or glitter highlights over the curved highlights in step 8, glue on small cut-outs or sequins from step 11 for texture, or scan the traced outlines from step 7 to create digital stickers to share on DIY.org in step 12.
Related videos
How To Draw Bubble Letters (EASY) - Step By Step Tutorial
4 Videos
How To Draw Bubble Letters (EASY) - Step By Step Tutorial
How To Draw Bubble Letters - Art For Kids With Mrs. Dickerson
How to Draw Bubble Letters Step by Step | Easy Art for Kids
How To Draw Bubble Letters - Step By Step Tutorial (2023)
Get inspired with these


Fun Facts
✍️ Typography comes from Greek words meaning 'impression' (typos) and 'to write' (graphein).
🔠 Bubble-letter styles show up a lot in graffiti as quick, bold 'throw-ups' that grew in 1970s–80s New York.
🎨 Hand-lettering (including bubble letters) is a great way to practice spacing, shapes, and decorative fills.
🖍️ Add a small shadow or a darker edge on one side and a flat bubble letter instantly looks 3D.
🧠 Drawing and tracing letters helps kids build fine motor control and get familiar with letter shapes while having fun.
How do you draw bubble letters step by step?
What materials do I need to draw bubble letters?
What ages is bubble letter drawing suitable for?
What are the benefits of drawing bubble letters for kids?
