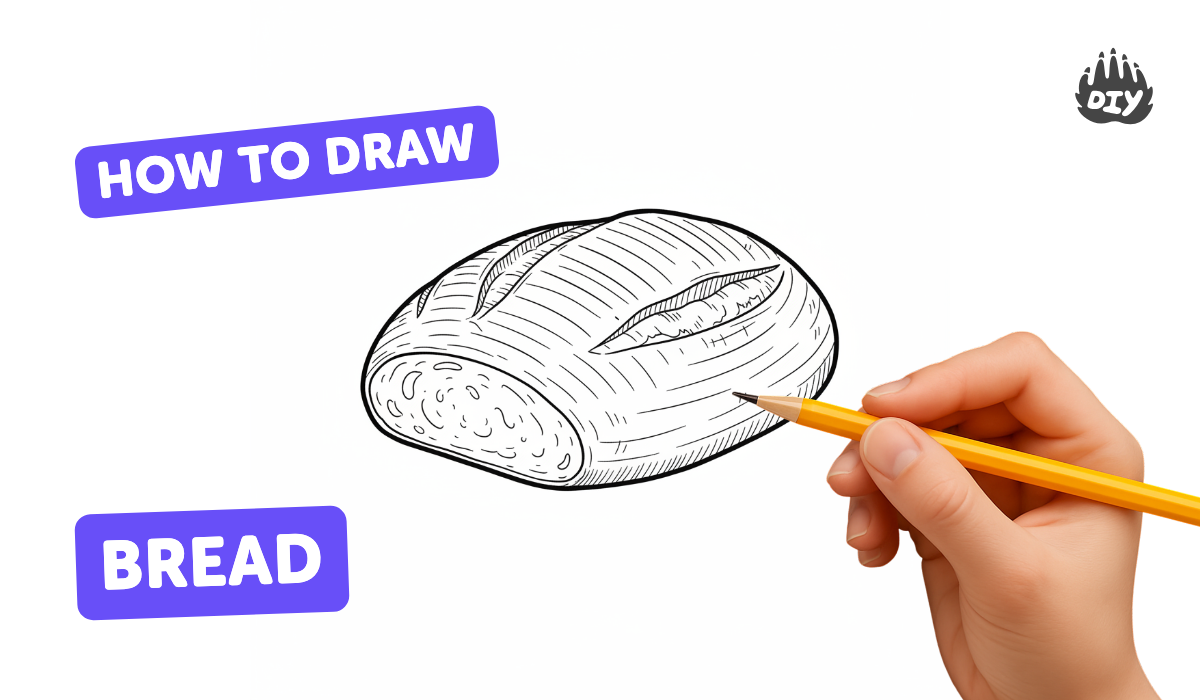
How to draw bread - a free bread drawing guide
Learn step by step how to draw a loaf of bread with simple shapes, shading, and texture using pencil and eraser to create realistic results.

Drawing Apps
Photos of loaf of bread drawing examples


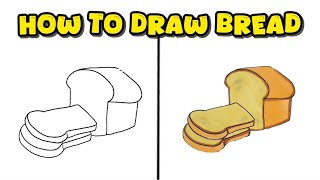
Step-by-step guide to draw a loaf of bread
How To Draw A Funny Loaf Of Bread
Step 1
Place your paper on a flat surface and put your pencil eraser and sharpener within reach so you are ready to draw.
Step 2
Draw a long horizontal oval near the top third of the paper using light pencil lines to make the rounded top of the loaf.
Step 3
Draw two short curved vertical lines down from the left and right edges of the oval to form the loaf's sides.
Step 4
Connect the bottom ends of those lines with a gentle curved line to complete the loaf's body shape.
Step 5
Add three short slightly curved shallow lines across the top of the oval to show the scored crust marks.
Step 6
Shade the lower half of the loaf lightly with diagonal pencil strokes to create gentle form and depth.
Step 7
Draw a darker shadow beneath the loaf along the table line with heavier strokes to anchor it to the surface.
Step 8
Make tiny dots and short strokes on the crust area to add rough bread texture and little crumbs.
Step 9
Gently blend the shaded areas with a tissue or cotton swab to smooth the tones and soften edges.
Step 10
Use the eraser to lift small highlights on the top and edges of the loaf to make the crust look shiny.
Step 11
Erase any extra construction lines so your loaf looks clean and finished.
Step 12
Share your finished loaf drawing on DIY.org
Help!?
If I don't have a tissue or cotton swab for blending, what can I use instead?
Use a clean fingertip, a folded paper towel, or a scrap of tissue to gently blend the shaded areas in step 9, and if you lack a sharpener you can carefully whittle the pencil with a craft knife while saving the eraser for highlights in step 10.
My loaf looks flat — which steps should I fix to add depth?
Darken the lower-half diagonal shading from step 6, strengthen the darker shadow beneath the loaf along the table line in step 7, blend lightly in step 9, then lift small highlights with the eraser in step 10 to create form.
How can I adapt this drawing for younger or older kids?
For younger children, pre-draw the long oval and let them add the sides and three crust marks (steps 1–5) using crayons or markers, while older kids can add extra scored lines, detailed crumbs and short strokes (step 8) and vary pencil grades for stronger shading (steps 6–7).
What are some ways to extend or personalize the bread drawing activity?
After erasing construction lines in step 11, color the loaf with colored pencils or watercolor, draw a plate and table with a matching shadow (step 7), add a bakery name or pattern on the crust (step 5–8), and photograph your finished loaf to share on DIY.org (step 12).
Watch videos on how to draw a loaf of bread
how to draw a bread step by step
4 Videos
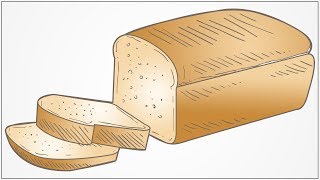
how to draw a bread step by step
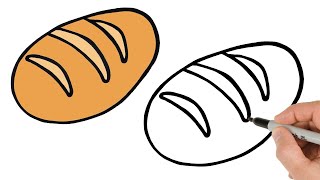
How to Draw Bread Easy | Step by Step | Easy Drawings Lessons
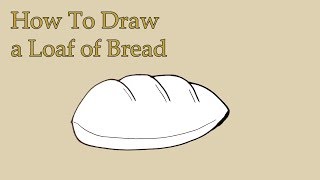
How to Draw a Loaf of Bread | Very Easy For KIDS
How to Draw a Loaf of Bread - Simple Food Drawing for Beginners
Facts about pencil drawing and shading
🍞 Humans have been making bread for over 14,000 years — some of the oldest flatbreads date back that far.
✏️ A single graphite pencil can draw a line about 35 miles (56 km) long — plenty of practice for shading!
🖼️ Bread is a classic still life subject because its crust, crumb, and shape show texture and light beautifully.
🥖 Before rubber erasers were common, artists sometimes used breadcrumbs to gently lift pencil marks.
🌓 Softer “B” pencils give darker, smoother shading while harder “H” pencils make lighter, crisper lines — mix them for realism.
How do you draw a loaf of bread step by step?
What materials do I need to draw a loaf of bread?
What ages is drawing a loaf of bread suitable for?
What are the benefits of learning to draw a loaf of bread?
