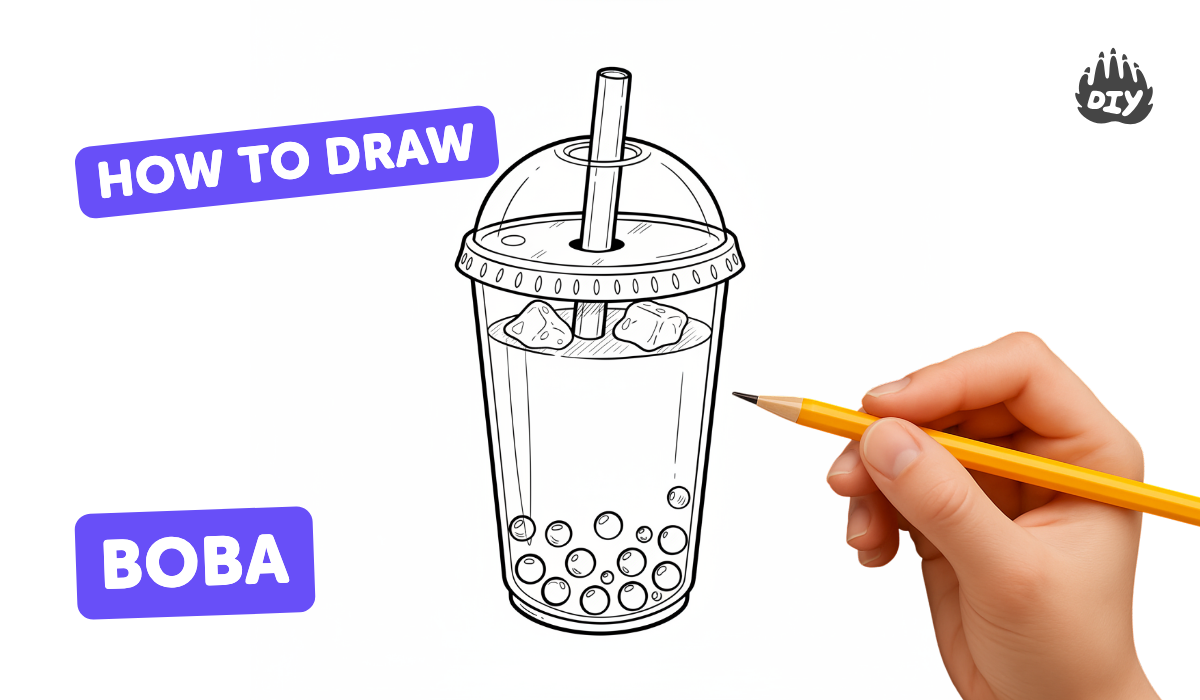
How to draw boba - a free boba drawing guide
Draw a boba tea illustration step-by-step using pencil, markers, and simple shapes. Practice proportions, shading, and drawing chewy tapioca pearls.

Drawing Apps
Get inspired with these


Instructions
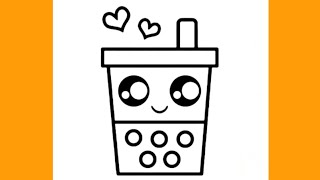
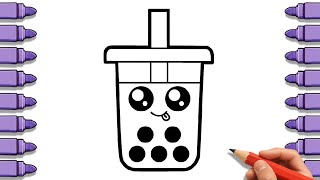
Learn how to draw this adorable Boba Tea, step-by-step Drawing for Kids🧋❤️
Step 1
Gather your paper and drawing tools and find a comfy spot to draw.
Step 2
Lightly sketch a tall rounded rectangle in the middle of the page for the cup so it fills about two-thirds of the page height.
Step 3
Draw a thin horizontal oval on top of the cup to make the lid.
Step 4
Draw two parallel vertical lines through the lid and connect them at the top to make a thick straw.
Step 5
Draw a gentle wavy line across the cup to show where the tea liquid sits.
Step 6
Draw many small circles clustered at the bottom inside the cup to make the tapioca pearls.
Step 7
Shade the bottom half of each pearl lightly with your pencil to make them look round and chewy.
Step 8
Shade the tea area with a light pencil gradient that is slightly darker near the bottom and lighter toward the top.
Step 9
Carefully trace the cup outline straw lid and pearls with your black marker to make the drawing pop.
Step 10
Color the tea the lid and the straw with your colored markers filling inside the lines.
Step 11
Erase any leftover pencil construction lines so your drawing looks clean and finished.
Step 12
Take a photo of your boba tea illustration and share your finished creation on DIY.org.
Help!?
I don't have a black marker or colored markers—what can I use instead to trace and color my boba drawing?
If you don't have a black marker, use a fine-tip pen or a dark colored pencil to carefully trace the cup, straw, lid, and pearls in the tracing step, and substitute colored pencils, crayons, or gel pens for the colored markers when filling in the tea, lid, and straw.
My tapioca pearls look flat after shading—how can I make them look round and chewy like the instructions say?
Darken the bottom half of each pearl with your pencil as described, then blend the shading gently with a cotton swab or blending stump to create a smooth gradient that makes each circle appear round and chewy.
How can I adapt the drawing steps for younger children or make it more challenging for older kids?
For younger kids, pre-draw the tall rounded rectangle cup and the thin oval lid from steps 2–3 and have them add big sticker pearls and simple coloring, while older kids can add small highlights, more precise pencil gradients in the tea area per step 8, and intricate straw patterns.
What are some ways to extend or personalize my finished boba illustration before I photograph and share it on DIY.org?
After tracing and coloring in steps 9–10, personalize your piece by adding a patterned or striped straw with markers, painting a soft watercolor background behind the cup for depth, or gluing tiny sequins to the lid for sparkle before erasing construction lines and photographing it.
Related videos
How to Draw Boba Tea 🧋 Easy Drawing for Kids | Cute Bubble Tea Step by Step
4 Videos
How to Draw Boba Tea 🧋 Easy Drawing for Kids | Cute Bubble Tea Step by Step
How to Draw a Cute Boba Tea 🧋✨ | Easy Drawing for Kids & Beginners #howtodraw
How to Draw a Delicious Bubble Tea Cup | Easy Step by Step Tutorial
How to draw a Drink Boba Tea cute step by step
Fun Facts
🧋 Bubble tea was invented in Taiwan in the 1980s and the word “boba” quickly became the fun nickname for the chewy pearls.
🟤 Tapioca pearls are made from cassava root starch — they become chewy after boiling and soaking in sweet syrup.
✏️ Many artists start with simple shapes (circles, ovals, rounded rectangles) to lock in correct proportions before adding details.
🎨 Markers give bright, bold colors for your boba cup while pencil shading adds soft depth and a realistic 3D look to the pearls.
🍓 Some shops sell “popping” boba filled with fruit juice — so pearls can be chewy black tapioca or juicy little explosions of flavor!
How do I teach my child to draw boba tea step-by-step?
What materials do I need to draw boba tea with my child?
What ages is drawing boba tea suitable for?
What are some fun variations of drawing boba tea to try with my child?
