How to draw arms - a free arms drawing guide
Draw accurate arms using simple shapes, proportion rules, and basic shading techniques. Practice poses, angles, and hands to improve gesture drawing.

Drawing Apps
Get inspired with these


Instructions
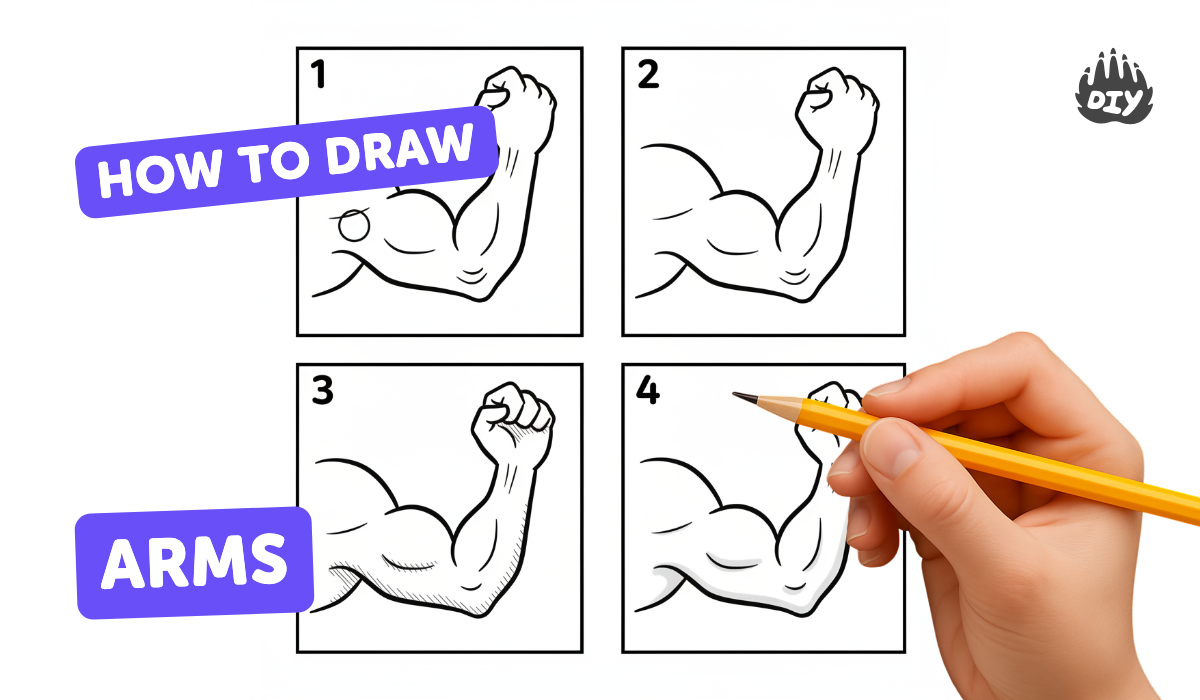
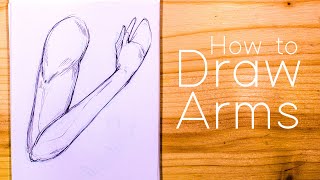
How to sketch an Arm step by step | How to draw Arms | Arm drawing Lesson/tutorial for beginners
Step 1
Set up your paper and pencil on a flat surface so you are ready to draw.
Step 2
Make three quick warm-up gesture lines to show different arm movements on the page.
Step 3
Draw a small circle to stand for the head size so you can measure arm length easily.
Step 4
Draw a medium circle where the shoulder will sit to mark the shoulder joint.
Step 5
Draw a long oval from the shoulder circle to where the elbow will be that is about the same length as the head circle.
Step 6
Draw a small circle at the end of the upper arm oval to mark the elbow joint.
Step 7
Draw another long oval from the elbow circle to where the wrist will be and keep it similar in length to the upper arm.
Step 8
Draw a small circle for the wrist at the end of the forearm.
Step 9
Draw a simple mitten-shaped hand attached to the wrist circle to block in the hand’s basic shape.
Step 10
Connect the shoulder elbow and wrist shapes with smooth outer lines and erase the extra construction lines.
Step 11
Draw three quick arm pose sketches using the same shoulder oval elbow circle and forearm shapes to try different angles.
Step 12
Add simple finger lines and a thumb to each mitten hand to make fingers and knuckles.
Step 13
Pick a light source and mark it with a small sun or dot so you know where light is coming from.
Step 14
Shade the side of the arm opposite the light with light hatching to show roundness and form.
Step 15
Share your finished arm drawings and practice poses on DIY.org.
Help!?
What can I use if I don’t have a pencil or drawing paper?
Use a colored pencil, crayon, marker, or a tablet with a stylus and follow the steps—still draw the small head circle to measure arm length and the shoulder oval and elbow circle the instructions ask for.
My upper and lower arm ovals look uneven—how do I fix the proportions?
Use the small head circle as a measuring guide by placing it along the arm route to match the upper-arm and forearm ovals to equal lengths, then erase and redraw the ovals and joint circles until they align.
How can I change the activity for younger or older kids?
For younger kids make the head, shoulder, and mitten hand shapes larger and skip finger lines, while older kids can do three pose sketches, add finger and knuckle lines, and practice the light-source shading hatching.
What are simple ways to extend or personalize my arm drawings?
Add sleeves by drawing clothing over the shoulder and forearm ovals, experiment with different hand gestures instead of the mitten, use colored pencils for skin tones, and upload your favorite pose to DIY.org as suggested.
Related videos
How to sketch an Arm step by step | How to draw Arms | Arm drawing Lesson/tutorial for beginners
4 Videos
How to sketch an Arm step by step | How to draw Arms | Arm drawing Lesson/tutorial for beginners
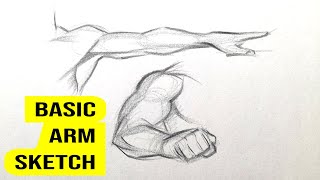
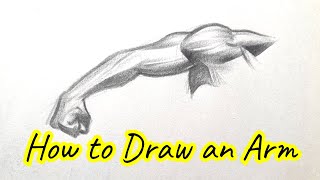
How to draw a Basic Arm Sketch step by step | How to draw Arms for Beginners | Drawing Arm & Hands
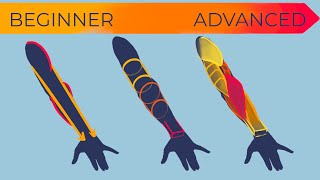
🦾 How to Draw Arms - Beginner to Pro
How to Draw Arms for Beginners + Free Worksheet
Fun Facts
🦴 The human arm has one upper-arm bone (humerus) and two forearm bones (radius and ulna).
✋ The human hand contains 27 bones, giving it amazing dexterity for poses and gestures.
📐 Artists simplify arms into cylinders and joints into spheres to keep proportions and foreshortening easy.
🧭 Your arm span is usually about the same as your height — a handy measuring trick for proportion.
⏱️ Fast gesture sketches (30–60 seconds) are a proven way to capture movement and improve arm accuracy.
How do I teach my child to draw accurate arms using simple shapes, proportion rules, and basic shading?
What materials do I need to practice drawing arms with my child?
What ages is this arm-drawing activity suitable for?
What are the benefits of practicing arm drawing and what variations can we try?
