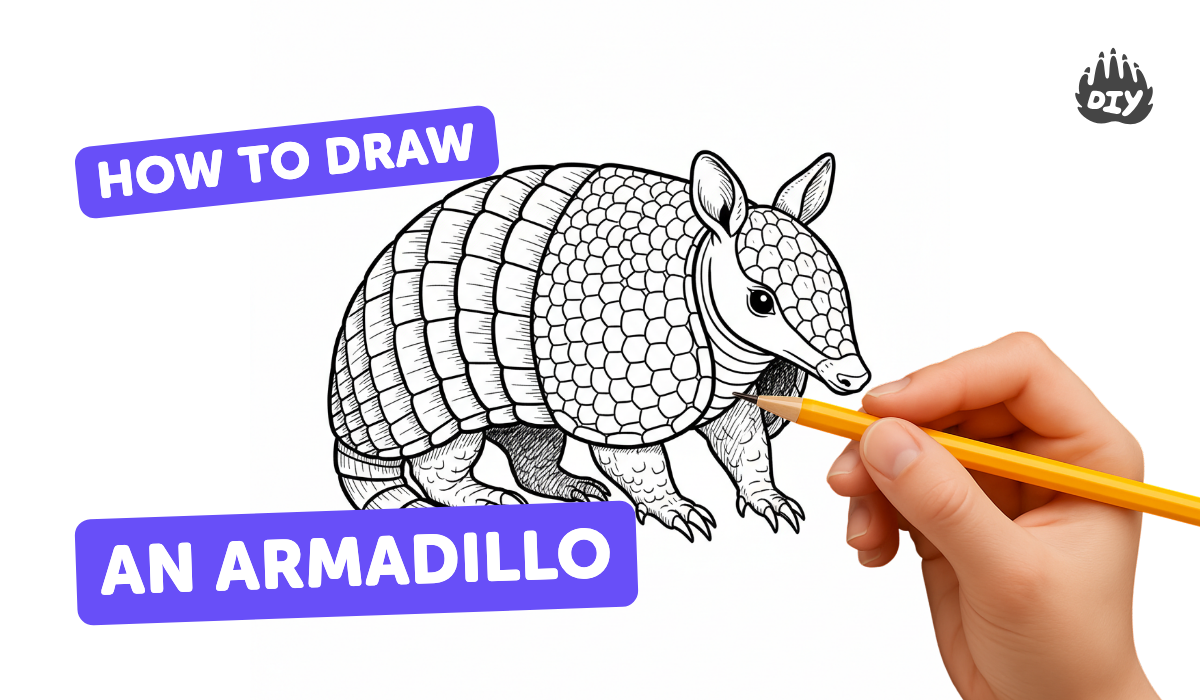
How to draw an armadillo - a free armadillo drawing guide
Draw a step-by-step armadillo using simple shapes, pencil lines, and shading. Practice proportions, armor texture, and adding realistic color with colored pencils.

Drawing Apps
Get inspired with these


Instructions
How To Draw An Armadillo
Step 1
Set up your workspace with a sheet of drawing paper and your pencil ready.
Step 2
Lightly draw one large oval for the body and a smaller oval for the head to make simple base shapes.
Step 3
Draw a gentle curved line from head to tail to mark the spine and the armadillo’s direction.
Step 4
Put four small circles under the body to mark where the legs will go.
Step 5
Add a long tapering snout and two small ear shapes on the head as facial guides.
Step 6
Connect the ovals and circles with smooth curved lines to make the armadillo’s outer outline.
Step 7
Sketch several overlapping curved bands along the back to show the armor plates.
Step 8
Draw short curved texture lines on each band to create the armor pattern and surface texture.
Step 9
Draw simple claw shapes at the end of each leg to finish the feet.
Step 10
Gently erase extra construction lines so only the clean outline and texture remain.
Step 11
Choose a direction for your light source so you know where shadows will fall.
Step 12
Shade the side opposite the light source with your pencil and blend gently with a stump or tissue.
Step 13
Color the armor and body with colored pencils using darker layers in shadow areas and lighter strokes for highlights.
Step 14
Add small finishing details like darker edge lines and a tiny lift for a white highlight if you want to make it pop.
Step 15
Take a photo of your finished armadillo and share it on DIY.org.
Help!?
What can we use if we don't have a blending stump or colored pencils listed in the instructions?
If you don't have a blending stump, use a rolled tissue, cotton swab, or your fingertip to blend the shaded side as described in the 'Shade...blend' step, and if you lack colored pencils for 'Color the armor and body' try crayons, watercolor pencils, or lightly applied markers instead.
My armor bands look messy—how can I make the overlapping curved bands neater?
Lightly draw the 'several overlapping curved bands' as faint guide lines first, refine them with smooth curved lines when you 'connect the ovals and circles' for the outer outline, and then 'gently erase extra construction lines' to keep the armor clean.
How can I adapt this armadillo drawing activity for different ages?
For younger children simplify to the 'one large oval and smaller oval for the head' with basic claw shapes, for elementary kids keep the 'overlapping curved bands' and simple texture lines, and for older kids add careful 'shade...and blend' work plus highlights and photograph the result for DIY.org.
What are some ways to enhance or personalize the finished armadillo beyond the basic steps?
Enhance the drawing by adding a habitat background, using cross-hatching or layered colored-pencil glazes when you 'shade the side opposite the light source', and finish with darker edge lines and a tiny white highlight as in the final details before taking a photo for DIY.org.
Related videos
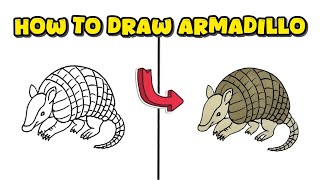
How to Draw Armadillo Easy | Step by Step | Animals Drawing Tutorial
4 Videos

How to Draw Armadillo Easy | Step by Step | Animals Drawing Tutorial
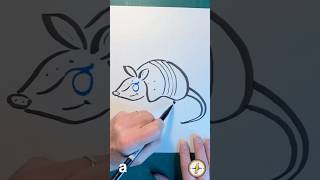
How to Draw an Armadillo - Follow Detailed Animal Drawing Process
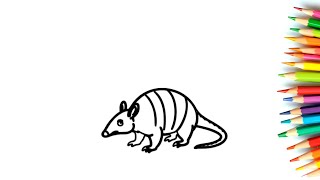
How to Draw an Armadillo Easy (using the Letter "a") For Kids!
How to draw an Armadillo - Perfect for all ages
Fun Facts
🐾 Armadillos are the only living mammals with a bony shell (osteoderms) covering their back and sides.
🌀 Only the three-banded armadillo can curl completely into a ball; most armadillo species cannot.
👃 Armadillos have poor eyesight but an amazing sense of smell that helps them sniff out insects underground.
✏️ Artists often start an armadillo drawing with simple shapes—ovals for the body and head—to get proportions right.
🎨 Armadillo armor usually shows natural browns, grays, and tans—perfect reference colors for colored pencils.
How do I draw an armadillo step-by-step using simple shapes, pencil lines, and shading?
What materials do I need to draw an armadillo and add realistic color with colored pencils?
What ages is drawing a step-by-step armadillo suitable for?
What are the benefits of practicing armadillo drawing and ideas for variations?
